transparentdsm
Well-known member
and the rear.
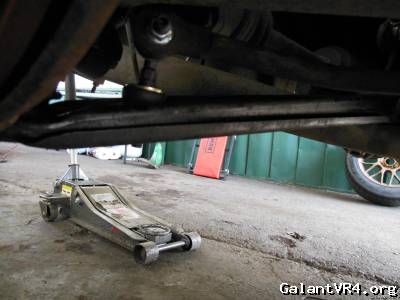
stock height
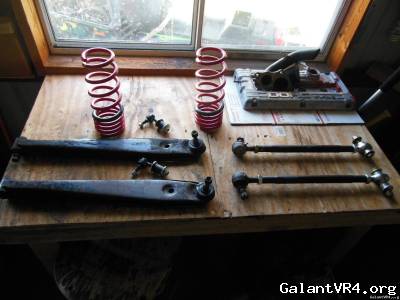
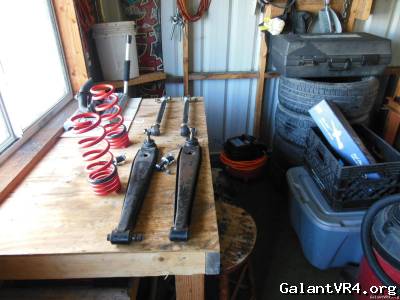
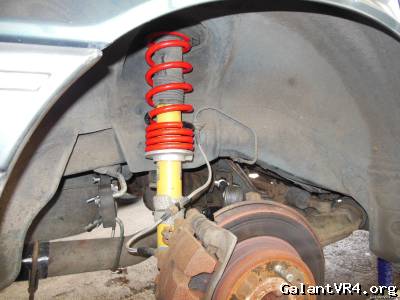
new parts
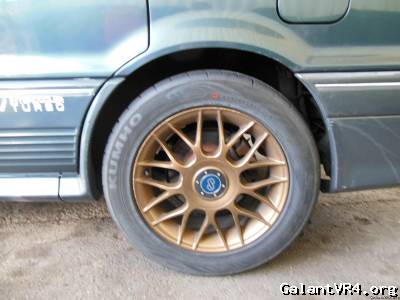
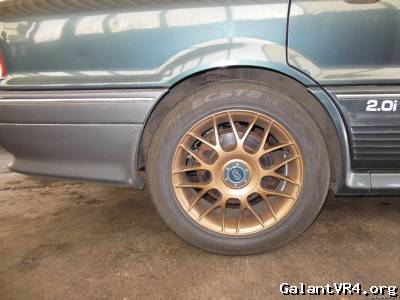
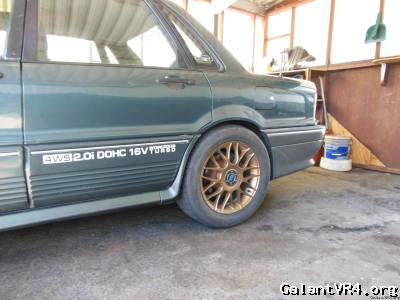
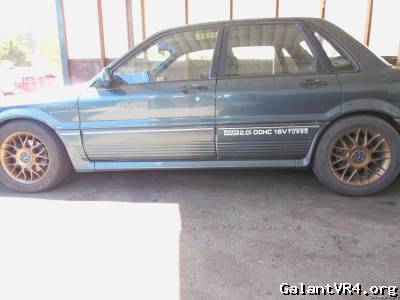
now this is how you stance your car.

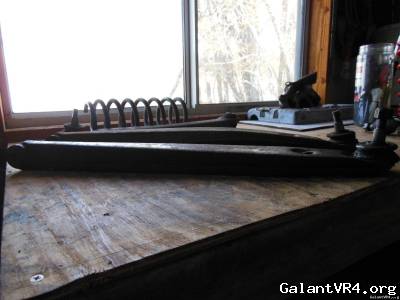
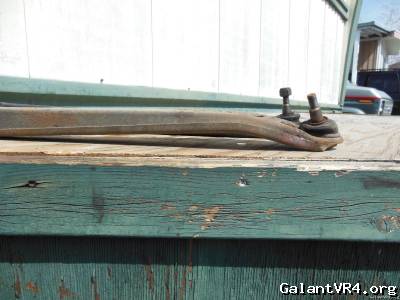
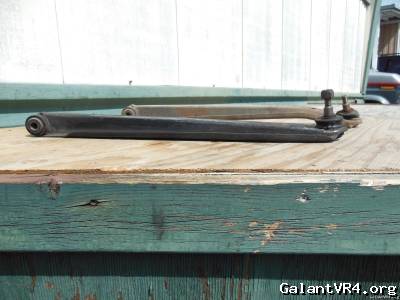
old lower control arms next to new ones.

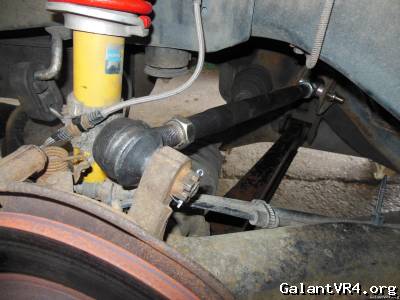
new upper adjustable, straight lower, springs and tie rod ends
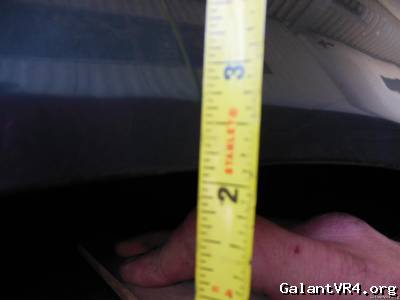
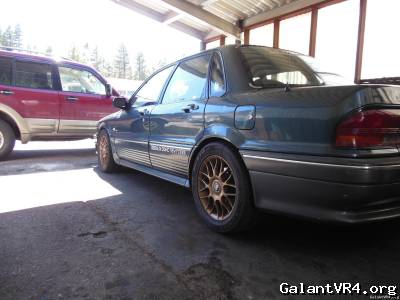
after i set the car down i didn't like the ride height so i cut 2 coils out to level out the car. i cant notice any difference between the two coils removed. here is the final outcome.
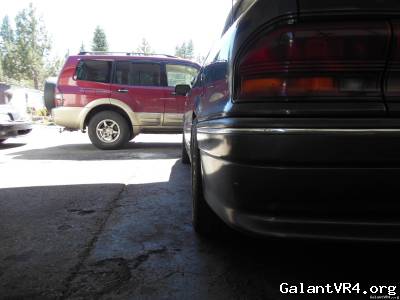
stock height
new parts
now this is how you stance your car.
old lower control arms next to new ones.
new upper adjustable, straight lower, springs and tie rod ends
after i set the car down i didn't like the ride height so i cut 2 coils out to level out the car. i cant notice any difference between the two coils removed. here is the final outcome.


