I'm updating this thread with pics and info. I could not install my aerocatch mechanism with the larger end facing the rear of the car because my hood pin holes on the upper support beam were already drilled by the PO. If I would have installed the way the directions recommended I would have had a portion of the mechanism seperated and sort of floating above the curved part of the hood.
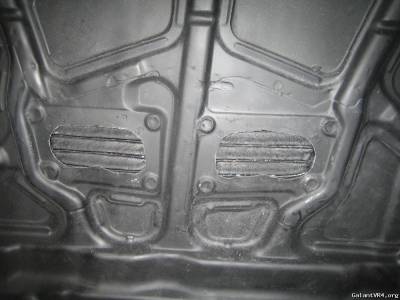
Before I installed the hood I took time to trim the surrounding material by the vent holes. It was jagged and looked like poop, IMO. I saw a pic of Turbowop's hood (thanks dude), the underside, so I just tried to make it look closest to the oem shape.
Before:
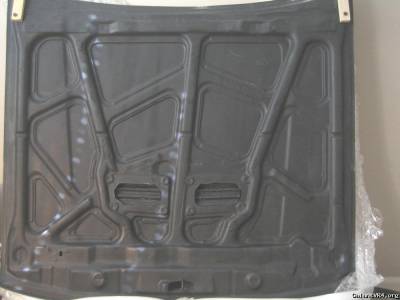
After:
Upon recieving my hood I noticed the first flaw in it was that the vents were glued in, rather than having studs to secure like oem jdm hoods do. I wondered how long the glue would last, how long would it stand up to intense engine heat before it melted or cracked and possibly sent my vents flying away while at speed, or some other weird scenerio. In case they ever come off, I left material around the opening so that it can be drilled to accept vents that have the posts in them.
Along with noticing that the vents were glued in I also noticed how thin each louver of fiber/resin was. I have seen old cf hoods and if they are exposed to repeated water and heat cycles they are usually deteriorated, crack etc and the resin and fiber on the top of the hood begins to look like ass. Realizing this I decided to use adhesive gold foil to reflect as much heat off the under side of the hood as possible. I know I could have tried to use a oem heat pad but in order to secure it with clips I did not feel like dremeling the hood any more than I absolutely had to. I threw that idea out and got to stenciling the valleys out of construction paper. After I was happy with my stencils I transfered the lines to the gold and cut it out. *if you do this remember to turn the stencil face down and then trace it to the gold so you don't end up with an opposite shape*
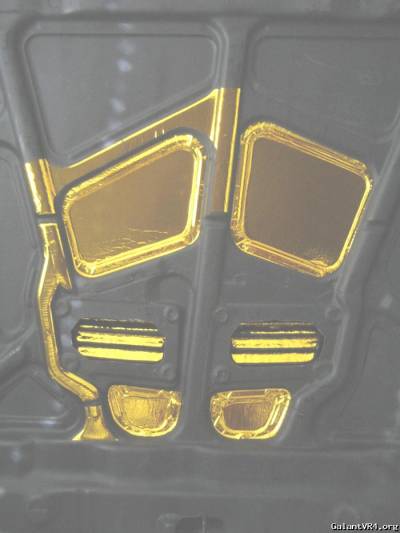
I started with the easiest most flat pieces first and then moved on the the difficult odd shaped areas. PITA. I thought about just laying larger strips down from side to side but the valleys are deep, as much as an inch in variance so it had the potential to get real sloppy and waste a lot of good foil/money.
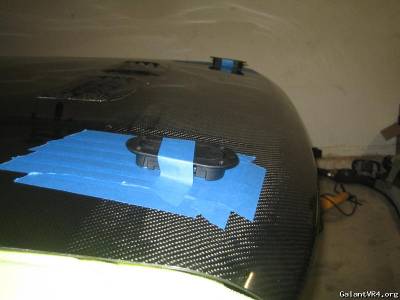
After getting most of the foil layed I then began cutting for the aerocatch. I first layed tape on the clean surface to keep from scratching it and to trace. I laid the hood down on the pin which I had dabbed white out on, then drilled that mark. Lay the aerocatch on the hood and decide how you want it positioned. I positioned mine so that the mechanisms overall line/shape mimicked the slanting line on the hood. Tape the aerocatch to the hood and then outline it on the tape.
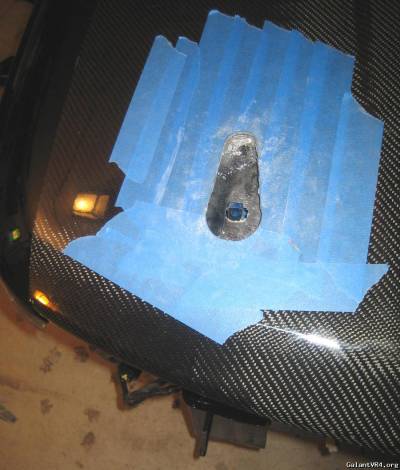
Cut the piece out. I cut my piece small for tight clearance. Its so tight that I had to actually sand the letters on the aerocatch down so that it could slip into the hole. After test fitting numerous times and making sure I was happy with fitment I marked and carefully drilled the bolt holes. I used some 3m silicone to seal the cut resin and I slipped the mechanism in and buttoned it up.
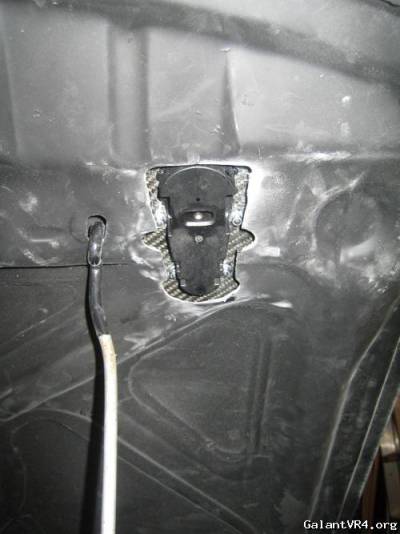
On the backside I tried to take out the least amount of material so as to keep as much integrity in the under skin as possible, so I hugged the original shape and then just made small areas enough for the ratchet/socket to fit through. *make sure that before you drill your upper support bar for the pins that the area you select does not interfere with the hood prop hole on the hood. You have the potential to drastically weaken that area if you over run it cause you'll have a giant hole in that section of your hood*
Afterwards make sure to adjust and tighten your hood pin so that the hood latch device slides in and out without touching.
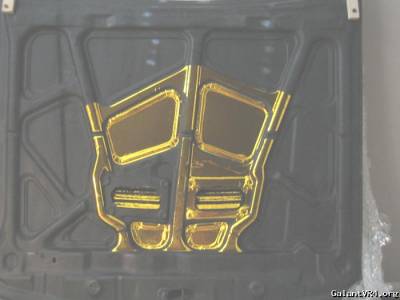
Here is how far I got. I plan to add more foil near the oem latch.

