The Top Mitsubishi Galant VR-4 Resource

Join the best E39A 1991-1992 Mitsubishi Galant VR-4 community and document your GVR4 journey.

  • Software Upgraded - Reset Your Password to Login
    In order to log in after the forum software change, you need to reset your password. If you don't have access to the email address you used to register your GVR4.org account, you won't be able to reset your password. In that case, follow the instructions here to regain access to the forum.

New guy from Mass with a 4G63 Ram 50 and now a GVR4

Turbo99

Well-known member
Joined
Oct 9, 2013
Messages
79
Location
Haverhill, MA
How many months before you and Greg cut this one up too? /ubbthreads/images/graemlins/grin.gif

I might swing 1459 through Townsend later this week if you're lucky!
 

4g63mightymax

Well-known member
Joined
Apr 6, 2013
Messages
195
Location
MA
I can't decide whether I will keep it forever because I'm attached to it, or dump it as soon as it is together. Maybe it needs an LSx engine? Who knows what tomorrow might bring!

I need to see your new one stat!
 

4g63mightymax

Well-known member
Joined
Apr 6, 2013
Messages
195
Location
MA
99% welded and ground smooth. Just a few small areas to finish before I can install the cowl, and POR-15 everything.

firewall-4.15.14_1.jpg


firewall-4.15.14_2.jpg


firewall-4.15.14_3.jpg


firewall-4.15.14_4.jpg


firewall-4.15.14_5.jpg


firewall-4.15.14_6.jpg
 

4g63mightymax

Well-known member
Joined
Apr 6, 2013
Messages
195
Location
MA
Test fitted the original cowl metal since it's still too damn cold to POR-15.

galant-firewall.jpg
 

MellowVR4

Well-known member
Joined
Jul 25, 2009
Messages
1,662
Location
Milwaukee, Wi
/ubbthreads/images/graemlins/worthy.gif /ubbthreads/images/graemlins/applause.gif
 

4g63mightymax

Well-known member
Joined
Apr 6, 2013
Messages
195
Location
MA
Thanks! I can't wait to have it fully together and painted! That will really be awesome!
 

4g63mightymax

Well-known member
Joined
Apr 6, 2013
Messages
195
Location
MA
Moved it outside so I could clean it off a bit.
IMG_1206.jpg

IMG_1207.jpg


Stripped the engine bay
engine-bay_1.jpg


Fixed a hole that somebody hacked for intercooler piping.
IMG_1199.jpg

IMG_1200.jpg

IMG_1201.jpg

IMG_1202.jpg

IMG_1203.jpg

IMG_1204.jpg
 

strokin4dr

Well-known member
Joined
Aug 30, 2005
Messages
2,770
Location
Savannah, GA
Wow. It's already come a long way. Keep it up.
My friend was seriously considering buying this shell when it was in florida. It's definitely in better hands now! /ubbthreads/images/graemlins/grin.gif
 

MellowVR4

Well-known member
Joined
Jul 25, 2009
Messages
1,662
Location
Milwaukee, Wi
Things done the right way! /ubbthreads/images/graemlins/applause.gif
 

4g63mightymax

Well-known member
Joined
Apr 6, 2013
Messages
195
Location
MA
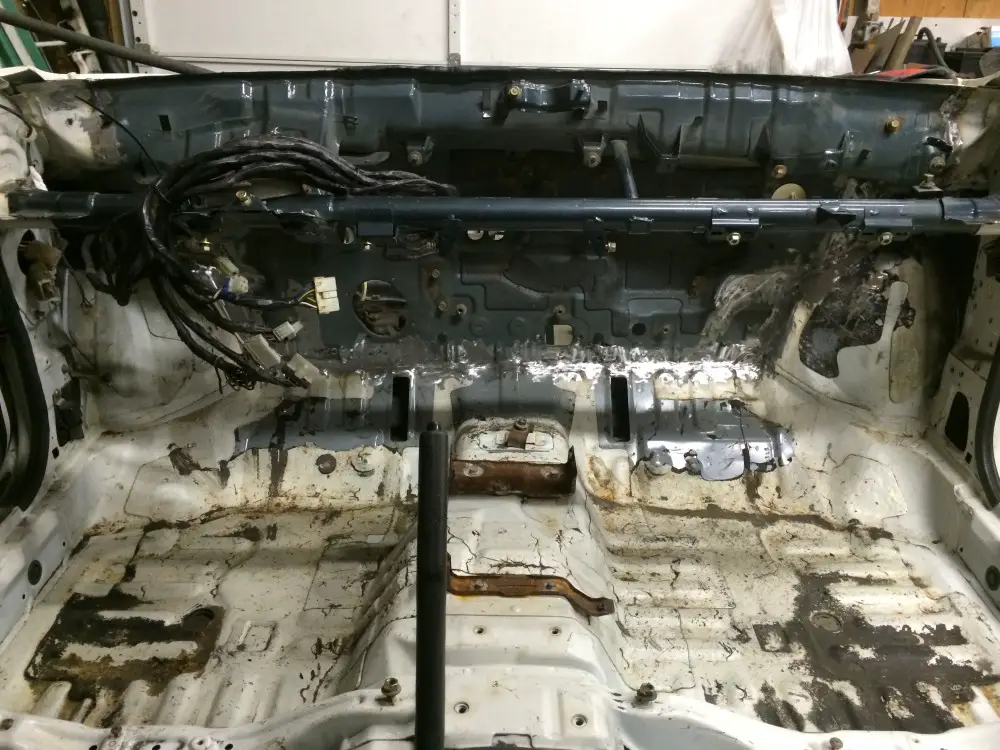
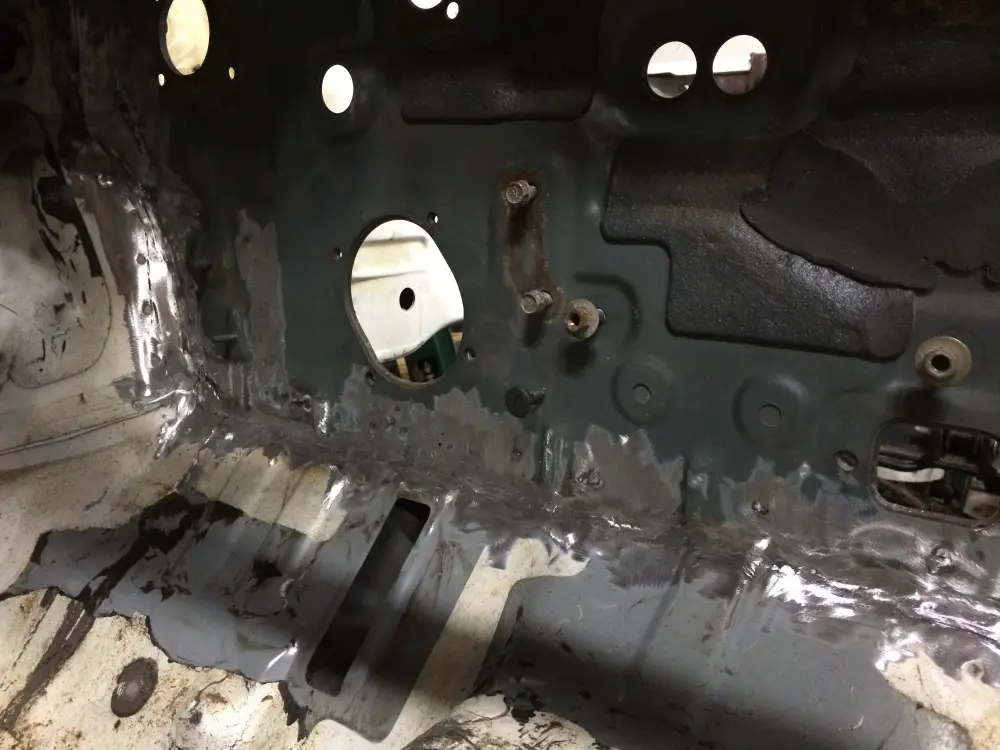
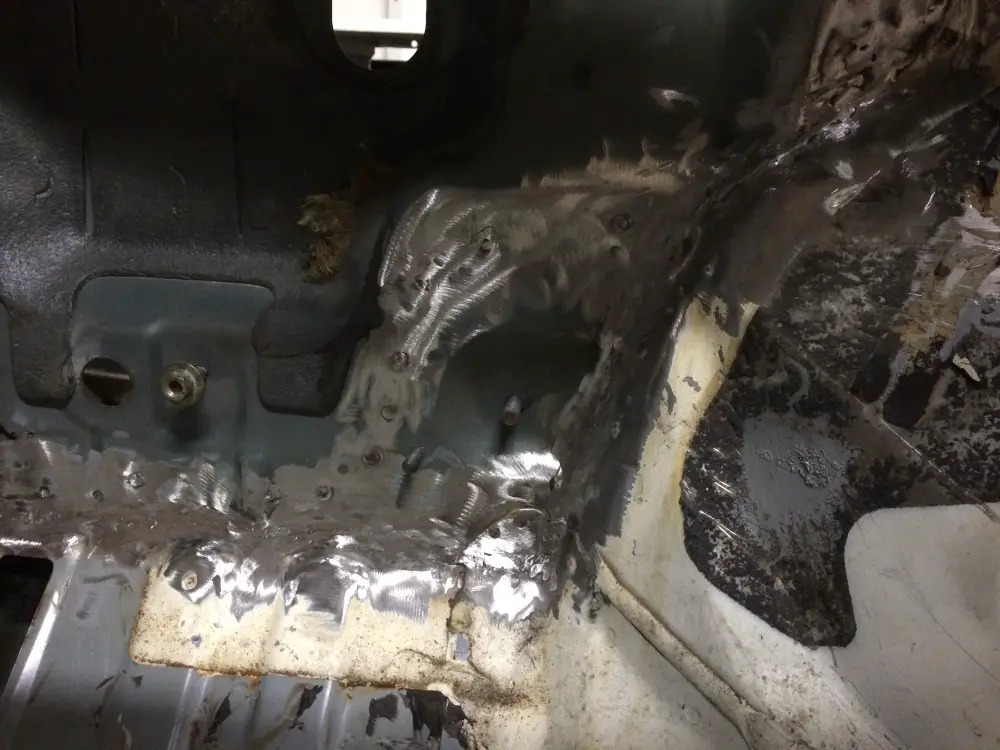
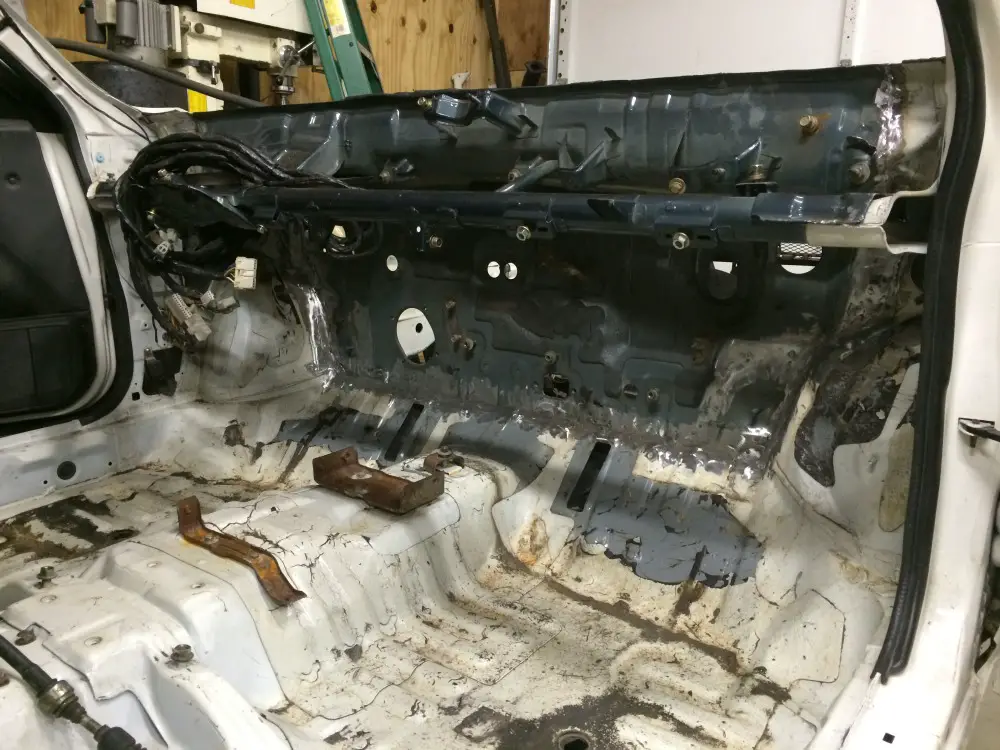
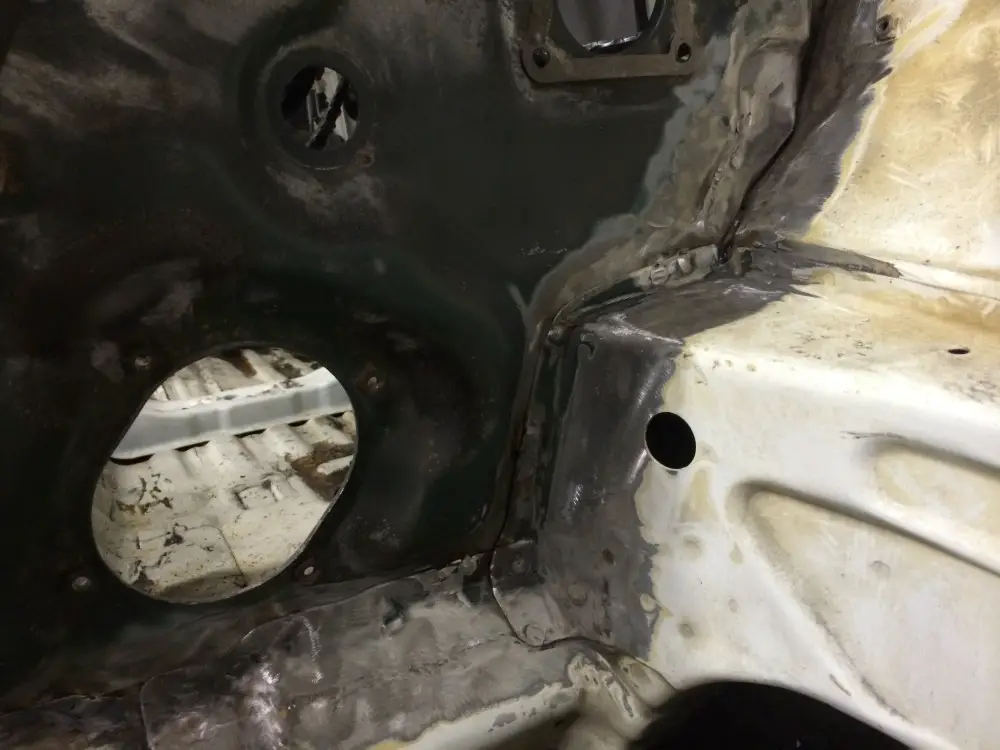
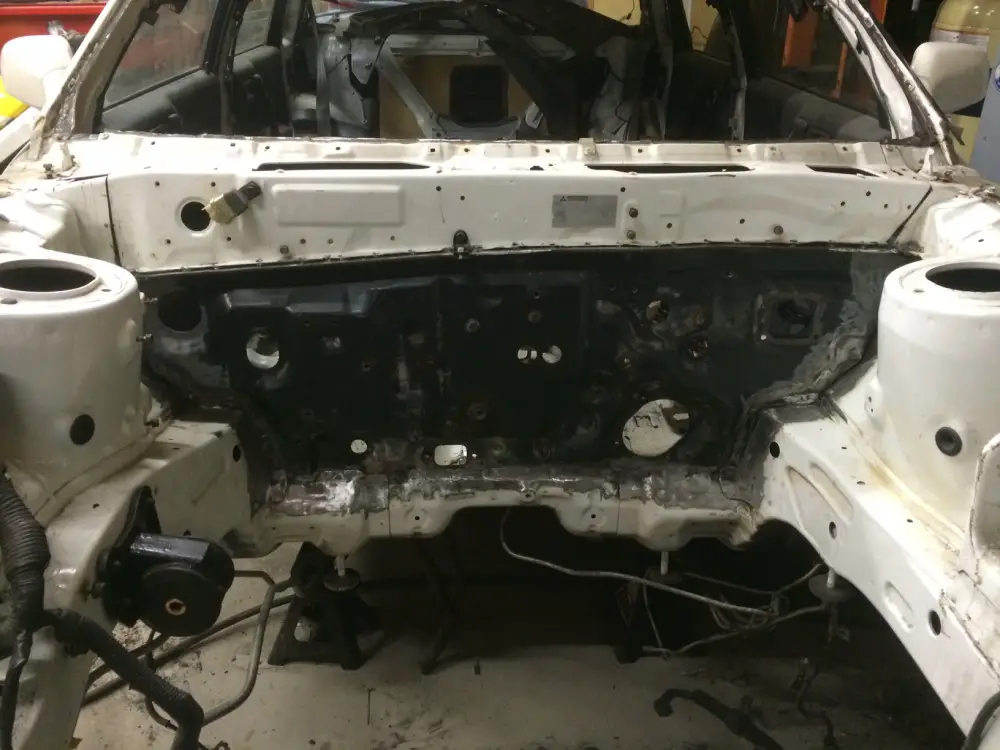
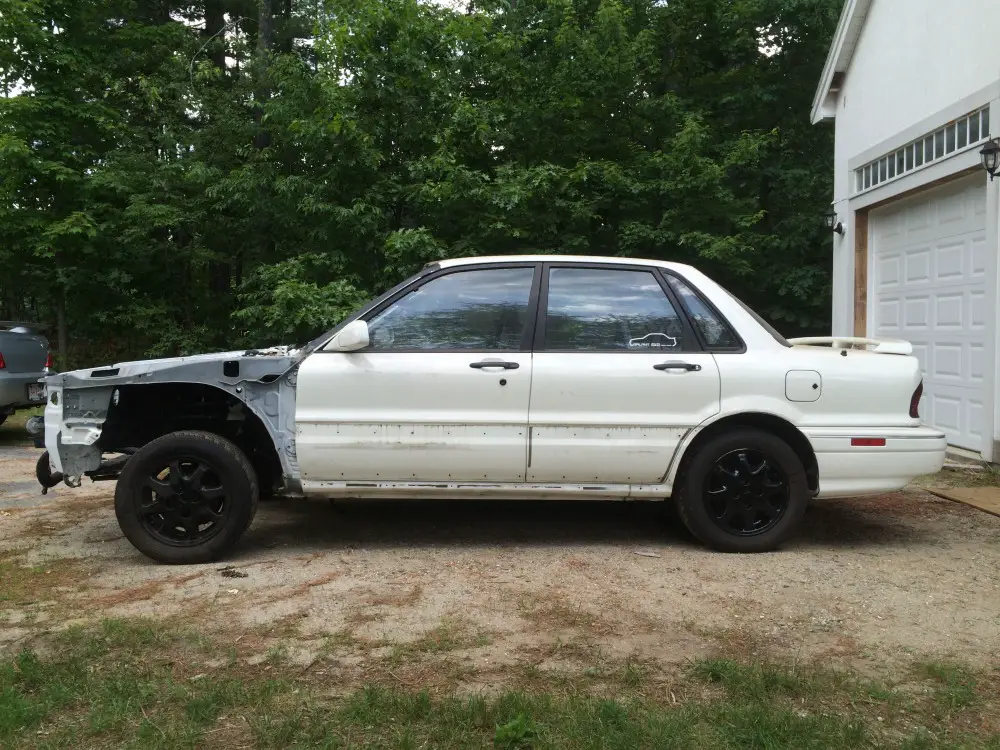
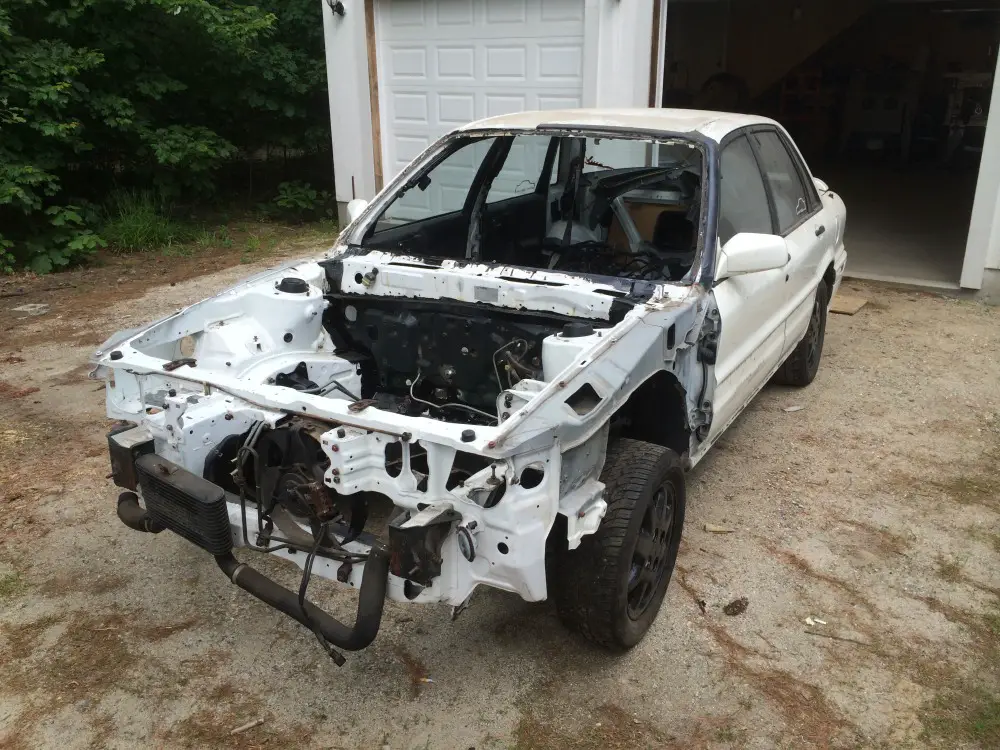
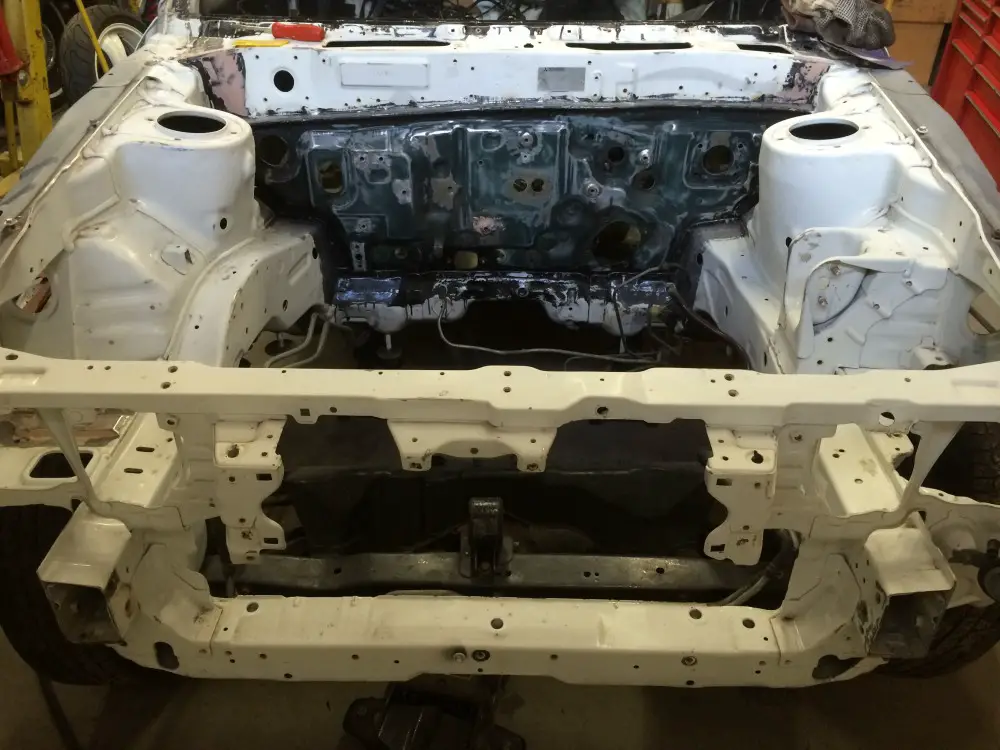
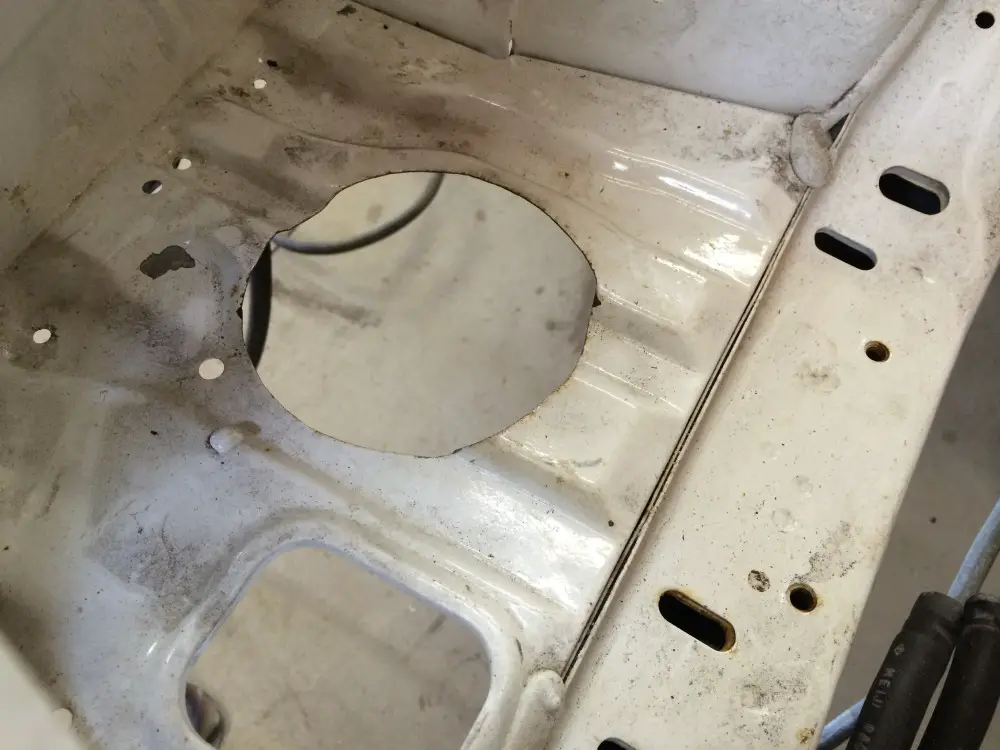
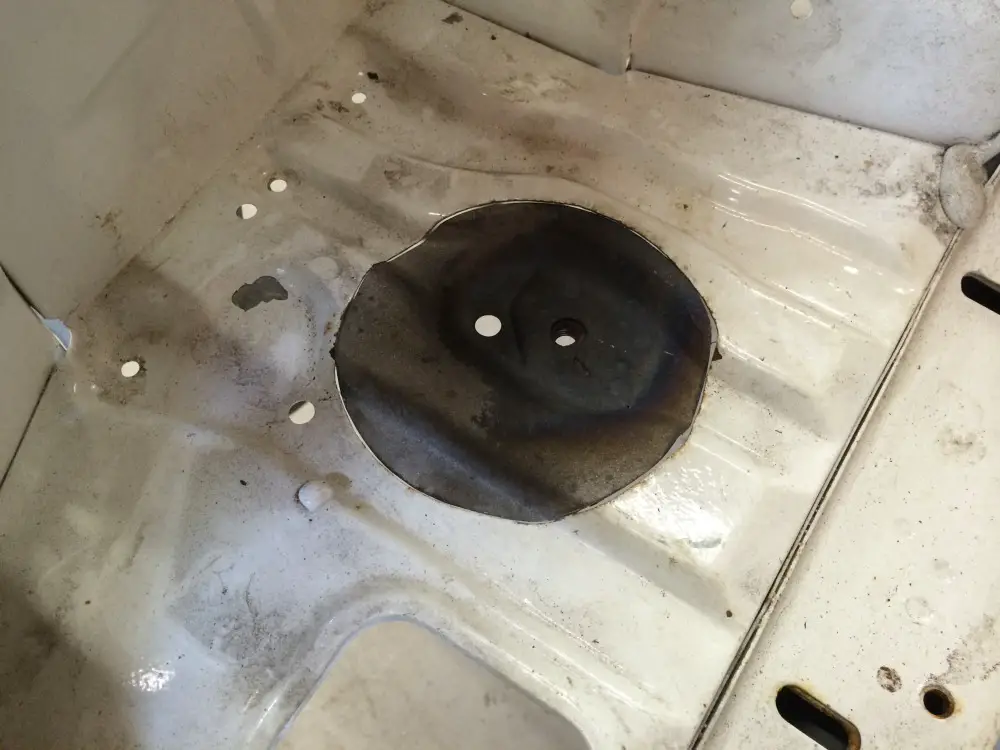
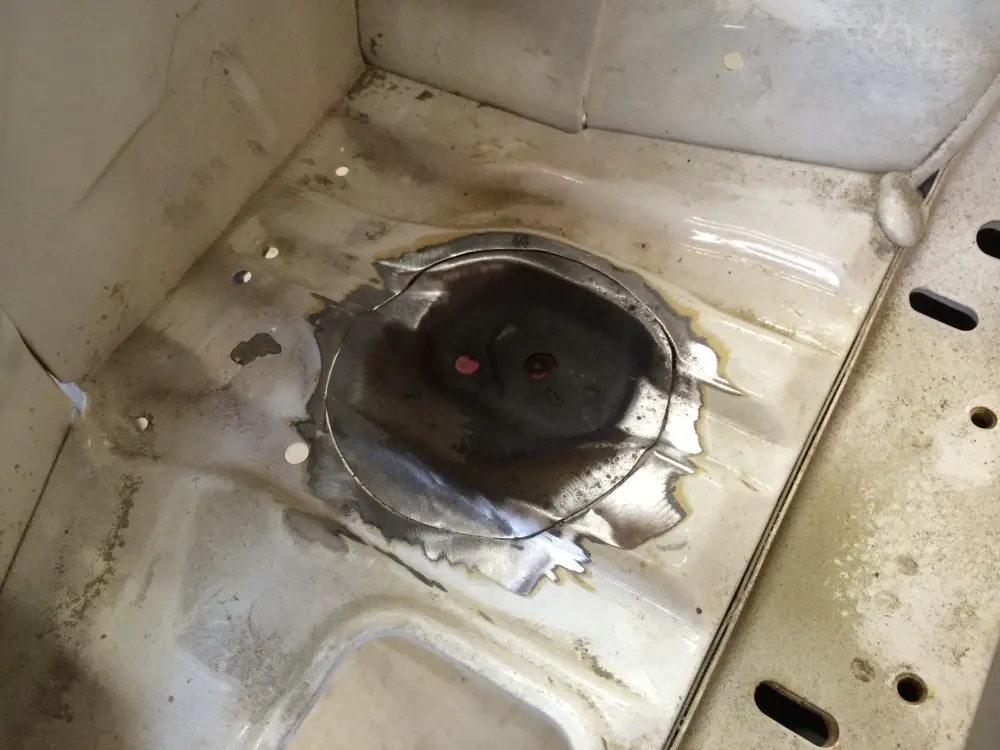
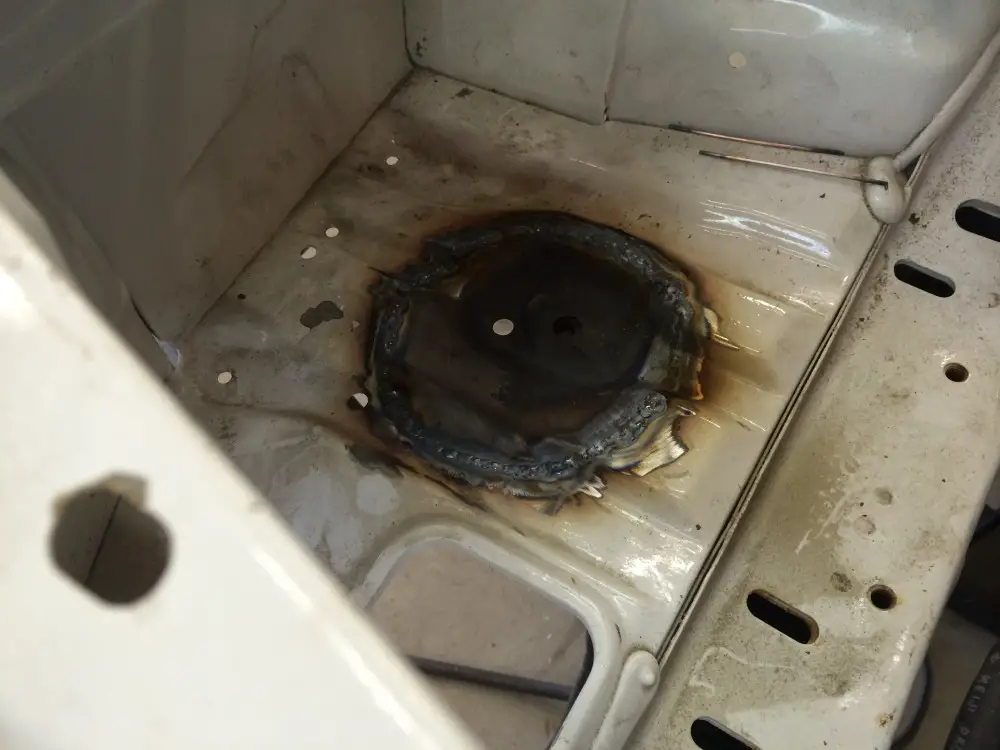
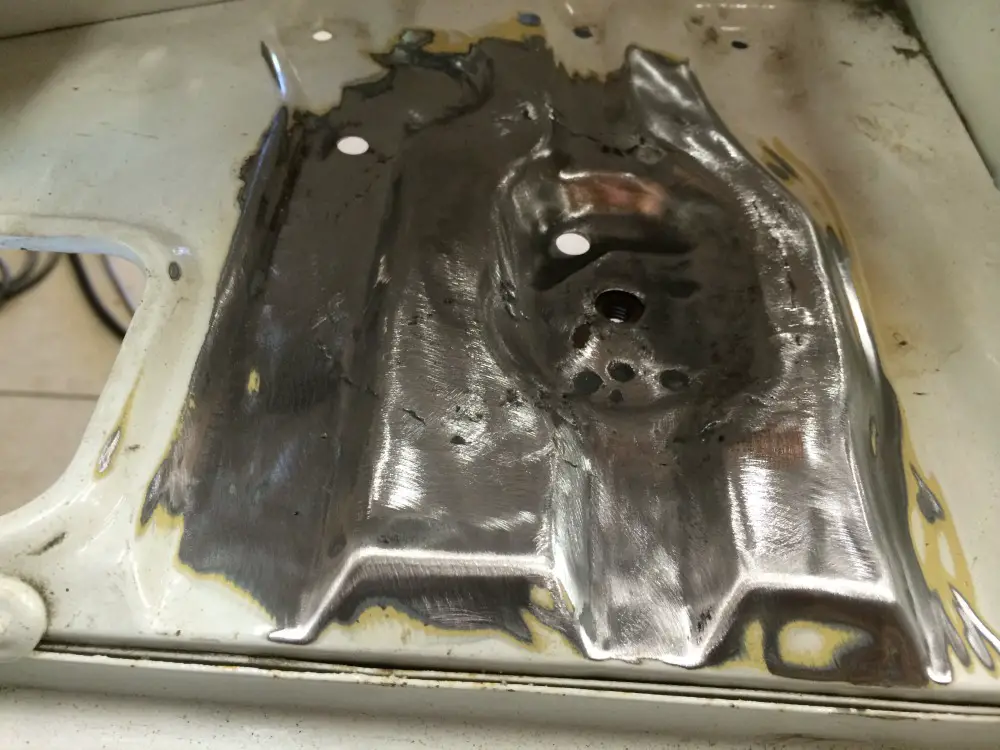
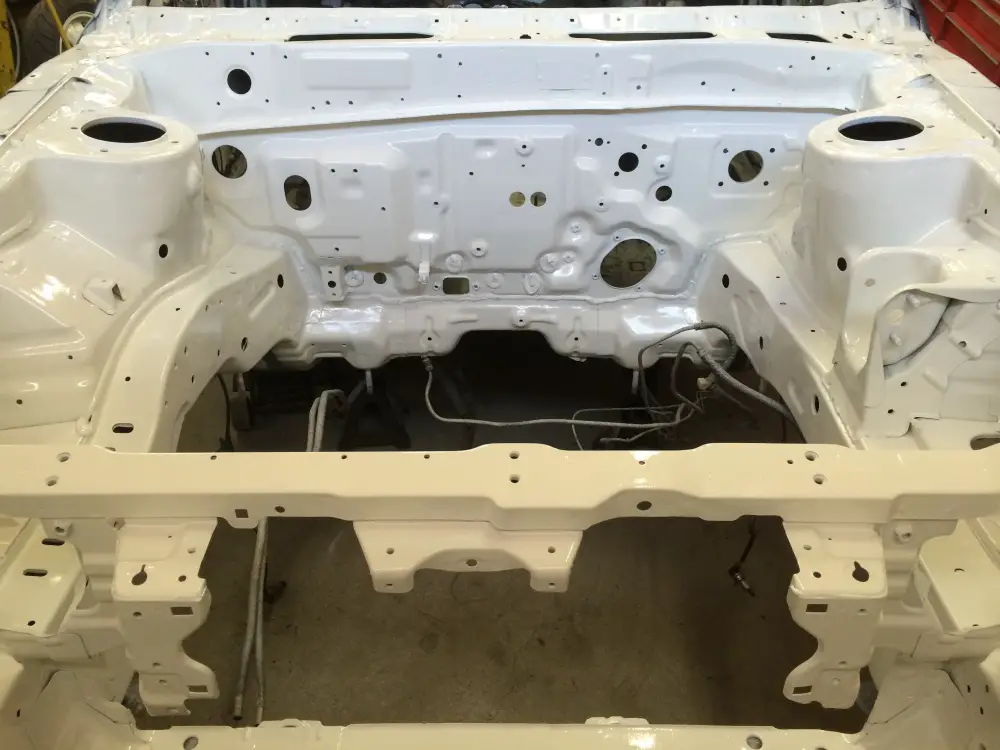
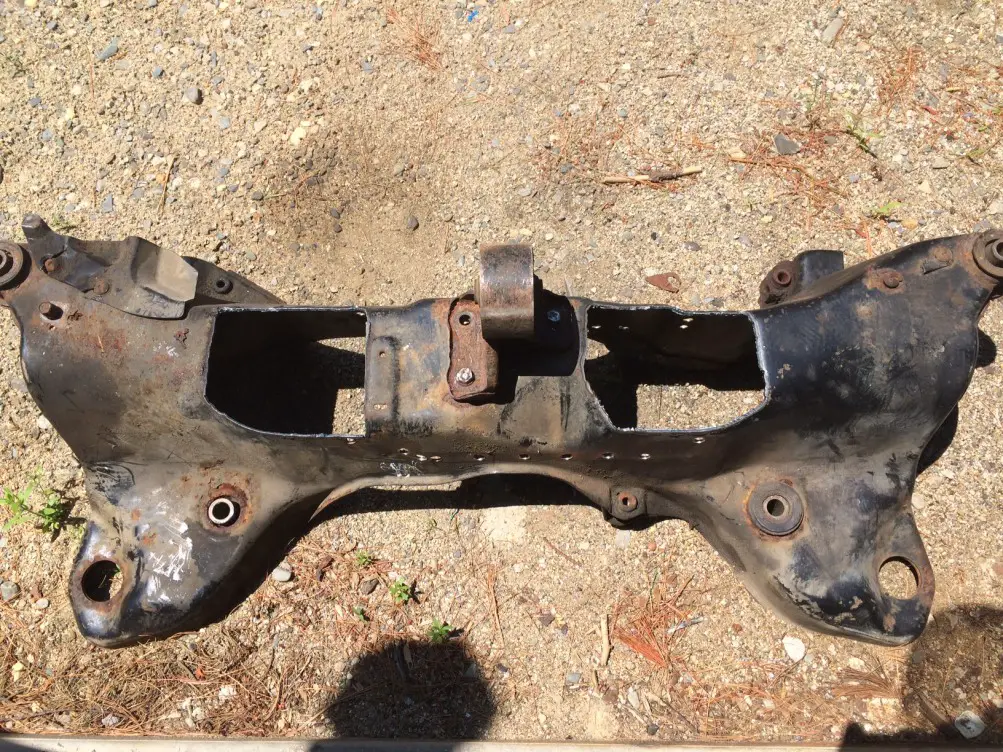
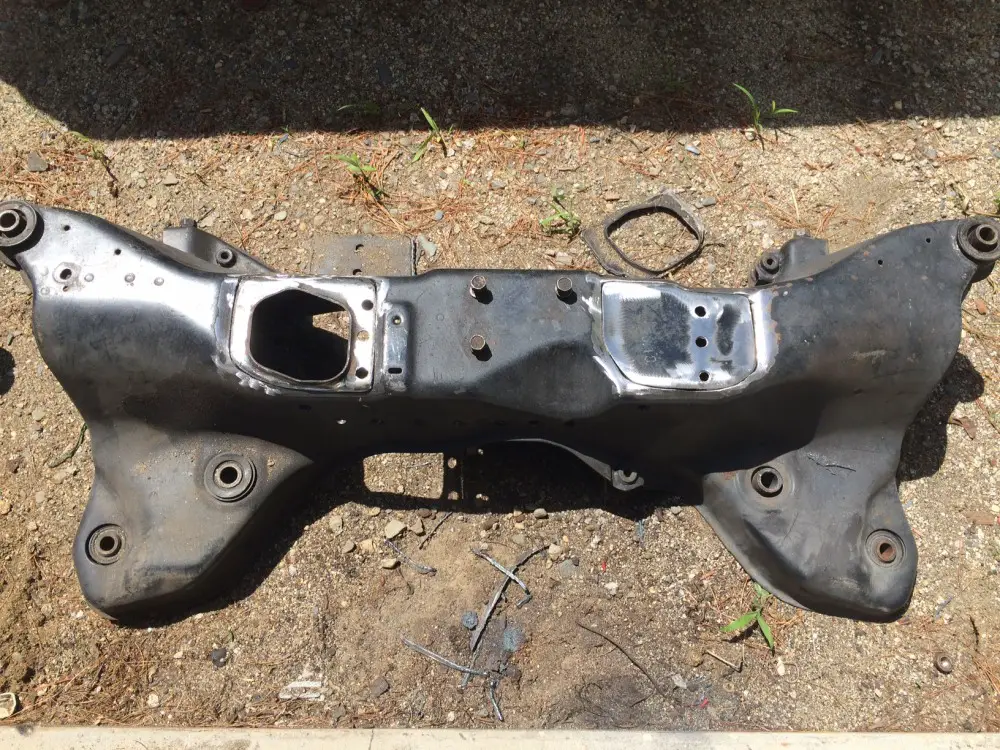
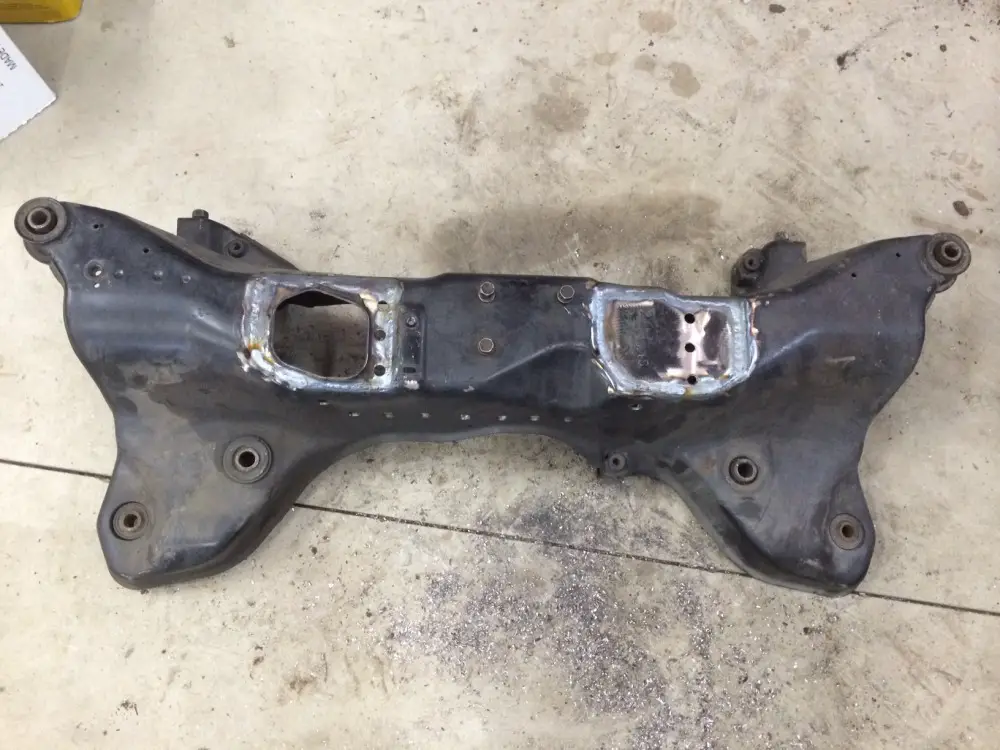
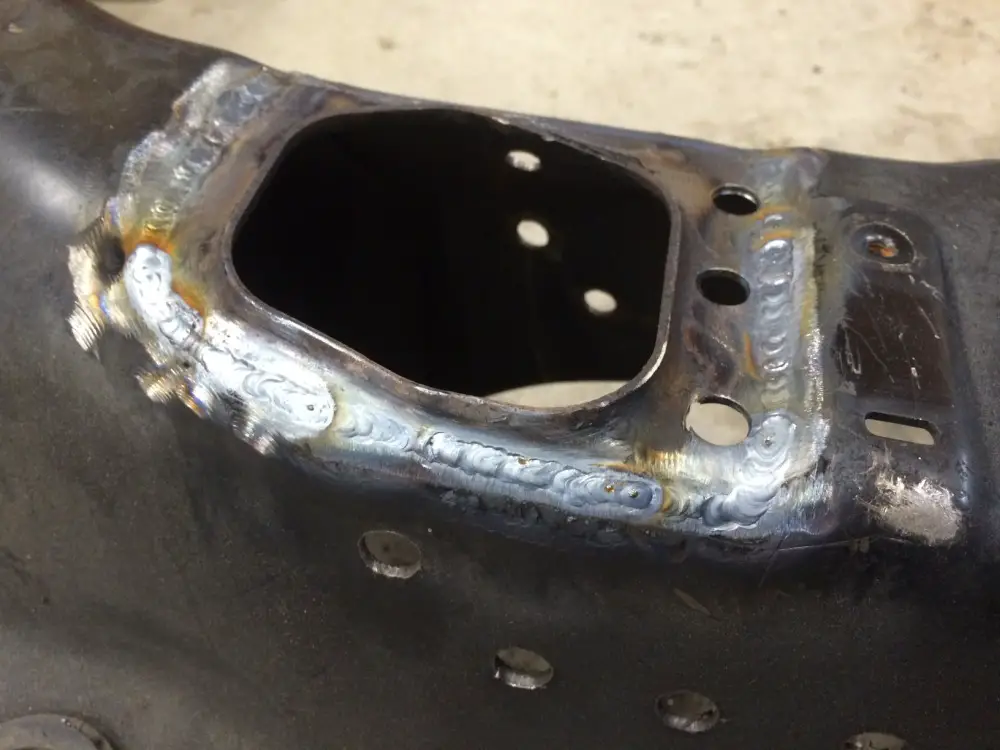
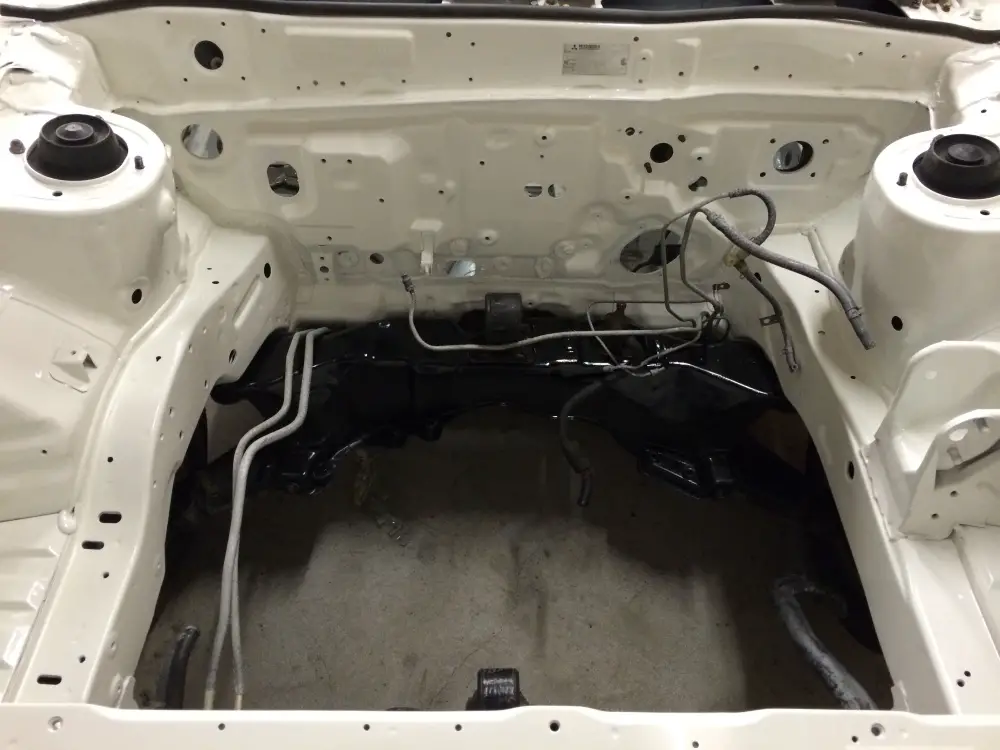
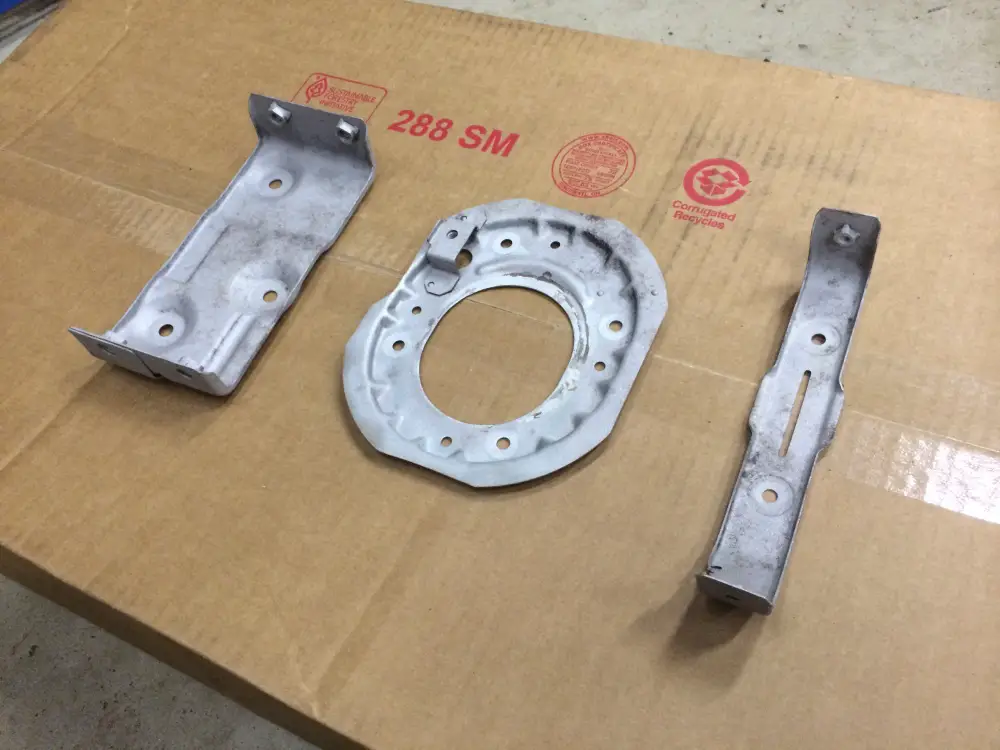
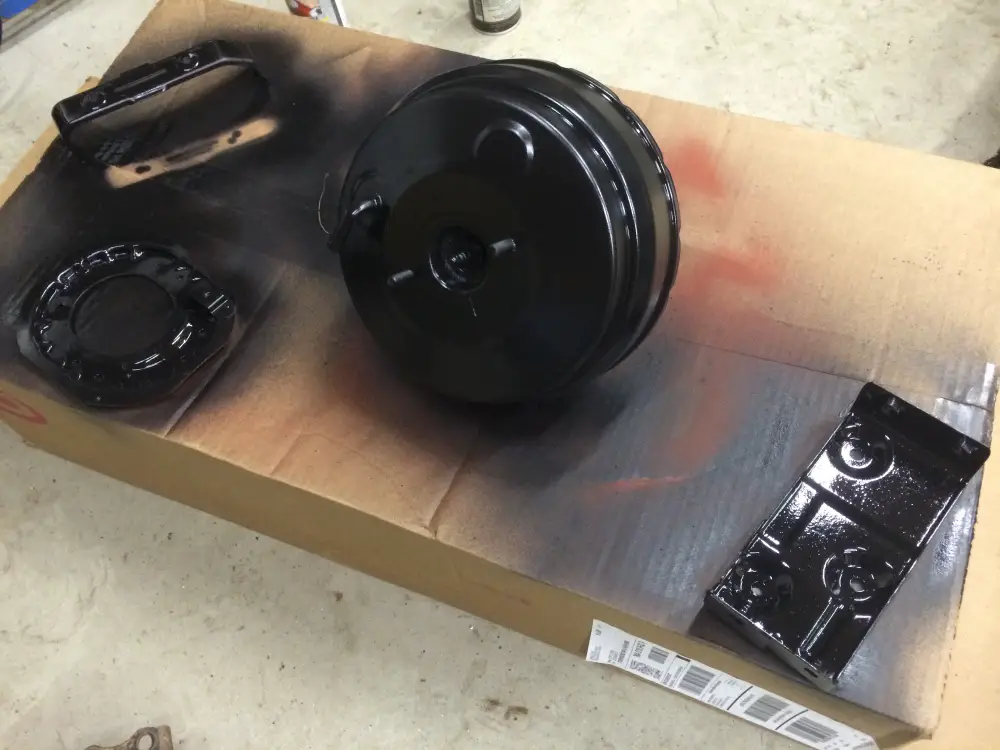
Thanks guys! I hope to have the engine bay sprayed in the next week or so. Once that happens, assembly of the car should go pretty quickly (I hope!). Currently I am planning on selling it when I get it done (crazy I know - but I'm itching to build something from the 1920's). I know I will be losing money (and massive amounts of time) on this project, but it is/has been a really fun challenge for me. I have TIG welded just about everything so far, and gotten much better at TIG'ing because of it. Luckily, I can keep the education forever, and in the process, I will hopefully have put a rare car back on the road again. Once complete, this car should be really, really clean. I'll keep the pictures coming as it progresses!
 

4g63mightymax

Well-known member
Joined
Apr 6, 2013
Messages
195
Location
MA
Tada!

gvr4-rhd-swap-complete.jpg
 

4g63mightymax

Well-known member
Joined
Apr 6, 2013
Messages
195
Location
MA
Thanks! I appreciate it! And now I have a little more for you!

This past weekend:

I cut the Left Hand Drive subframe up (it was totally rotted out on the bottom).

subframe_0.jpg


I test fit the stuff on the RHD one after cutting big holes in it.

subframe_1.jpg


Then I fit the pieces in real proper-like.

subframe_21.jpg


Then I TIG welding the rascal all together.

subframe_3.jpg


welding_2.jpg


welding_1.jpg
 
Last edited:

4g63mightymax

Well-known member
Joined
Apr 6, 2013
Messages
195
Location
MA
Quick update: The subframe is fully welded now, including the steering rack bracket on the bottom. Now I just need to paint the whole thing and then I can finally have this car on 4 wheels again!
 

4g63mightymax

Well-known member
Joined
Apr 6, 2013
Messages
195
Location
MA
Quick update: The subframe is painted, so it should be on 4 wheels again soon.
 

strokin4dr

Well-known member
Joined
Aug 30, 2005
Messages
2,770
Location
Savannah, GA
Excellent work, as always. Love the pic updates.
 

4g63mightymax

Well-known member
Joined
Apr 6, 2013
Messages
195
Location
MA
Well, you are in luck, because the car is on 4 wheels again! Sadly, I don't have a picture yet. Maybe this weekend. We'll see.
 

4g63mightymax

Well-known member
Joined
Apr 6, 2013
Messages
195
Location
MA
Wiring harness & all HVAC parts are now installed. Woo.
 

4g63mightymax

Well-known member
Joined
Apr 6, 2013
Messages
195
Location
MA
Engine bay pic

galant-engine-bay.jpg


Also - I just installed a bunch more under dash junk tonight, and I sandblasted, primed, and painted a bunch of random rusty brackets that will never ever be seen once they are installed. I am not a smart man.

galantbracket_1.jpg


galantbracket_2.jpg
 
Support Vendors who Support the GVR-4 Community
Boosted Fabrication ECM Tuning ExtremePSI Fuel Injector Clinic Jacks Transmissions JNZ Tuning Kiggly Racing Morrison Fabrications RixRacing RockAuto RTM Racing STM Tuned
Top