The Top Mitsubishi Galant VR-4 Resource

Join the best E39A 1991-1992 Mitsubishi Galant VR-4 community and document your GVR4 journey.

  • Software Upgraded - Reset Your Password to Login
    In order to log in after the forum software change, you need to reset your password. If you don't have access to the email address you used to register your GVR4.org account, you won't be able to reset your password. In that case, follow the instructions here to regain access to the forum.

GST with PSI's build & restoration of 1813

citymunky

Well-known member
Joined
Sep 22, 2010
Messages
1,761
Location
Chesapeake, VA
Man this sucks. I know the feeling too.
 

G

Staff member
Joined
Feb 24, 2004
Messages
8,896
Location
zompton
Looks to me like the wrong bearing was used. What kind of bearing is that?
 

GSTwithPSI

Well-known member
Joined
Jan 1, 2012
Messages
3,461
Location
SoCal
It was a standard size rod bearing according to the receipts I got with the car when I bought it. The receipt says part number RB105, brand name DNJ. It was purchased here: click . I just can't see any way that a bearing failure could cause a rod bolt to fall out of the rod entirely intact. It only makes sense for it to happen the other way around, otherwise they would have both been sheared off like the one in the pic.
 

G

Staff member
Joined
Feb 24, 2004
Messages
8,896
Location
zompton
Never heard of them, looks chinese. I do believe that bearing is missing an oil hole. You buy cheap you buy twice.
 

GSTwithPSI

Well-known member
Joined
Jan 1, 2012
Messages
3,461
Location
SoCal
Well it had an oil hole, but that was before it got fried click . I agree, if you buy cheap you buy twice, but I didn't build the bottom end or purchase the bearings it was built with. I won't make that mistake twice though. Regardless, the bearing quality isn't what caused the failure IMO.
 

GSTwithPSI

Well-known member
Joined
Jan 1, 2012
Messages
3,461
Location
SoCal
So I decided to suck it up and buy all the tools I need to rebuild my bottom end myself.

-Fowler outside micrometers: 2-6 inch
-SPI Vee block set
-Starrett small hole gages
-Starrett inside tubular micrometers
-Brown and Sharp telescoping gages
-Brown and Sharp dial indicator


I should be pulling the motor tomorrow, and starting the rebuild shortly after. I can't wait to put this stuff to work.
 

iceman69510

Turn Right Racing
Staff member
Joined
Mar 5, 2001
Messages
10,964
Location
Michigan
Wow, nice tool collection! Jealous.
 

GSX_TC

Well-known member
Joined
Apr 7, 2011
Messages
3,725
Location
Houston, Texas
Nice tools Brett, that's some professional stuff right there.
 
Last edited:

G

Staff member
Joined
Feb 24, 2004
Messages
8,896
Location
zompton
I don't see where the oil hole could be on that bearing. Should be in the middle.
 

GSTwithPSI

Well-known member
Joined
Jan 1, 2012
Messages
3,461
Location
SoCal
I finally got the motor back out again and torn all the way down. The crank is trashed, and so was the number 4 rod and piston. The good news is I found out that my motor was previously built with 2G Ross racing pistons and not stock 2G pistons. On a bad note, rather than replacing a 2g OEM piston, I had to custom order a single piston from Ross, which cost me ~$150. I had a 1G spare rod laying around, and had the machine shop bore it over to accept the larger 2g wrist pin.
WP_000606.jpg

WP_000607.jpg

WP_000613.jpg


The worst part about all this is that fact that all the money I just spent on gaskets, oil and consumables is all down the shitter. I just ordered new Felpro gaskets again, as well as ANOTHER new oil pan. I decided to cut my losses and went ahead and ordered a new crank too. All that's left now is finding 2 ARP rod bolts and nuts. I'm already planning on having to suck it up and buy a whole set to get the 2 I need. I stripped down the block, cleaned it and gave it another fresh coat of high temp paint. I scraped and cleaned all the sealing surfaces, and installed the ARP head and main studs. I'm pretty much just waiting on parts so I can balance everything, reassemble and get it back in the car.
WP_000624.jpg

WP_000625.jpg

WP_000621.jpg


One of the things doing this again allows for is fixing all the little things I wish I caught the first time around. The oil plug for the BSEK was one of the things that I wanted to fix. The plug popped out twice after the build, and I got really tired of dealing with the oil leak it caused. When I pulled the motor, I found out why the plug kept popping out. The lip that holds the plug was fractured. I easily pulled the cracked part off with my hand, and as the first pic shows, half of the lip came off. I ground the rest of the lip off flat, and cleaned it up good to repair it. I sealed it up with a large washer and JB Weld. I then used a nut and bolt to tighten the washer against the cover to seal, and keep the washer snug in place. The end result looked tight, and I think it will hold up great without any leaks.
WP_000622.jpg

WP_000623.jpg

WP_000626.jpg

WP_000629.jpg

WP_000627.jpg


Lastly, I gave the engine bay another good wash to get it all ready to drop the motor back in.
WP_000630.jpg
 

G

Staff member
Joined
Feb 24, 2004
Messages
8,896
Location
zompton
That's definitely going to vibrate lose. Might want to spot weld that bolt and nut.
 

Vr4junkie

Well-known member
Joined
Jun 25, 2011
Messages
596
Location
Some wack town in CA
What I never knew you could use forged pistons on stock 1g rods are these C clips or Push in pins?

can't belive they cheaped out on the bearings I used a DNJ head gasket and crap lasted 20mi before it leaked into cyl#4 I got an extra set of ACL aluglide rod and main bearings you can have if u havent ordered some yet.
 
Last edited:

DynastyLCD

Well-known member
Joined
May 12, 2006
Messages
761
Location
Harwinton, CT
you can machine the rods for use with free-floating pistons. i have a set of 1g rods that were machined for 22mm free-floating 2g/Evo pistons. then you just use the pins provided with the forged pistons, and voila!
 

GSTwithPSI

Well-known member
Joined
Jan 1, 2012
Messages
3,461
Location
SoCal
The Ross pistons use "spirolox" to retain the wrist pin. The wrist pin is completely free floating in the setup, and isn't pressed into the rod or piston. The end result is a 2G forged Ross piston on a stock 1G rod.
 
Last edited:

GSX_TC

Well-known member
Joined
Apr 7, 2011
Messages
3,725
Location
Houston, Texas
hey Brett, remeber these pics man? that was one hell of a meet huh /ubbthreads/images/graemlins/grin.gif I kinda miss Cali... /ubbthreads/images/graemlins/frown.gif

IMG_1859.jpg


IMG_1863.jpg


IMG_3087-5.jpg
 
Last edited:

GSTwithPSI

Well-known member
Joined
Jan 1, 2012
Messages
3,461
Location
SoCal
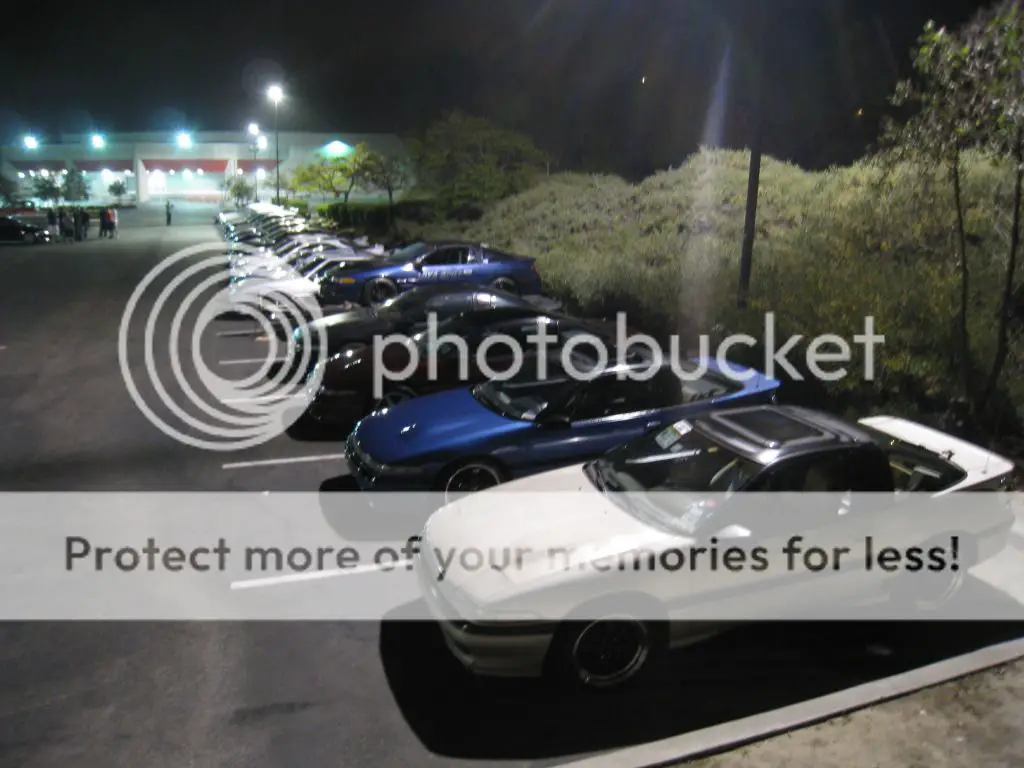
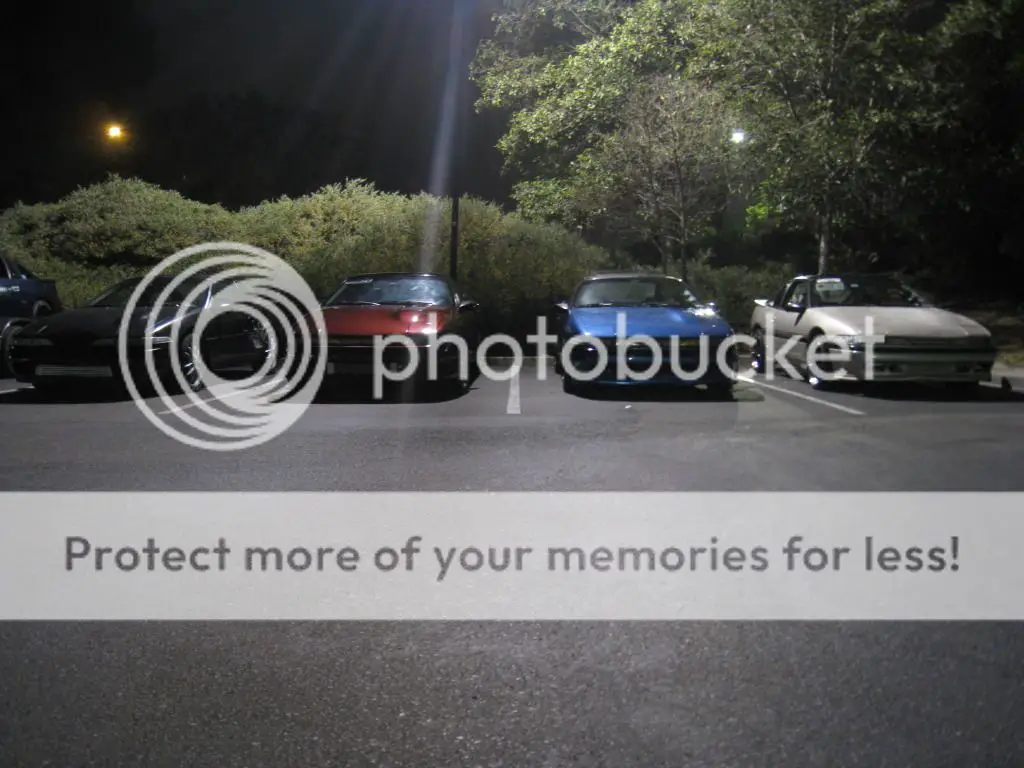
^^^Yeah Mike that was a pretty sweet meet. I really like the wine colored 1G next to mine, I always thought that was such a nice color on the first gen cars. Hopefully I get the VR4 in on the action next time!

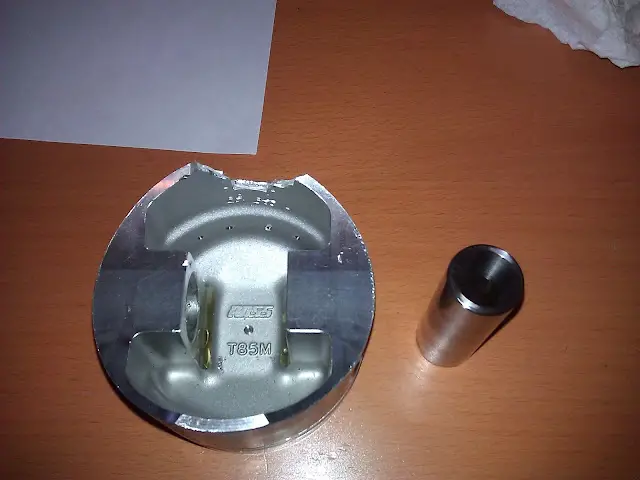
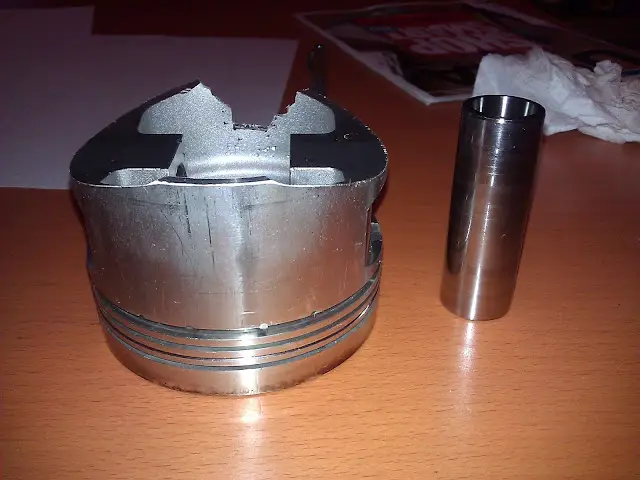
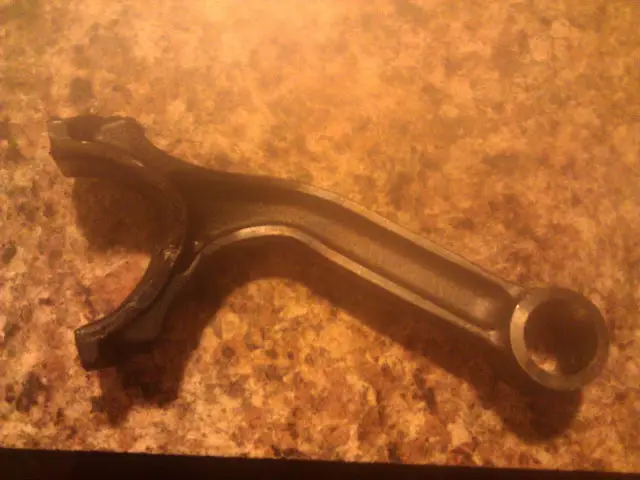
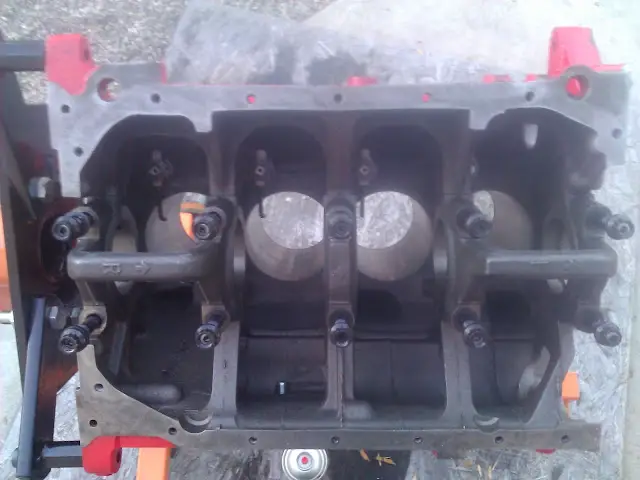
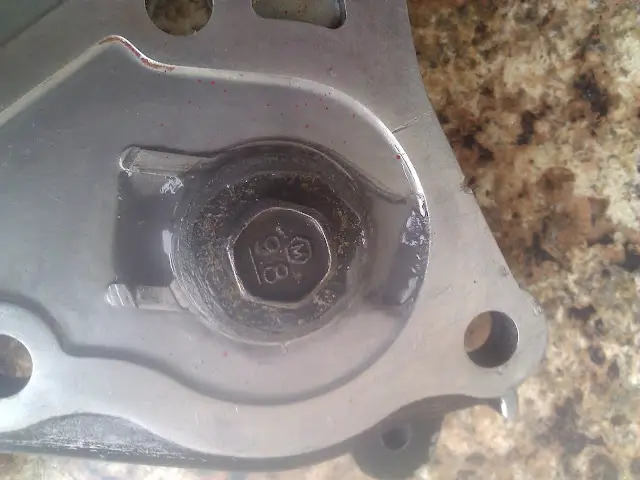
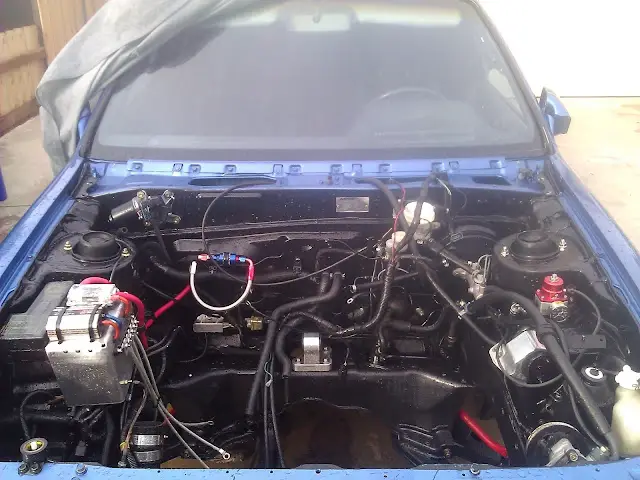
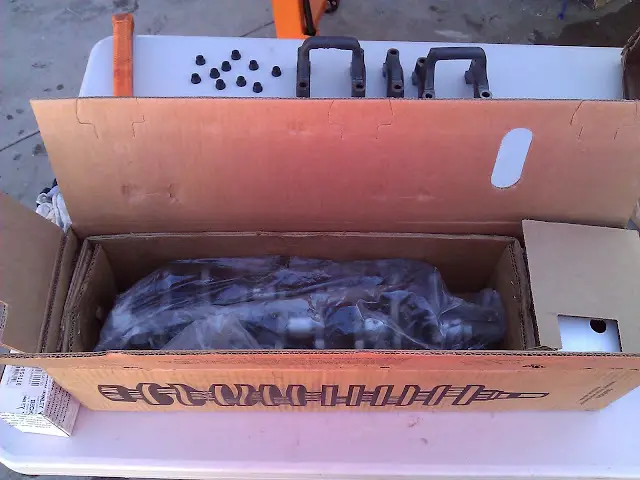
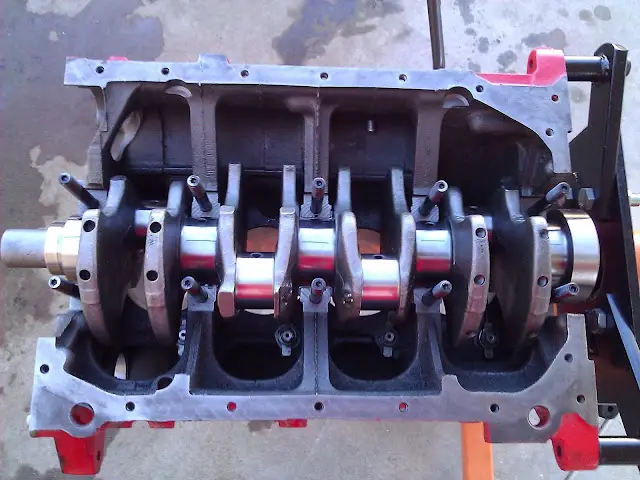
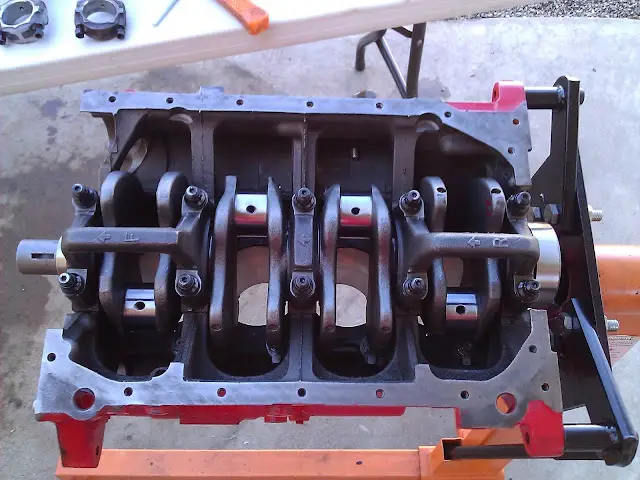
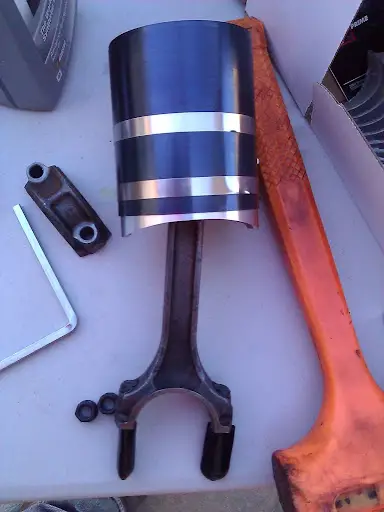
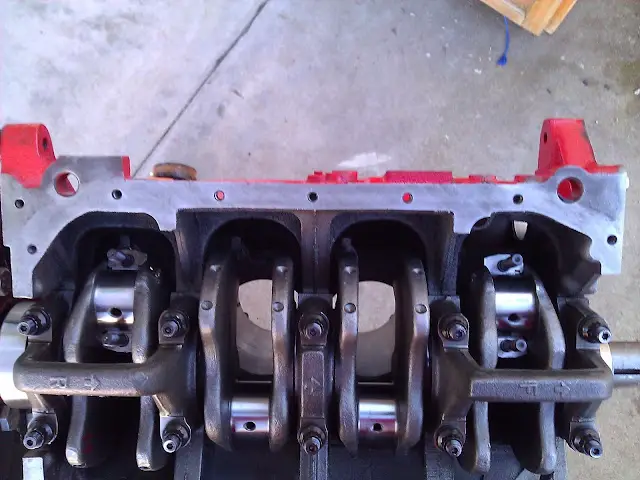
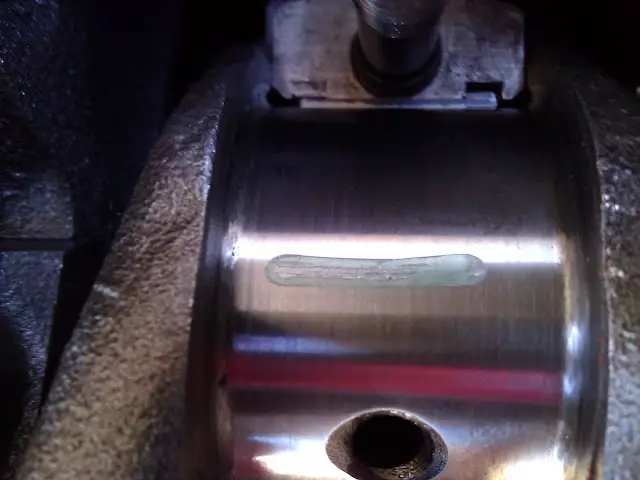
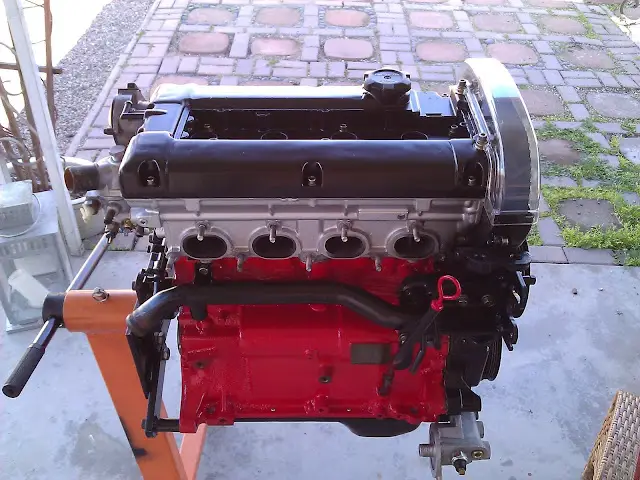
Speaking of getting the VR4 back in action, I got to make a little progress today. I got my replacement rod back from the machine shop, and could finally balance all the rotating components. I washed everything, and removed all the dirt and carbon form the pistons. I weighed the wist pins and pistons, all of which weighed exactly the same. It appears Ross makes a very refined product. Next, I assembled the rods and weight matched the little ends. After that, I weighed the whole rod and weight matched them once again, this time removing material from the big end. The only difficult part of this process is matching the little end weight of the rods, while at the same time maintaining the overall rod weight. For instance, I would have one rod with a little end that was a few grams to heavy. I would then remove some material from the small end, but by doing so the overall weight would be off a little. It's a delicate balance that takes some practice to get the hang of, but it is much easier than it sounds. It's not hard, but a time consuming process of taking off material, weighing the rod, then rinse and repeat time and time again until it is absolutely perfect. I didn't have a belt sander to remove material like most machine shops do, but an angle grinder worked just fine. I just took my time, removed metal evenly and polished each rod with some sand paper at the end to give each rod a nice finish. End result was
 

GSTwithPSI

Well-known member
Joined
Jan 1, 2012
Messages
3,461
Location
SoCal
I finally got my new crank in the mail, so I assembled the motor this past weekend. New crank installed with new ACL bearings.
WP_000667.jpg

WP_000659.jpg

WP_000668.jpg


I double checked all the rod and main caps with Plastigage. All my tolerances were under .0020" (Measured and Plasitgaged').
WP_000669.jpg


Main caps
WP_000671.jpg

WP_000672.jpg

WP_000673.jpg

WP_000674.jpg

WP_000676.jpg


2 pistons in, checking the rod cap oil clearance.
WP_000677.jpg

WP_000678.jpg

WP_000680.jpg

WP_000679.jpg


All new Fel-Pro gaskets...again.
WP_000681.jpg

WP_000682.jpg

WP_000683.jpg


I did have a few new additions to the build this time around. HKS 264/272 cams, AEM Tru-Time adjustable cam gears, 90 OFH with B&M oil cooler, TB FIAV block-off plate, Zaklee clear cam cover and a Fluidampr crank pulley for all the haterz.
WP_000684.jpg

WP_000685.jpg


New oil pan number 2, since the last one lasted 4 days before I shot a rod through it. FML.
WP_000686.jpg


The bottom end is all assembled, ready to be buttoned up.
WP_000687.jpg

WP_000688.jpg


All done.
WP_000689.jpg

WP_000690.jpg

WP_000691.jpg

WP_000692.jpg
 

G

Staff member
Joined
Feb 24, 2004
Messages
8,896
Location
zompton
Yo, you don't need an oil pan gasket.
 

GSTwithPSI

Well-known member
Joined
Jan 1, 2012
Messages
3,461
Location
SoCal
Quoting G:
Yo, you don't need an oil pan gasket.


It comes in the kit, so might as well use it. If nothing else, it makes the oil pan easier to remove in the future.
 
Support Vendors who Support the GVR-4 Community
Boosted Fabrication ECM Tuning ExtremePSI Fuel Injector Clinic Jacks Transmissions JNZ Tuning Kiggly Racing Morrison Fabrications RixRacing RockAuto RTM Racing STM Tuned
Top