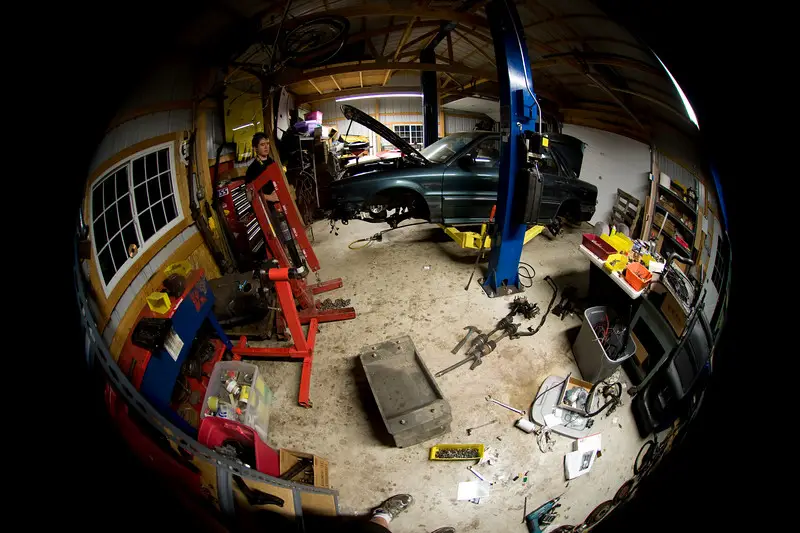
Quoting NateCrisman:
Yes it's expensive, but I'm a photographer for my job. It has some features that I really take advantage off: dual card slots for duplication, "all day" battery, 9fps speed, insane ISO and dynamic range (blows away film), 300k click shutter life. I could make due with just about anything, but camera bodies that last more than a year are worth having when I use it this much. And obviously when Im relying on the camera for very important event coverage, reliability is of utmost importance. The D3 is more than robust in build quality. My D90 by comparason is a plastic toy that won't survive much abuse. My D3 has shot for hours in pouring rain at motocross races, covered in dust and mud. I have heard of a wedding photog that fell in a hottub at a wedding hotel and a D3/70-200 went under and survived to shoot the rest of the event.
Anyway, yes Im a camera dork, but I don't have a $5000 camera body for shooting pictures of my dog in the backyard. I make my living with this thing, as meager as it is.
Oh believe me I know that the D3 is the jamn and that your a photographer. I know what it is capable of! I just didn't even consider it because 1.) I am not a professional and 2.) I am unemployed and although I have well over 5k in the bank, its not for a camera.
That said when you need it, you need it! And more power to you for owning one. /ubbthreads/images/graemlins/wink.gif