The Top Mitsubishi Galant VR-4 Resource

Join the best E39A 1991-1992 Mitsubishi Galant VR-4 community and document your GVR4 journey.

  • Software Upgraded - Reset Your Password to Login
    In order to log in after the forum software change, you need to reset your password. If you don't have access to the email address you used to register your GVR4.org account, you won't be able to reset your password. In that case, follow the instructions here to regain access to the forum.

GST with PSI's build & restoration of 1813

GSTwithPSI

Well-known member
Joined
Jan 1, 2012
Messages
3,461
Location
SoCal
I finally got the mounts all in. I had to do some serious modifications to the driver side mount for it to even be close to fitting. Even then, getting them all in was such a pain. But, they are all in and bolted down. The motor sits TIGHT! I mean you can grab the head and shake the sh*t out of it and the motor doesn't even budge. I'm not sure how this is going to effect drive-ability or how badly the vibrations are going to be. To be honest, I'm a little worried about how rough rigid these mounts are. I guess we'll see how this plays out for daily driving conditions. I'm glad to be over this obstacle though, and am hoping the remainder of the motor install is all down hill from here. I have a 3 day weekend coming up so I guess I'll find out soon enough.
 

GSX_TC

Well-known member
Joined
Apr 7, 2011
Messages
3,725
Location
Houston, Texas
Well if you don't like how much vibration they make I'll happily buy them off you since I was planning on picking up a set anyways. But hopefully they won't shake you to death lol
 

GSTwithPSI

Well-known member
Joined
Jan 1, 2012
Messages
3,461
Location
SoCal
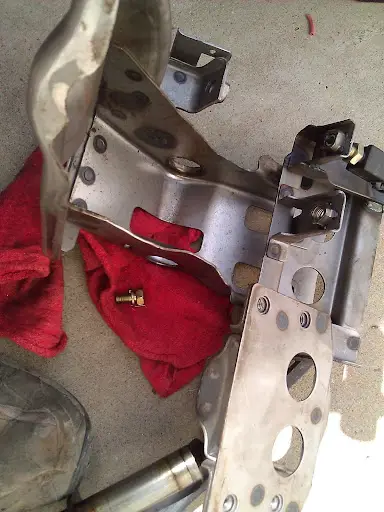
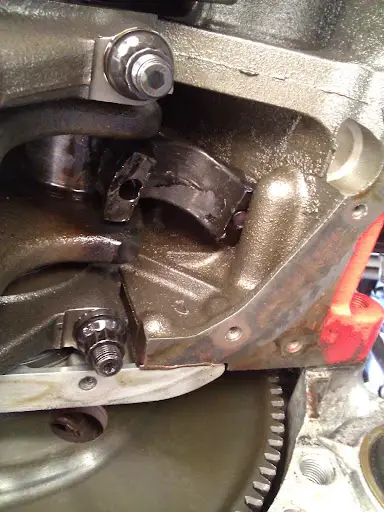
Progress has been coming along well since I have dealt with the motor mount issue. The motor is in and I have started to get things back together in hopes of having a running VR4 by next week.


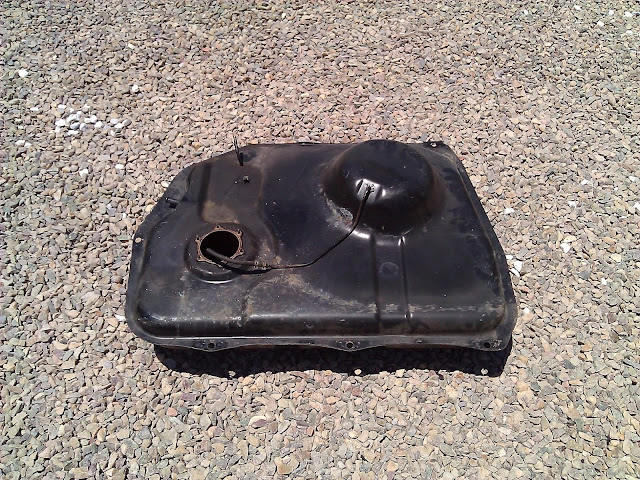
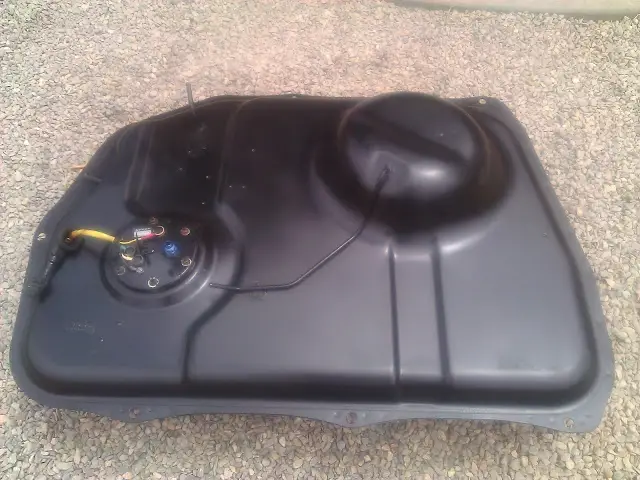
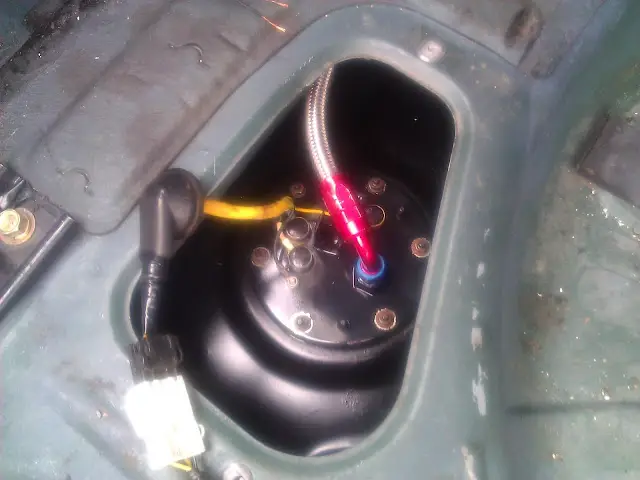
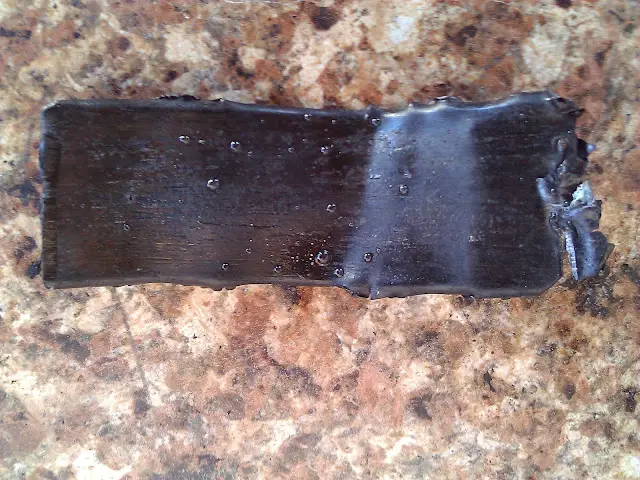
I completed the rear half of the fuel system. Here's the tank before:
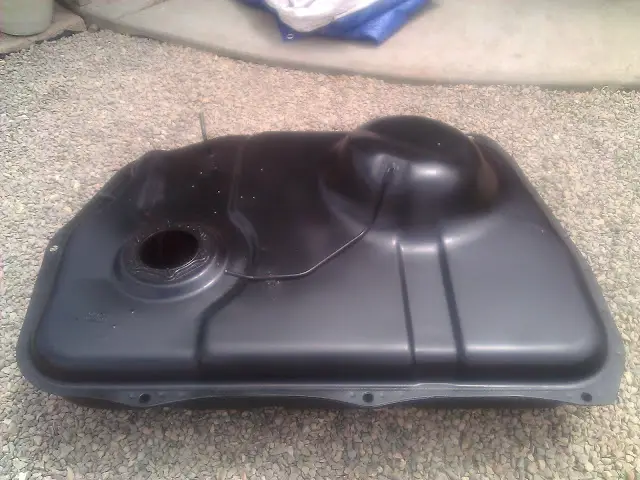
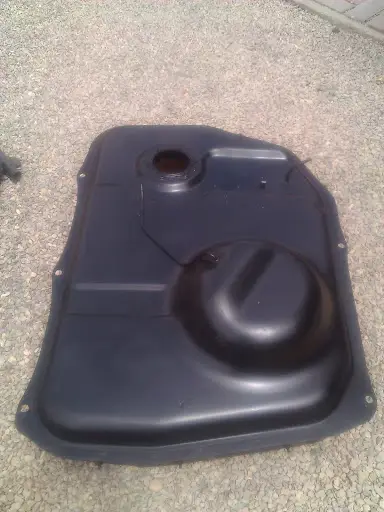
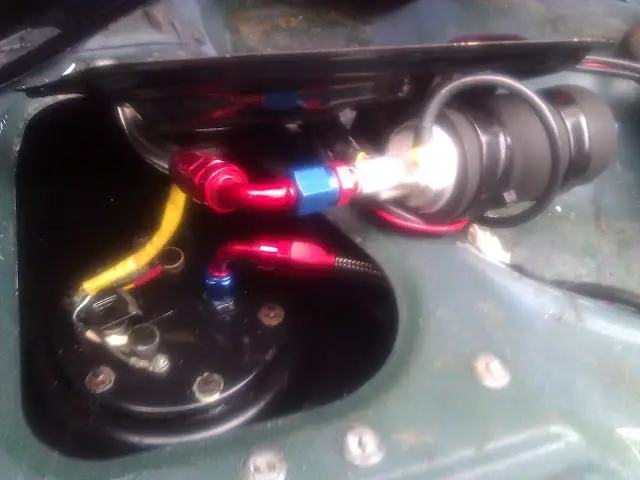
WP_000138.jpg


After:
WP_000286.jpg

WP_000287.jpg


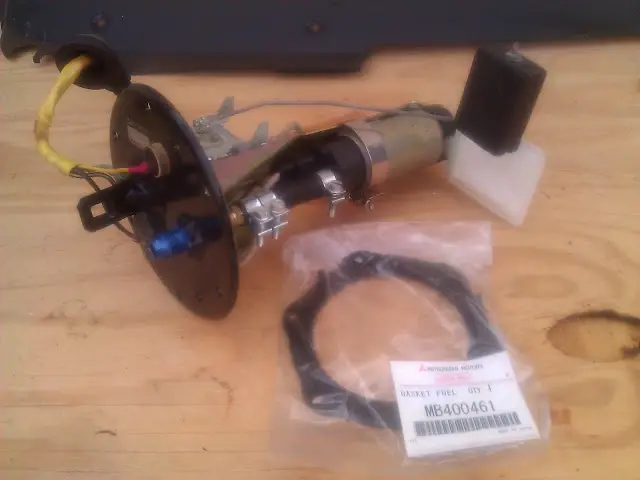
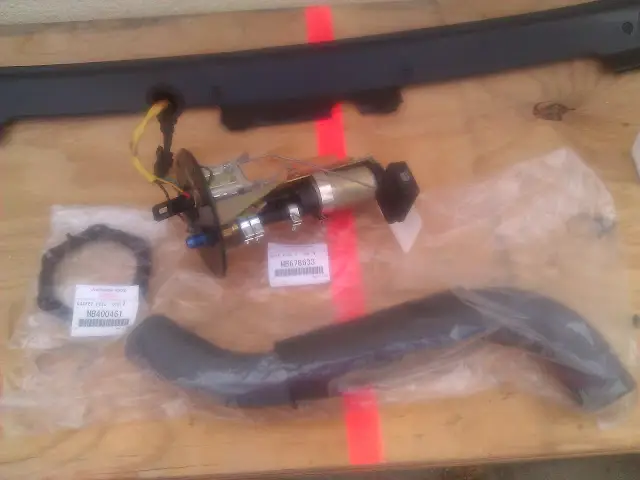
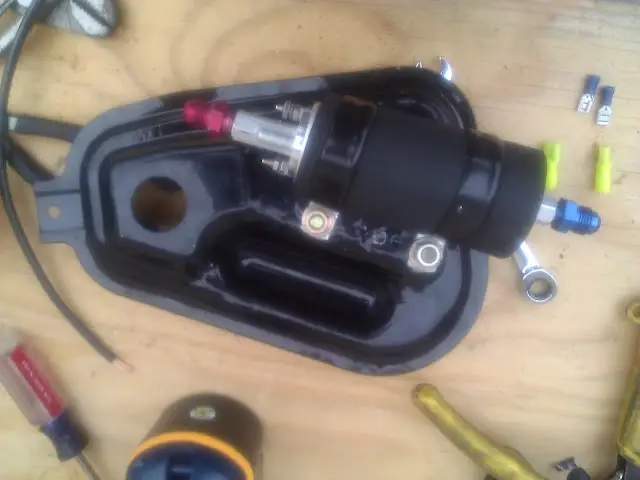
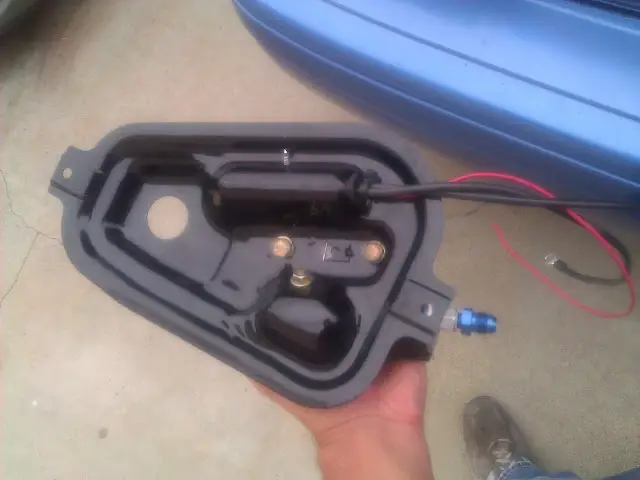
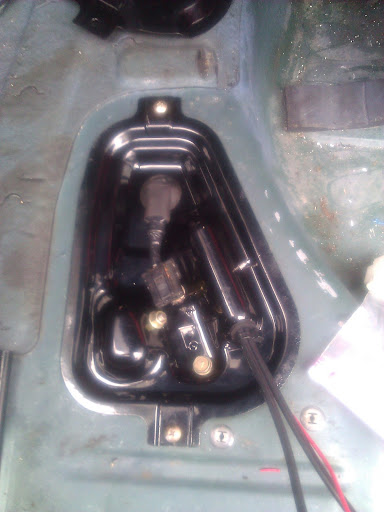
Here's the re-done pump assy and new OEM Mitsu tank gasket.
WP_000289.jpg


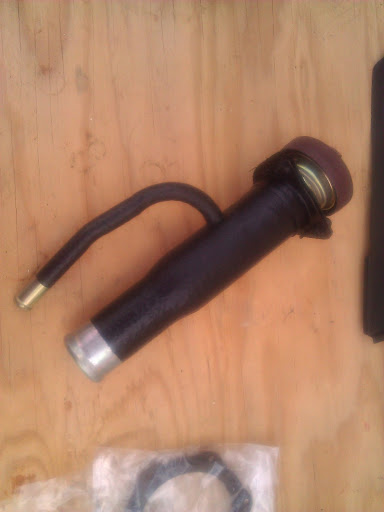
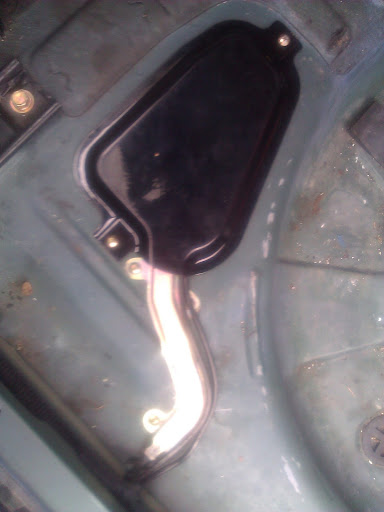
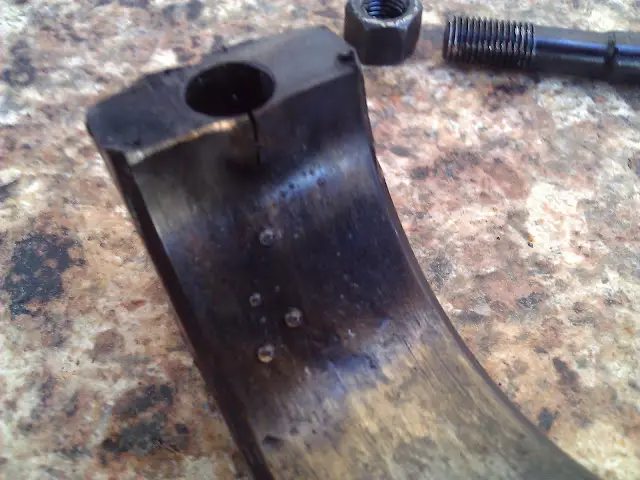
I also replaced the fuel filler hose:
WP_000290.jpg


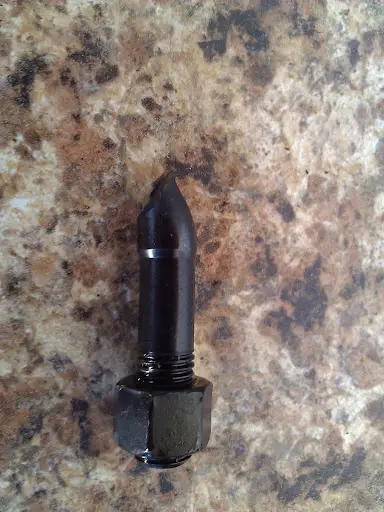
Cleaned and painted the filler neck:
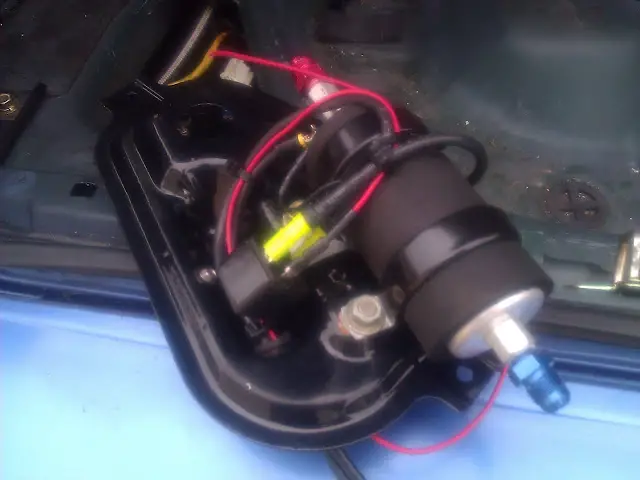
WP_000292.jpg


Final product:
WP_000293.jpg

WP_000295.jpg

WP_000296.jpg

WP_000297.jpg


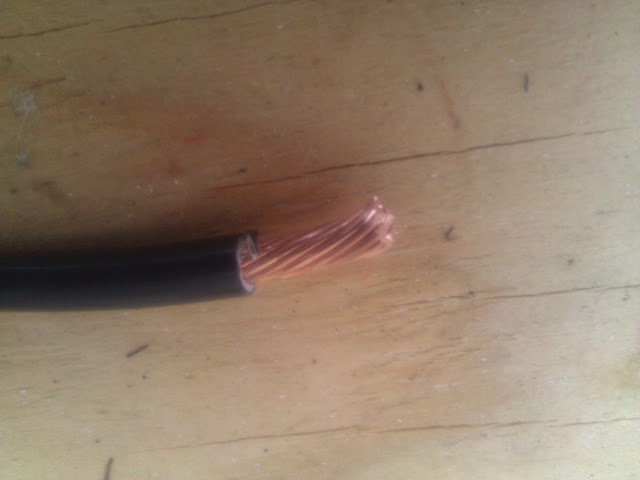
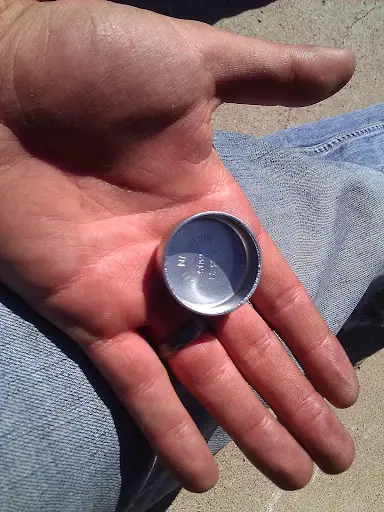
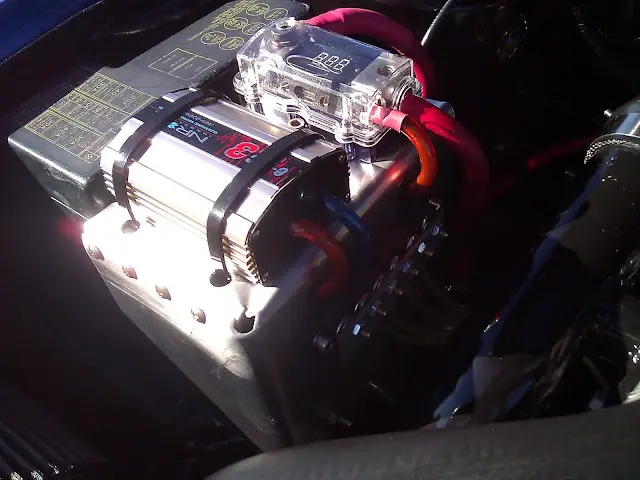
My fuel setup consists of the OEM in-tank pump and an external Walbro 255. The stock pump acts only as a lift pump. I made a custom mount for the 255 on the fuel pump access cover and attached it there. I also did a re-wire for the Walbro using some large 10 gauge wire. Everything is still mounted externally and is all hidden when buttoned up. I was really happy with how it turned out. Hopefully it works as well as it looks.
WP_000301.jpg

WP_000303.jpg

WP_000305.jpg

WP_000306.jpg

WP_000308.jpg

WP_000309.jpg

WP_000310.jpg

WP_000312.jpg


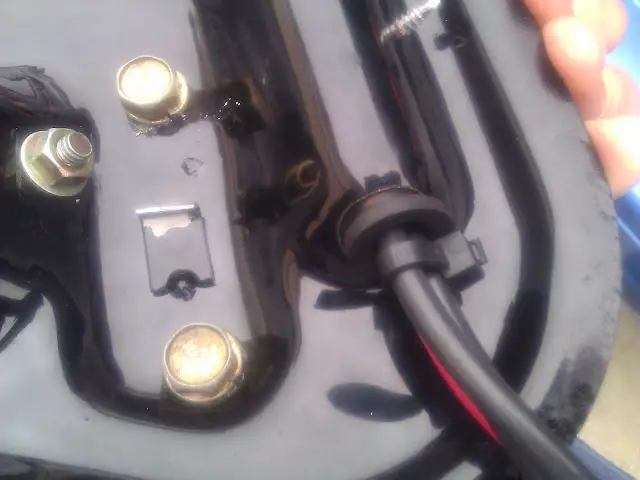
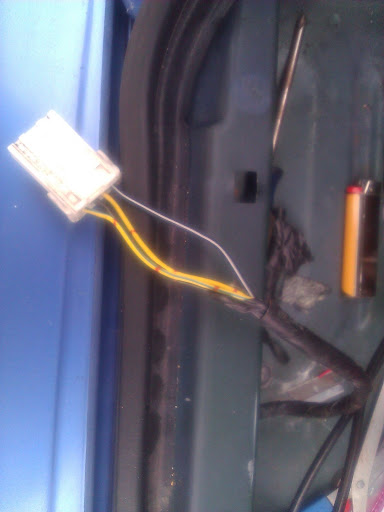
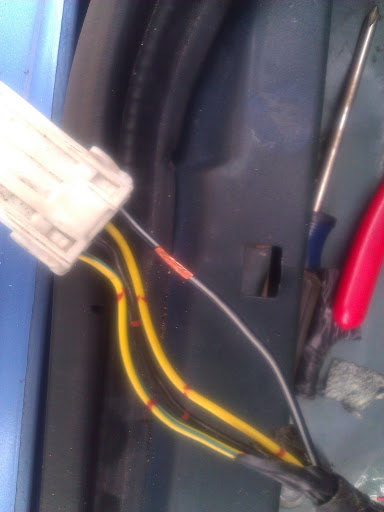
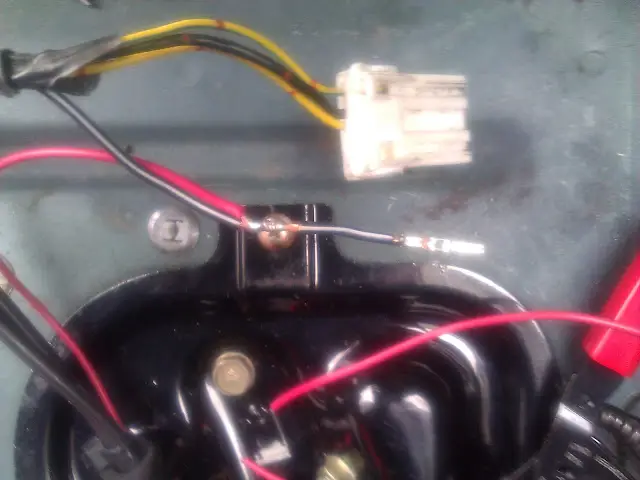
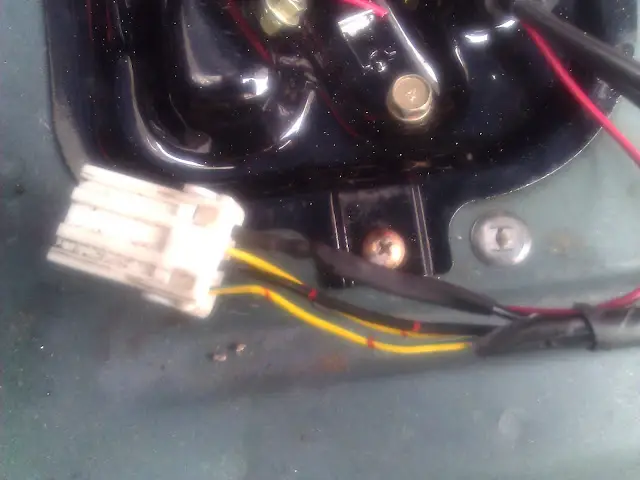
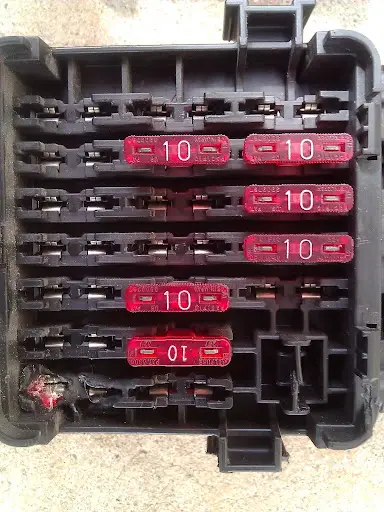
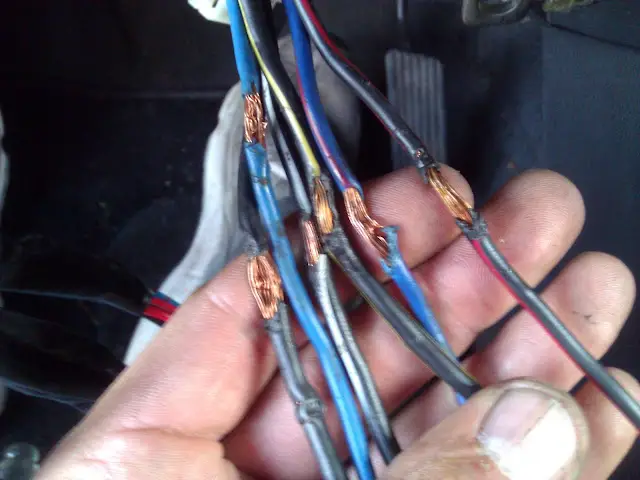
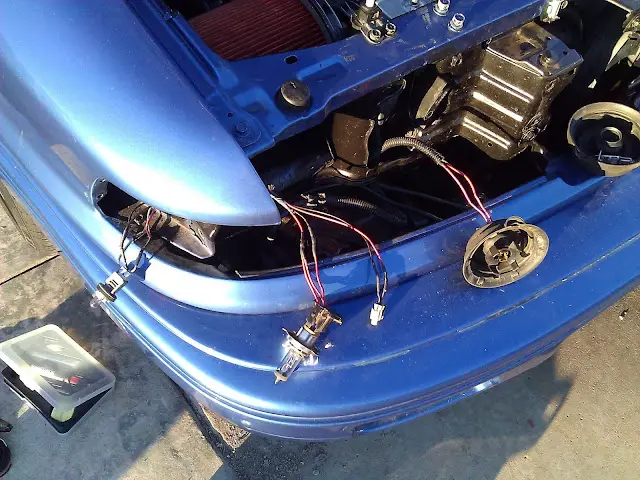
To run the relay for the re-wire, I had to splice into the factory harness for a 12v source that's hot when the car is on. I made a solder connection and used some heat shrink to weather proof my new connection. I just took the pin out of the connector to get the heat shrink on.
WP_000313.jpg

WP_000314.jpg

WP_000315.jpg

WP_000316.jpg

WP_000320.jpg


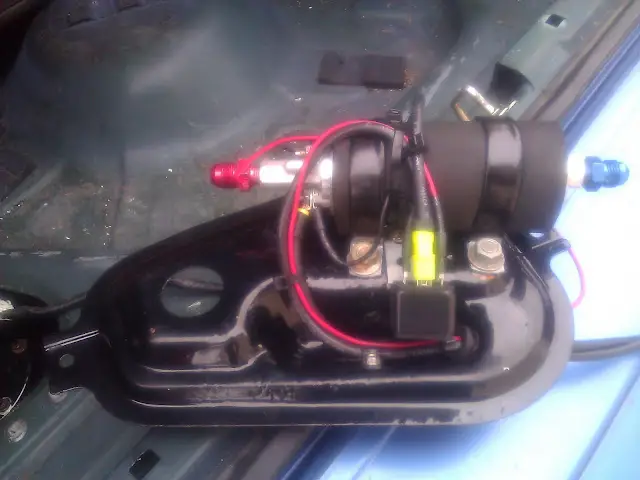
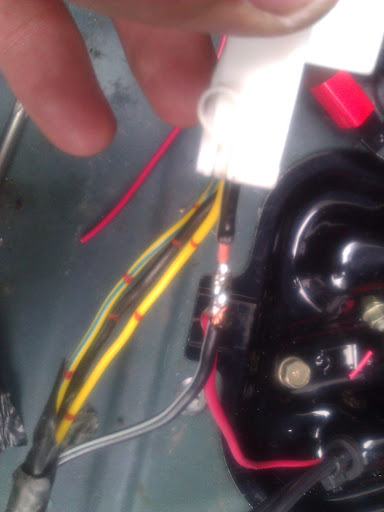
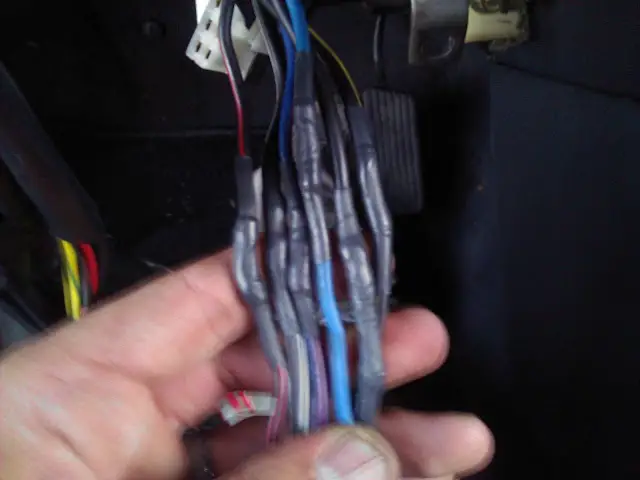
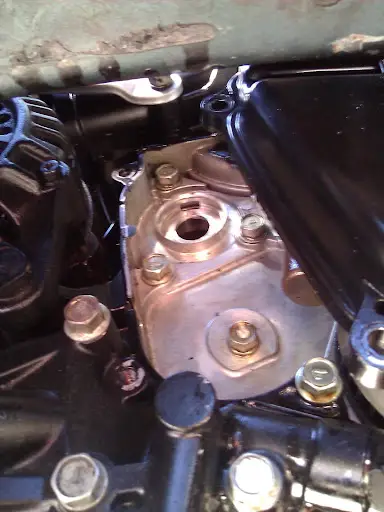
And the final product... Notice the only difference is the 2 large wires used to power and ground the newly installed Walbro 255. An overall nice and clean install.
WP_000322.jpg


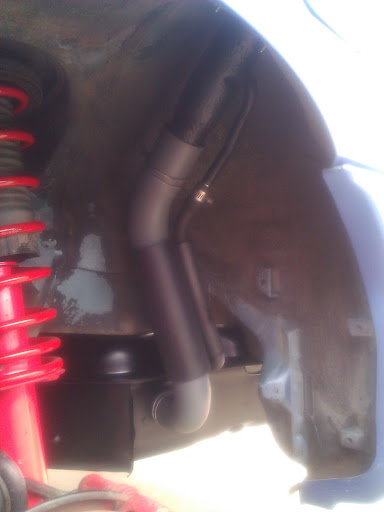
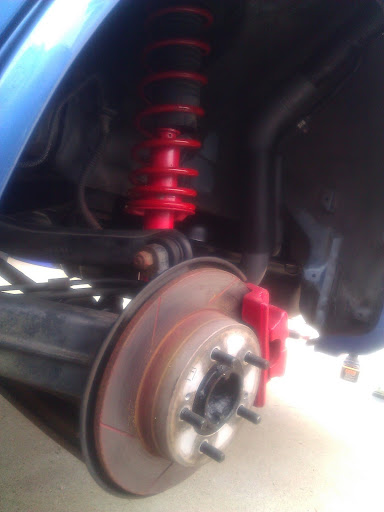
A quick shot of the rear completed 5 lug swap. New springs, struts, slotted rotors and pads.
WP_000325.jpg


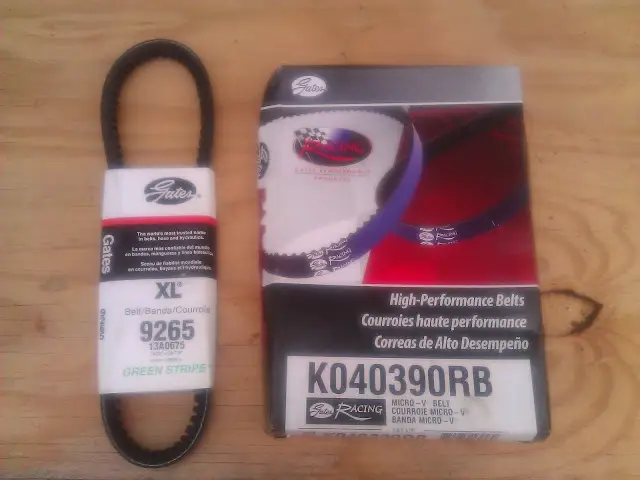
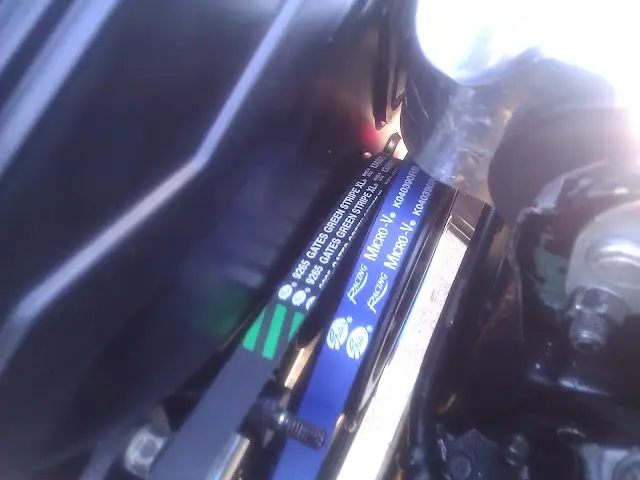
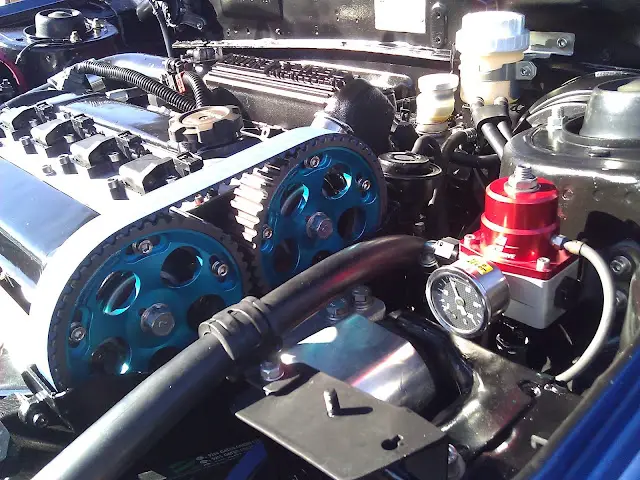
I installed all new Gates accessory belts. I would have bought a kevlar racing belt for the power steering, but gates doesn't make one...
WP_000285.jpg

WP_000350.jpg


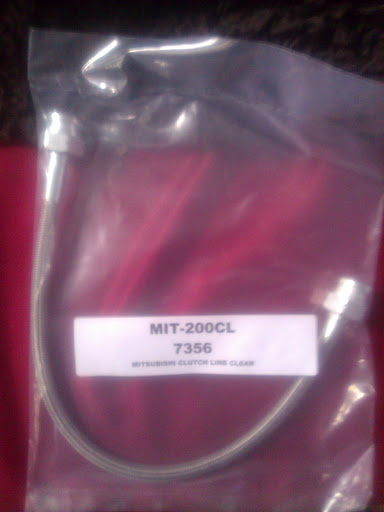
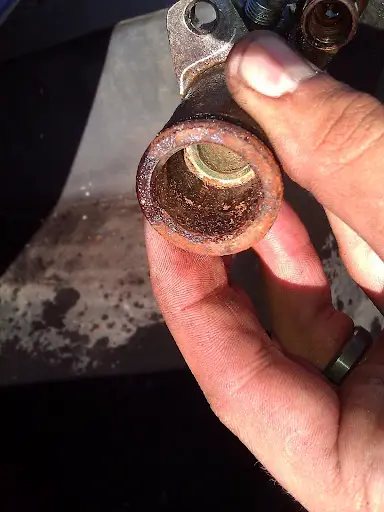
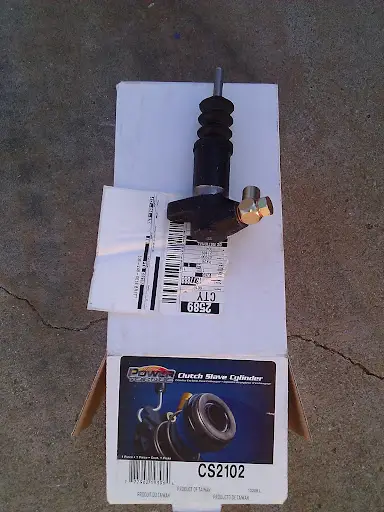
Steel braided clutch line to replace the junk rubber OEM line.
WP_000326.jpg


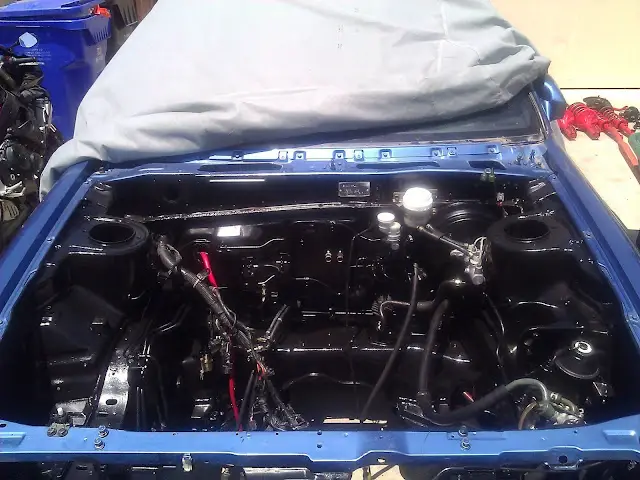
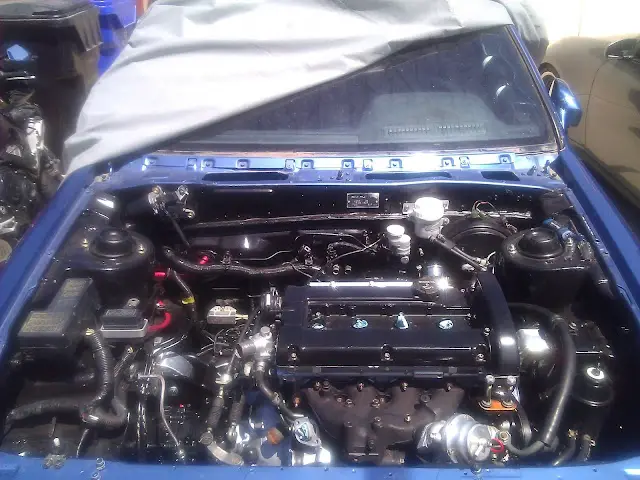
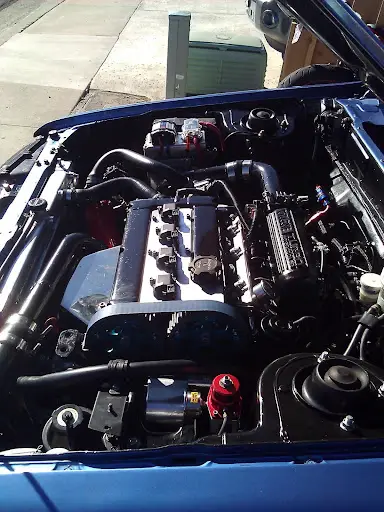
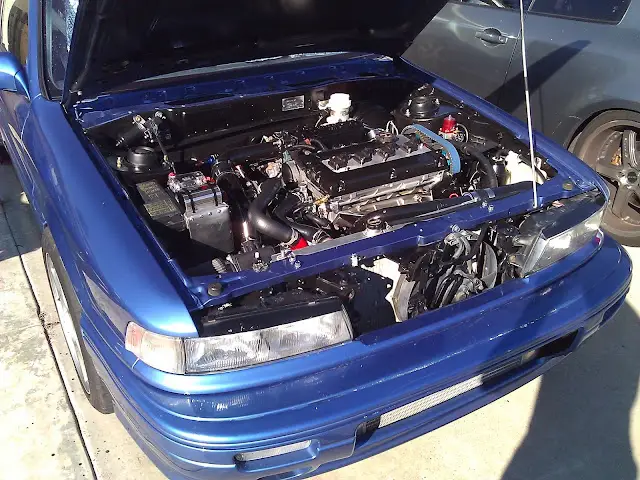
Empty engine compartment after paint:
WP_000268.jpg


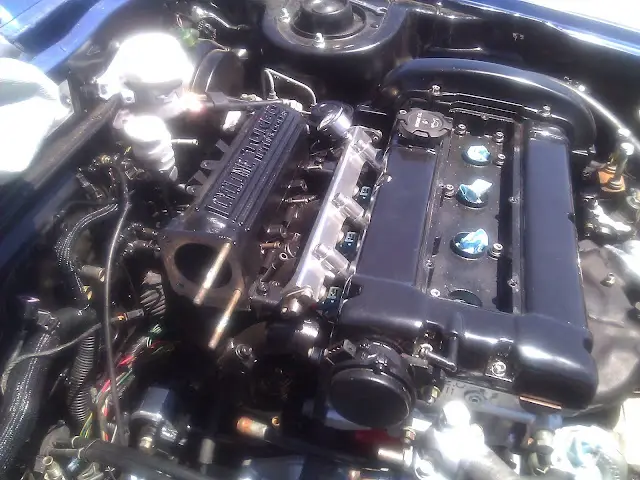
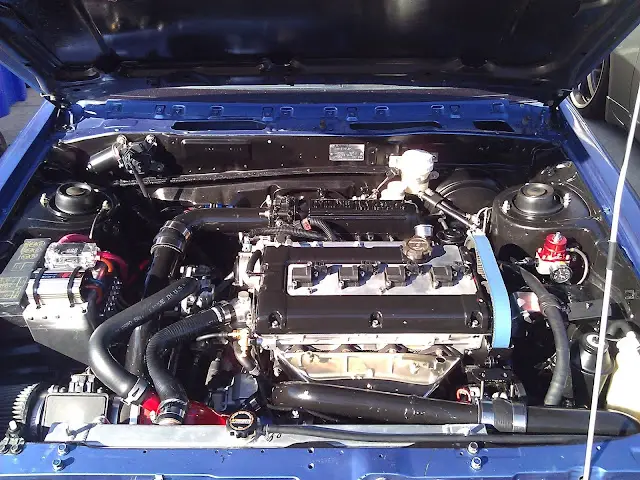
And here it is now with the motor dropped in. I replaced all the old crappy plastic wire covering on the engine harness with nylon braiding. I have also relocated it lower on the bulkhead to tuck it and give the engine bay a cleaner look. The battery has been relocated to the trunk, and the engine compartment seems huge with all the extra space I have. I also replaced much of the hardware on the car with new grade 8 bolts, or stainless hex head hardware. All the detailed work I'm doing is really consuming a lot of time, but the end result is definitely paying off.
WP_000351.jpg

WP_000352.jpg


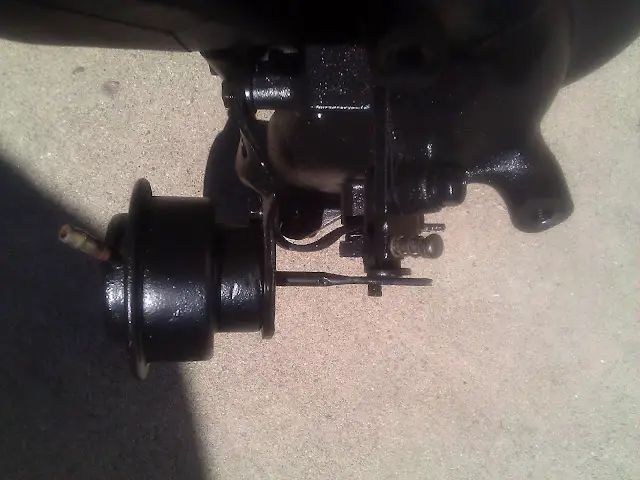
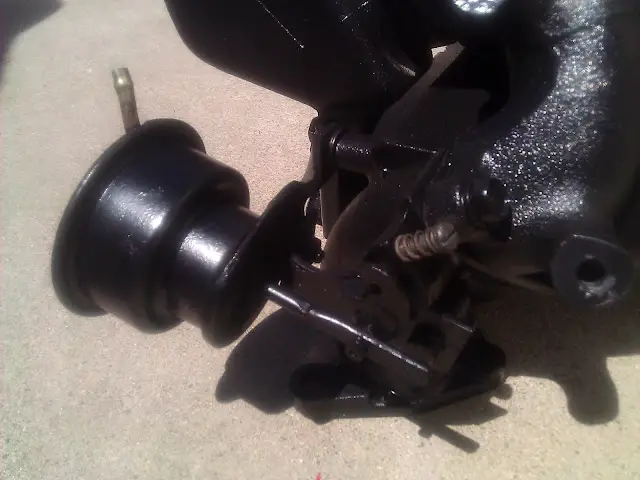
My cyclone intake manifold had a bad vacuum actuator. I swapped in a 14B actuator in its place. I made a few custom brackets and it fits like stock. It opens the butterflies at around 8 psi.
WP_000355.jpg

WP_000356.jpg

WP_000358.jpg

WP_000359.jpg


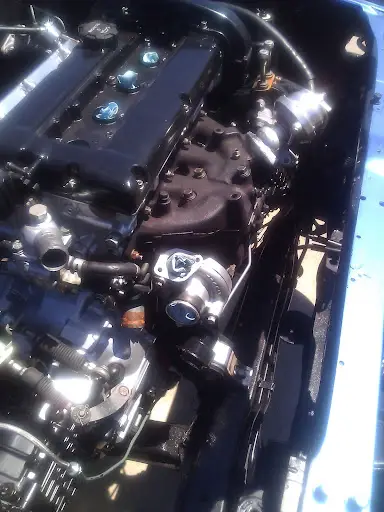
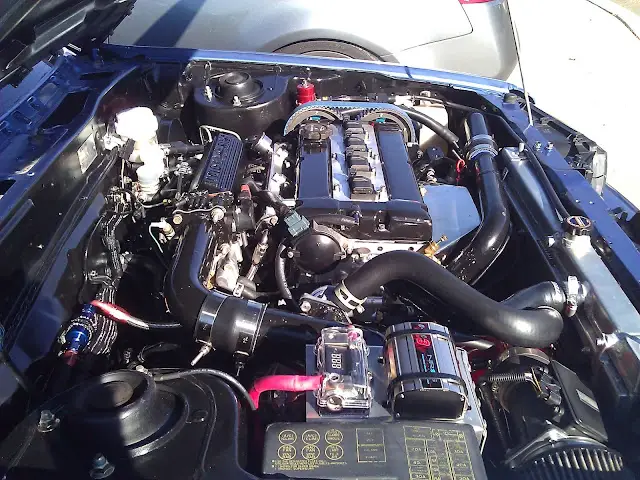
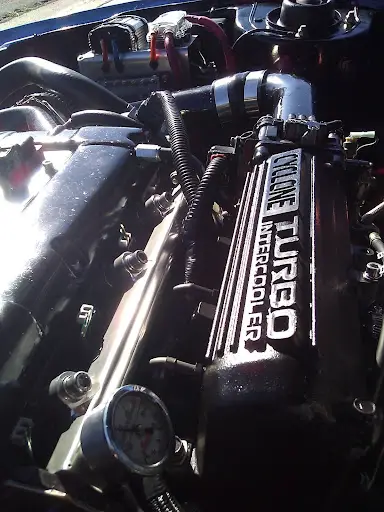
Cyclone mani installed:
WP_000362.jpg


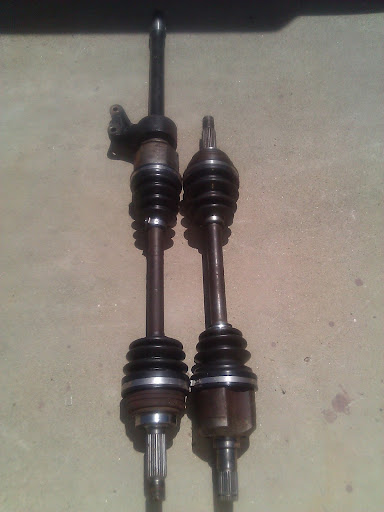
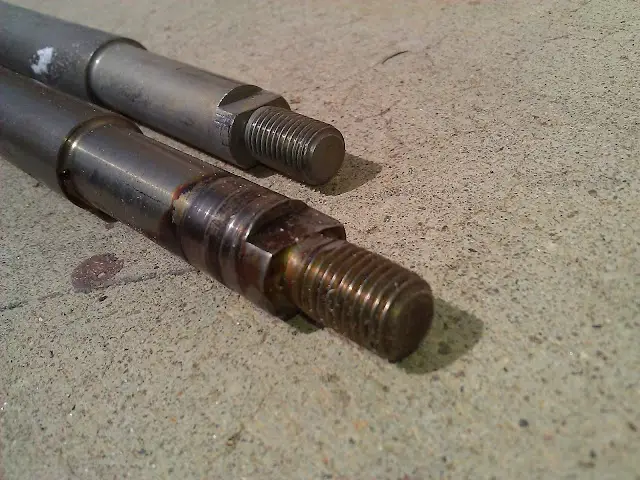
Before re-installing, I rebuilt both front axles with all new CV boots and high pressure synthetic grease.
WP_000367.jpg


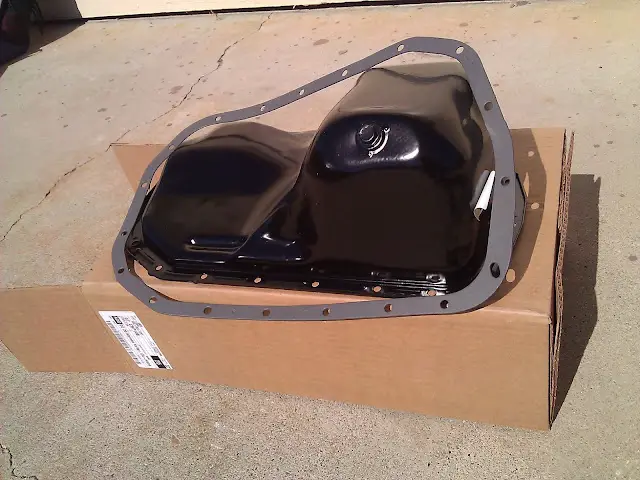
New lower dust shield installed:
WP_000368.jpg


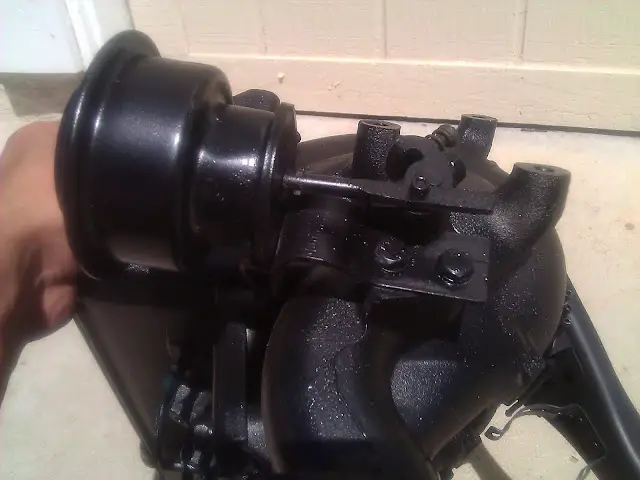
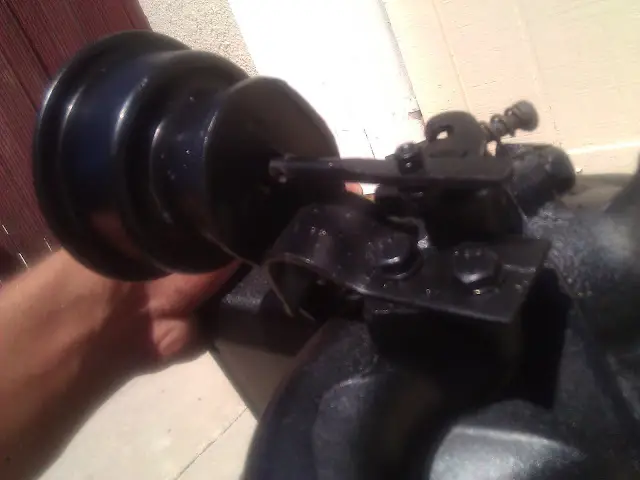
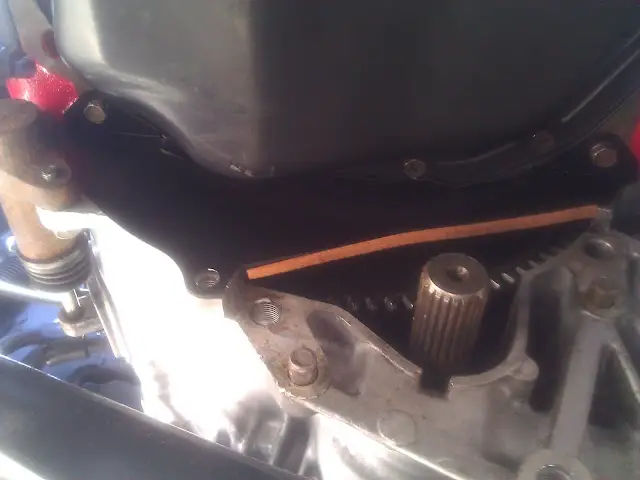
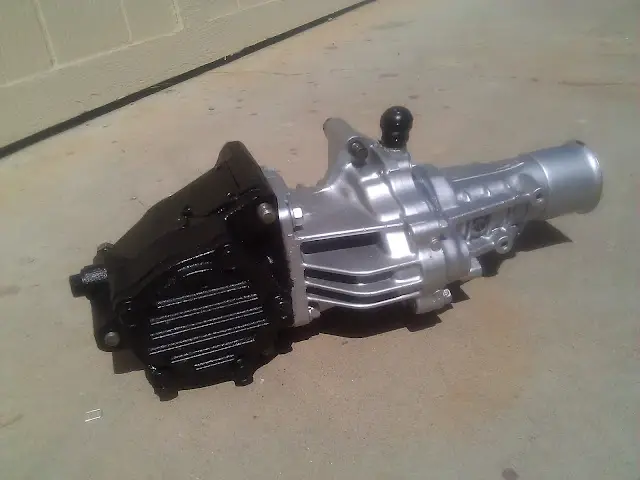
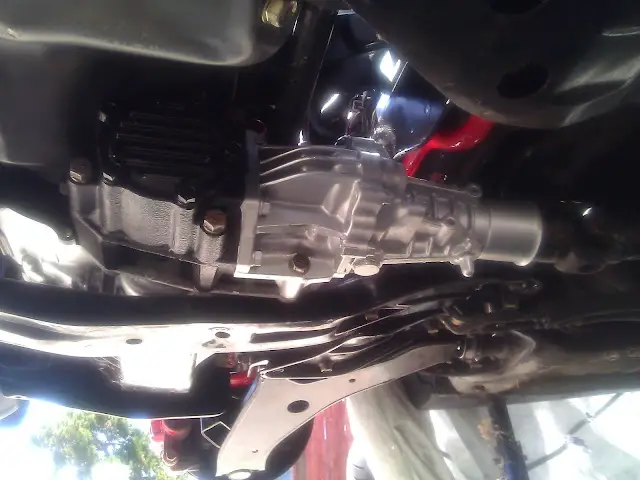
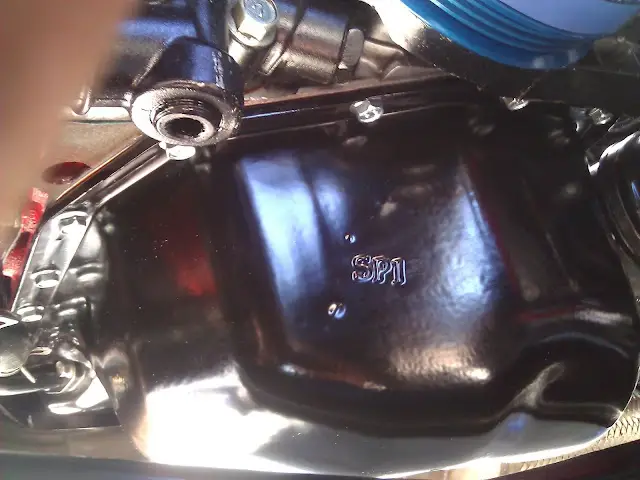
I disassembled, inspected, cleaned and painted the transfer case while it was out of the car. Here's how it turned out:
WP_000372.jpg

WP_000374.jpg

WP_000375.jpg


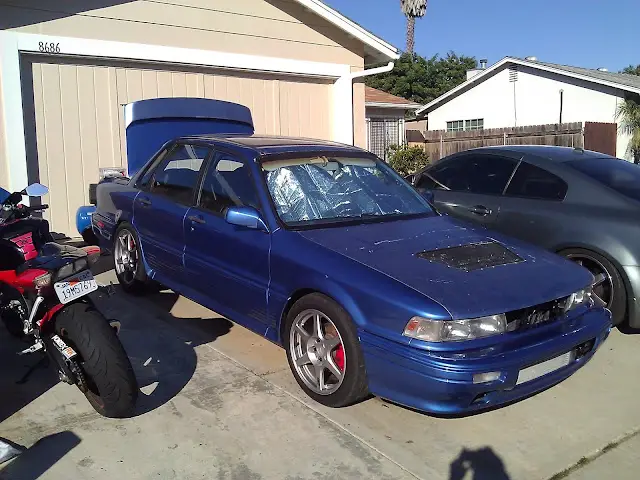
Anddddd last but not least, here's a Galant base I saw in the parking lot of Home Depot Racing while making a trip for bolts.
WP_000329.jpg

WP_000328.jpg


More to come soon...
 

GSX_TC

Well-known member
Joined
Apr 7, 2011
Messages
3,725
Location
Houston, Texas
I like that gates racing blue alt belt, im gonna pick one of those up =)
 

GSTwithPSI

Well-known member
Joined
Jan 1, 2012
Messages
3,461
Location
SoCal
Just a quick update, I got the car to run for about 5 minutes today. It was running pretty good, and then it just slowly died. I tried to restart it but it just cranks and cranks. It doesn't even act like it is trying to start. I have spark and the car turns over good. I also have approx 37 PSI at the fuel rail while cranking according to the gauge mounted on the rail itself. Mechanical timing is still good as well. I'm thinking fouled plugs??? I'm going to let it sit overnight and give it a try tomorrow. If it doesn't start tomorrow, I'll swap out the plugs. You guys have any other suggestions?
 
Last edited:

GSTwithPSI

Well-known member
Joined
Jan 1, 2012
Messages
3,461
Location
SoCal
It's alive!!! I have pieced the car together enough to get it to start and run. I still have lots of work to do, but I'm making progress. It's not very eventful, but here's a vid of the start up click For some reason, the cooling fan isn't kicking on. I need to figure out why this is, as I can only idle the car for about 5 min before it starts to get too hot.

Things I have left to do next:

-I have to rebuild the clutch pedal. The pedal rod is stripped and rounded out the pedal bracket. For those of you who have never had to remove the pedal assembly, it is a disaster. The parts are coming from JNZ so hopefully they are here soon.

-Replace all the intercooler couplers and clamps. I have all new intercooler couplers and T bolt clamps on the way as well, ignore the rigged ones in the video.

-Bleed the brakes and clutch system.

-Fill the trans, transfer case and rear diff with new fluids. I have Redline MT90 and Heavy Shock Proof on the way for this.

-Find a GVR4 shifter and base and install it. The one in my car is beyond fixing.
 

GSX_TC

Well-known member
Joined
Apr 7, 2011
Messages
3,725
Location
Houston, Texas
Lookin good brett, i see you wearin your PT shirt haha, those EVO 8 rims look much better then the old rims you had on it. im glad your still at it with this car and not giving up or selling it like most others seem to go. good job man /ubbthreads/images/graemlins/applause.gif
 

GSTwithPSI

Well-known member
Joined
Jan 1, 2012
Messages
3,461
Location
SoCal
I have been struggling with the VR4. This thing is a never ending pain in the ass. I have literally replaced almost every major component with either a new OEM part, or an aftermarket piece. I have the car running pretty good at this point. I have been fighting some oil leaks, and still have a small one to take care of. Here's a few updates of my progress.

New Mitsu Knock sensor installed.
WP_000379.jpg


Here was the fuse panel from the previous owner. Needless to say I had to replace it.
WP_000406.jpg


More electrical and wiring hack jobs from the previous owner I had to repair. He installed scotch locks on pretty much every electrical connection he made. This was the result.
WP_000410.jpg

WP_000411.jpg


I had to a clutch pedal rebuild. Hands down the most pain in the ass repair I have ever performed on any car in my life. For those of you thinking of doing this...Don't.
WP_000437.jpg

WP_000434.jpg

WP_000430.jpg

WP_000432.jpg


So as you can see, the clutch pedal rod was pretty screwed. Below is what caused it. The clutch slave cylinder piston was rusted and completely frozen in the slave cylinder body. I pressed down on the clutch pedal and the pedal rod just rounded clean off thanks to the frozen slave cylinder. I replaced the entire slave.
WP_000439.jpg

WP_000438.jpg


Filled my trans, xfer case and rear diff all with new Redline fluids.
WP_000483.jpg

WP_000482.jpg


I wired up my JDM headlights.
WP_000347.jpg

WP_000496.jpg


Oil will not seem to quit leaking from this car. I had a small leak for a few days. It looked like it was coming from the pan, right where the crankshaft damper is. eventually this small leak turned into the car pissing oil everywhere, and I couldn't even run the car. I decided to replace the oil pan and gasket, mainly because my old pan was in crappy shape and I didn't know if the sealing surface was still true. I hoped this would take car of my leak.
WP_000504.jpg

WP_000508.jpg


So I replace the pan and gasket, clean up all the oil and let the car sit over night to see if it leaks. I come out the next day and everything is still dry. I start the car and of course, oil is still pissing out of the exact same place. At this point I know whatever is leaking is behind the timing cover. I and contemplate cutting my losses, burning the car and collecting the insurance money to recoup part of what I have invested (money not time). I then wise up, and decide I'm already sweating my ass off, and the fire would only worsen this condition. I pull off the timing cover and hear something metal fall to the ground. It appears whoever installed the BSE plug on the oil pump cover didn't do a very good job. It had popped out, and was pissing oil everywhere. Luckily, the timing belt didn't get any oil on it. I put some sealer on it, and popped it tightly back in place.
WP_000513.jpg

WP_000516.jpg


I fixed the oil leak, cleaned up all the oil again and took a few pics in case I decided to burn the car after all.
WP_000517.jpg

WP_000518.jpg

WP_000520.jpg

WP_000522.jpg

WP_000523.jpg

WP_000524.jpg

WP_000526.jpg

WP_000527.jpg

WP_000528.jpg

WP_000529.jpg
 

GSX_TC

Well-known member
Joined
Apr 7, 2011
Messages
3,725
Location
Houston, Texas
She cleans up well, that engine bay is pretty spiffy now. and the EVO 8 rims look much better on it as well.
 

89Mirageman

Well-known member
Joined
Jul 5, 2006
Messages
2,502
Location
Stantonsburg, NC
I see a few of my old parts on there. Don't let this car get you frustrated man, just put a cover on it and take a break for now. In a few weeks you'll miss working on it.
 

DynastyLCD

Well-known member
Joined
May 12, 2006
Messages
761
Location
Harwinton, CT
engine bay looks great!

glad you got your oil leak fixed - like others have said, don't ever give up! you've done a hell of a job getting this car to where it is now. great job!
 

JamesFoster

Well-known member
Joined
Oct 14, 2008
Messages
583
Location
ALL
Love the build, car looks great! Don't burn it, we've all been there, but once you finally get all the bugs worked out, you're gonna love the car.
 

IncorpoRatedX

Well-known member
Joined
May 28, 2003
Messages
5,593
Location
Arizona
All that time and money put into it and you're running an aluminum, non dampened crank pulley?? /ubbthreads/images/graemlins/uhh.gif
 

GSTwithPSI

Well-known member
Joined
Jan 1, 2012
Messages
3,461
Location
SoCal
Well unless you will buy me a fluidampr, yes. I have read about the cons of a lightweight damper, but I suppose eliminating balance shafts could be considered in the same light. Seems strange that BSE is widely accepted as good practice. I dunno... /ubbthreads/images/graemlins/dunno.gif

I will get a fluidampr eventually... click
 
Last edited:

GSX_TC

Well-known member
Joined
Apr 7, 2011
Messages
3,725
Location
Houston, Texas
the ATI super dampner seems to be another popular choice amongst the 4G63 crowd click
 

EHmotorsports

Well-known member
Joined
Sep 25, 2012
Messages
1,278
Location
Beaverton
If you didn't have the pulley balanced with the engines rotating Assm. You would be better off with a stock one.
 

G

Staff member
Joined
Feb 24, 2004
Messages
8,896
Location
zompton
Nice work!
 

GSTwithPSI

Well-known member
Joined
Jan 1, 2012
Messages
3,461
Location
SoCal
So the update goes like this: The motor is blown /ubbthreads/images/graemlins/banghead.gif
click

I got a chance to drop the oil pan today, and here's what I found:

WP_000560.jpg

WP_000563.jpg

WP_000564.jpg

WP_000565.jpg

WP_000569.jpg

WP_000570.jpg

WP_000571.jpg

WP_000572.jpg

WP_000573.jpg

WP_000574.jpg

WP_000575.jpg


After looking at the damage, I'm pretty sure I know what happened. If you look at the pics, you will see one of the ARP rod bolts (and nut) is completely intact. That very bolt was sitting in the bottom of the oil pan when when I dropped it, and when I pulled it out of the pan, it looked exactly like it is in the picture. I think that bolt came loose and fell out while I was rolling down the freeway at about 70 MPH. Rod bolt comes loose > rod journal looses oil pressure > rod smokes crank, bearing and everything in its path. You can see in the photos how the crank got so hot that it turned blue. The bearing I removed from the pan was equally as smoked. It's obvious the car ran for a while with no pressure to the journal. This also could explain how I was able to put almost 300 miles on the car running great before it just suddenly took a sh*t. What I can't understand is how the bolt came loose. I checked the torqued each main and rod cap before I dropped it in the car. Do any of you guys put locktite on main and rod bolts as a precautionary measure??? Any input or other theories to what may have happened are more than welcome. I'm hoping to pull the motor soon, and see how I can begin to repair it the best way possible.
 
Support Vendors who Support the GVR-4 Community
Boosted Fabrication ECM Tuning ExtremePSI Fuel Injector Clinic Jacks Transmissions JNZ Tuning Kiggly Racing Morrison Fabrications RixRacing RockAuto RTM Racing STM Tuned
Top