The Top Mitsubishi Galant VR-4 Resource

Join the best E39A 1991-1992 Mitsubishi Galant VR-4 community and document your GVR4 journey.

  • Software Upgraded - Reset Your Password to Login
    In order to log in after the forum software change, you need to reset your password. If you don't have access to the email address you used to register your GVR4.org account, you won't be able to reset your password. In that case, follow the instructions here to regain access to the forum.

TH3 Lazy arse Australian / New Zealand Picture build thread

RedTwo

Well-known member
Joined
Jul 16, 2008
Messages
1,917
Location
New Zealand
Hmmm time for an update I guess! Never fear, I am also working on a write up for the rear end swap and once I get some damn time to my damn self I might be able to finish the physical part of it /ubbthreads/images/graemlins/banghead.gif /ubbthreads/images/graemlins/smile.gif

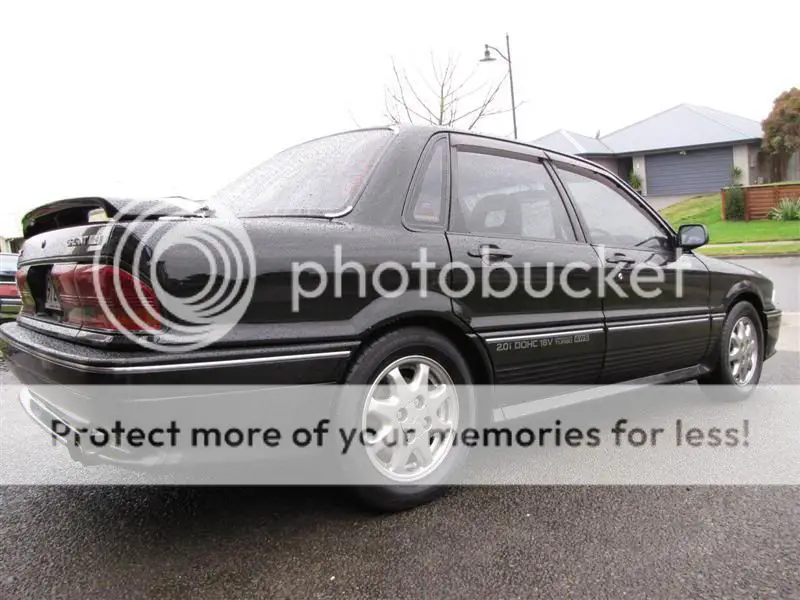
On the plus side I just scored a new camera so, from now on I will have many more megapixels (and some fancy shakeyhand man eliminator) to play with.

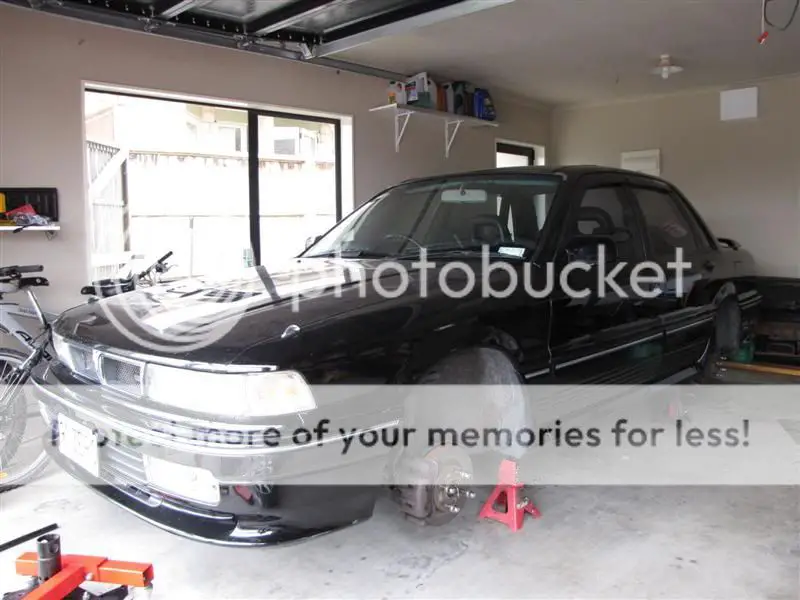
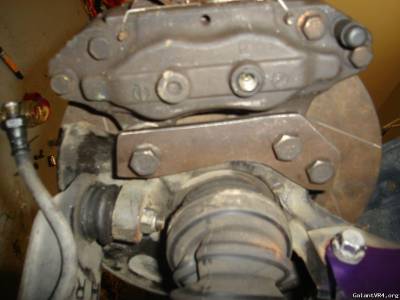
Nissan brakes on a mitsi?! Clearly a photoshop! /ubbthreads/images/graemlins/laugh.gif


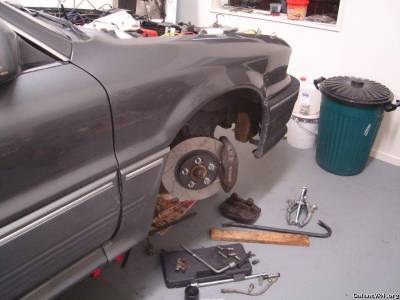
Why Nissan brakes? While GTO brakes have larger overall piston area - I think they are 2x44mm and 2x38mm (they are also slightly heavier), the Nissan calipers are still 4x40.4mm AND more importantly (asside from using the same brakes pads), around these parts they are much much cheaper and more readily available!

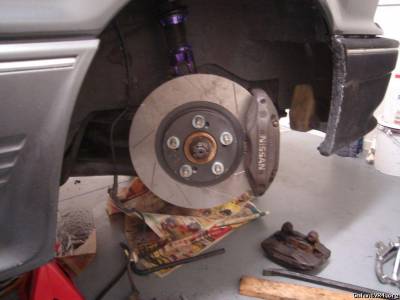
These are actually mounted upside down, the bracket below is supposed to fit the otherway up. As these are big ole Sutimo calipers I'd suggest that GTO calipers also work.
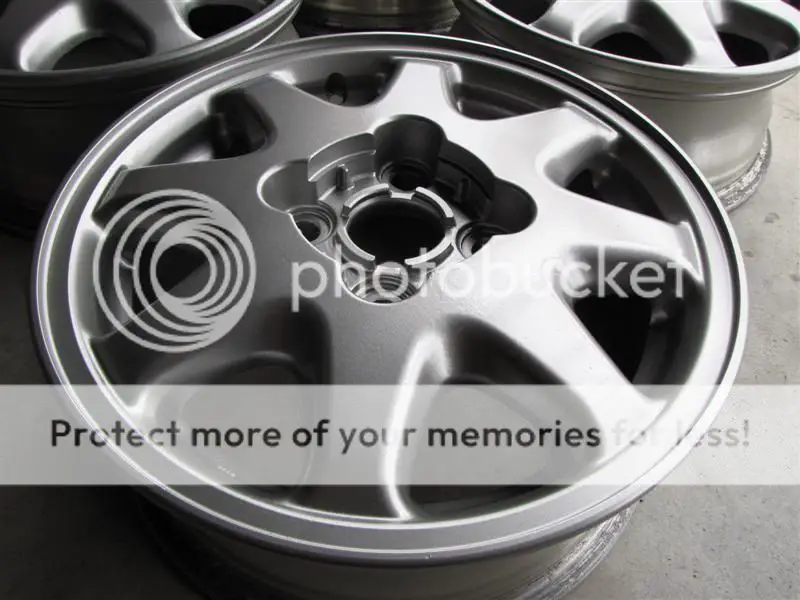
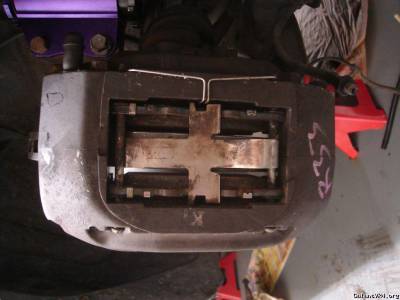


Wow that's blurry!


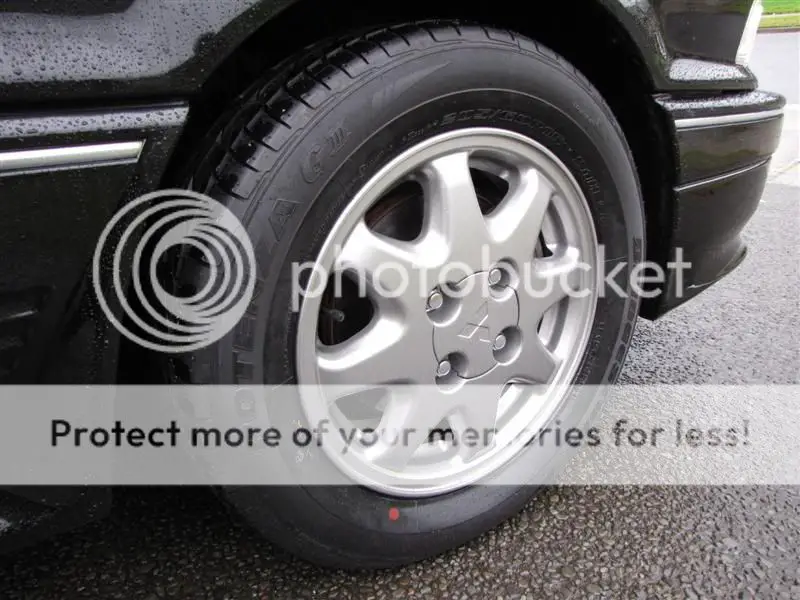
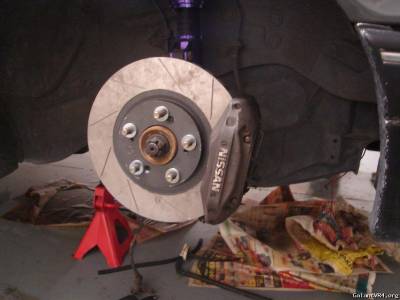
There's a real issue with finding wheels that fit over these beasts, I need ~48mm from the hub face to the back of the spokes.
On the plus side I can - with the correct offset/spacing - fit 15" wheels over the front brakes and rotors (300+mm dia or 12.1"?).


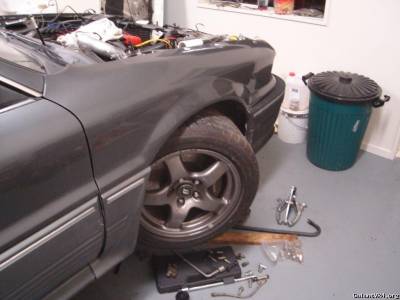
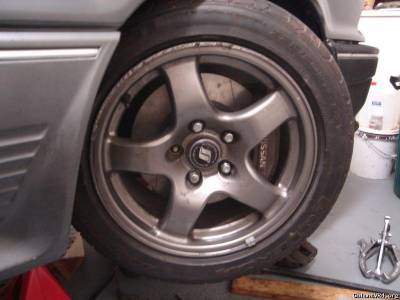
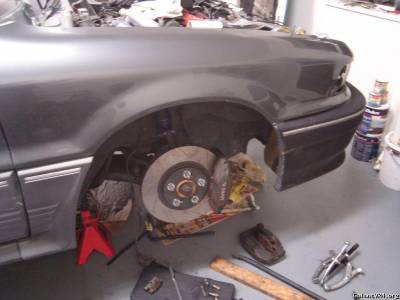
Enough wheel pics, back to the fun part - GTO Galant Mismatch!
The dreaded 26mm Whiteline Rear Sway Bar install:


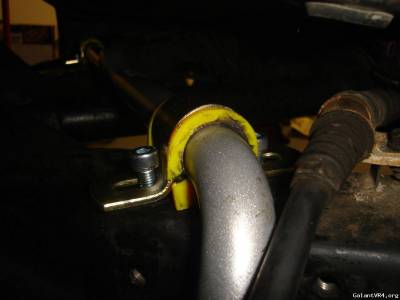
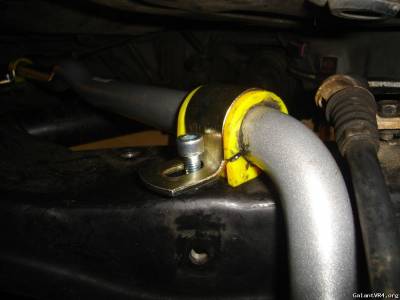
Thanks to the guys who offered suggestions on fitting the brackets - I crushed the brackets in a vice to get them over the monster bar + bushings. And my secret weapon - M10x1.5 and 25mm? shank socket head bolts. There's f*** all room under the subframe even when it's unsupported so these bad boys let you use a 6mm Allen key or hex/allen head socket, you could even use the bit from a detachable screwdriver set.
 

IncorpoRatedX

Well-known member
Joined
May 28, 2003
Messages
5,593
Location
Arizona
WTF is in place of the cam angle sensor or is that a stock cas with a clear cover??

img.php
 
Last edited by a moderator:

fuel

Well-known member
Joined
Feb 23, 2009
Messages
2,165
Location
Toronto, ON, Canada
bit of an update on this beast, been itching to try out my new camera.

Kris, the previous owner of the car went to great lengths to make the car as original and 'mint' as possible, and I'm hoping to continue on and add to his efforts. A while ago I had nine factory rims and I chose the best four plus the next best one to use as a spare then sold off the remaining four. Problem is two of them were a different shade of grey and it always had bugged me so had been meaning to paint them at some stage.

At the last trackday I did in the car I had one of the semi slicks delaminate, and the previous track day I had another go out of round! So I decided time to fit road tyres again. I came across a set of new Potenza G-III tyres for a good price, and thought now would be a good opportunity to replace the semi slicks and paint the rims.

IMG_0019.jpg


I then put the car up on stands:

IMG_0015.jpg


and stripped the rims, sanded them back and then sprayed them with a silver with a slight gold tinge, it was basically a match of one of the rims which had the best colour:

IMG_0020.jpg


IMG_0021.jpg


I'm waiting for the paint to cure for one more day then I'll get the tyres fitted up. As you can see I have two sets of center caps - one set with the Mitsi logo and one without, am unsure which set I'll end up using, thoughts?
 

RedTwo

Well-known member
Joined
Jul 16, 2008
Messages
1,917
Location
New Zealand
Can you at least leave a dirty hand print on a window or something so my car doesn't look so much worse and neglected? /ubbthreads/images/graemlins/rofl.gif
 

fuel

Well-known member
Joined
Feb 23, 2009
Messages
2,165
Location
Toronto, ON, Canada
not a chance! :p

moar pics - Hamilton's weather is sh*t as usual.

IMG_0025.jpg


IMG_0024.jpg


IMG_0023.jpg


IMG_0022.jpg


IMG_0026.jpg


Have gone with the Mitsi emblem center caps, they actually came from a '92 Viento. The center caps which have no logo came with the car, I assume they were the standard caps.
 

fuel

Well-known member
Joined
Feb 23, 2009
Messages
2,165
Location
Toronto, ON, Canada
yeah I like the facelift rims, I think they really suit the VR-4 shape. I actually like the pre-facelift ones too, have seen a set all polished up and they looked good. I was faced with literally dozens of silvers to pick from, am glad I picked a fairly typical silver though perhaps they could have been a slightly more brighter shade.
 

fuel

Well-known member
Joined
Feb 23, 2009
Messages
2,165
Location
Toronto, ON, Canada
on the track today

1h.jpg


my tyres are not so new anymore :S
 

ozyvr4

Well-known member
Joined
Mar 5, 2007
Messages
160
Location
Brisbane, Australia
Very nice RedTwo. All you have to do is grind the nissan logo off.

Fuel- looks fantstic. great work.

I have a couple new pics. I fitted a new IC yesterday. 500x240x75 core. First is the old IC, very small, but did a great job until I went over 20psi.


new core. The pipe on the left is feeding the air box (not fitted yet) from the hole in the bottom of the j-spec front bar.


ozyvr4

Well-known member
Joined
Mar 5, 2007
Messages
160
Location
Brisbane, Australia
More upgrades. I'm just about finished my turbo outlet pipe. I got a raw cast evo 7 outlet form MEEK AUTOMOTIVE ( Australian EVO specialist ). To fit the VR4 I had to cut it at the base & change the angle. I also had to lengthen to make it over the large FP mani runners. I have to reweld where I filed for bolt heads as I filed through the weld. May need to do on the inside. I'll get done tomorrow or saturday & fit up after the final polish. It flares from a 43mm ID hole to a 58mm ID hole. It will connect straight to the 2.5" IC pipes I have.

The cut & rewelded pipe

The internal porting I did as the casting was a little rough.

Test fit on the car.


Hopefully have it finished by the end of the weekend.
 

ozyvr4

Well-known member
Joined
Mar 5, 2007
Messages
160
Location
Brisbane, Australia
Thanks mate. It is pretty good for it age. I do try take good care of it. I'm also trying to improve things on it. Because I do most it myself I can take time & do it the way I want it.
 

looking good scott,

i got the hotbits coilovers installed over the past few days on my new one, will be starting to rebuild the spare engine and gearbox soon. once i have all the little problems sorted out with it i will put the ecmlink into it, bigger injectors and up the boost
 

ozyvr4

Well-known member
Joined
Mar 5, 2007
Messages
160
Location
Brisbane, Australia
Thanks craig. Is your car nearly ready the track this weekend?

A couple pics f the finished turbo outlet pipe.

154014.jpg

154008.jpg

154011.jpg
 

cheekychimp

Well-known member
Joined
Apr 19, 2004
Messages
7,333
Location
East Sussex, U.K.
^ Looks great! I looked on their site, but I couldn't find that elbow as a separate piece. Did you just get lucky and pick one up, or am I blind. I think I might like to have a go at this.
 
Support Vendors who Support the GVR-4 Community
Boosted Fabrication ECM Tuning ExtremePSI Fuel Injector Clinic Jacks Transmissions JNZ Tuning Kiggly Racing Morrison Fabrications RixRacing RockAuto RTM Racing STM Tuned

Recent Forum Posts

Top