turbohf
Well-known member
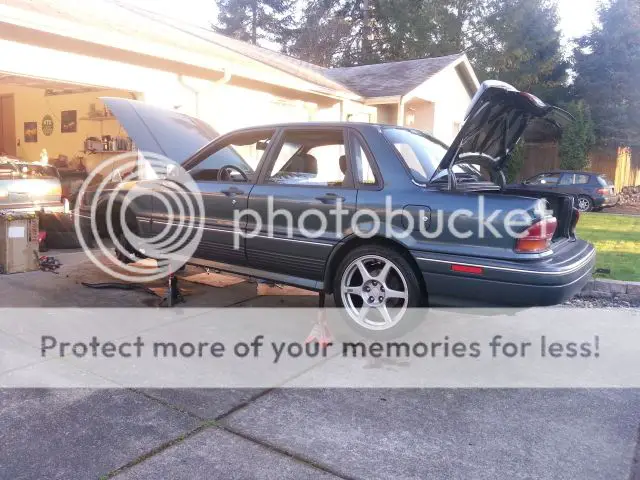
oh right. was just thinking, im bolting a T4 T67 on my car... you guys might want to know what motor and all i have now lol...
engine:
G4CS 2.4L block
OEM 100mm crankshaft
Eagle rods (stock length)
Wiesco pistons (86.5mm, 8.8:1cr)
1g/6bolt turbo head w/mild port
Si Valvesprings/retainers
ForcedPerformace 'FP2' 272/272 cams
Cometic Headgasket .051"
ARP Headstuds
Balance shafts removed
EGR removed/blocked off
emissions thrown away
FICV blocked off
SS braided oil line kit
94 Galant GS cam gears
turbo:
EVOIII manifold
Forced Performance "Red" turbo (ported)
OEM EVOIII turbo gaskets
OEM EVO8 manifold gasket
TiAL 38mm WG (open dump)
baller ceramic coated o2 housing
3" 1g china downpipe
turbohf 3" exhaust
Magnaflow muffler (11219)
turbohf 2.5" charge pipes
IRC/2-216 intercooler
TiAL 50mm bov
turbohf 3" intake
K&N 3" filter
fuel:
ECMLink v3
4bar MAP sensor
GM Intake Air Temp sensor
turbohf Speed Density harness *still need to make this*
PTE 1000cc injectors
Denso/Supra pump
PLX M300 wideband
Turbosmart 30/30 boost gauge
Turbosmart MBC
transmission:
1g DSM (minty)
ACT 2600
Fidanza flywheel
other:
1g radiator
group 151 battery
interior:
1g boot
turbohf custom shifter
Skunk2 10th Anniversary knob
fixed seatbelts/chime (aka unplugged)
suspension:
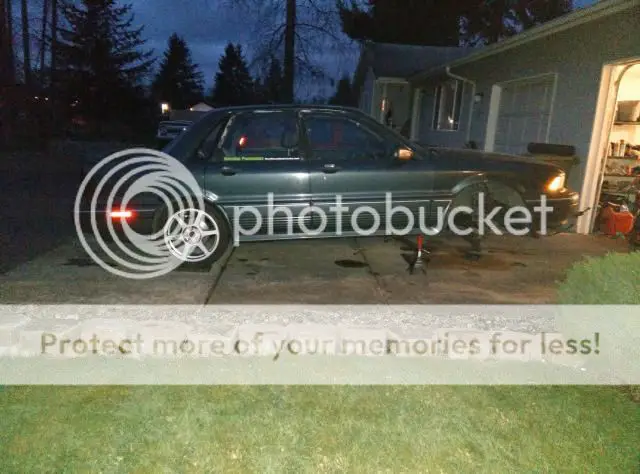
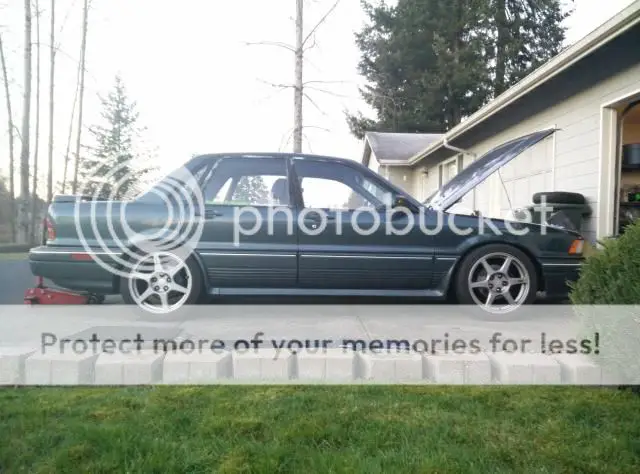
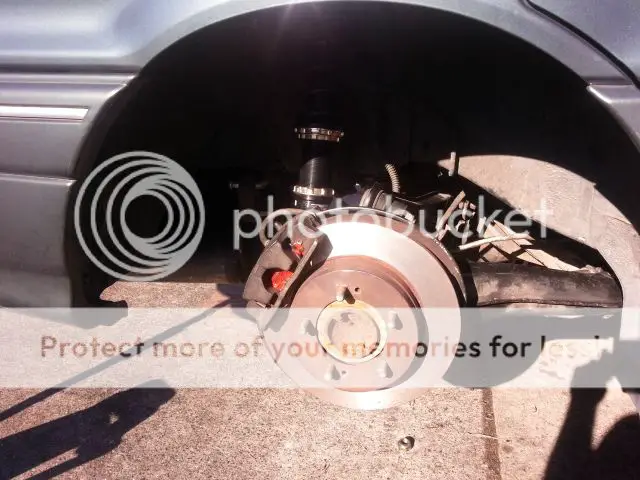
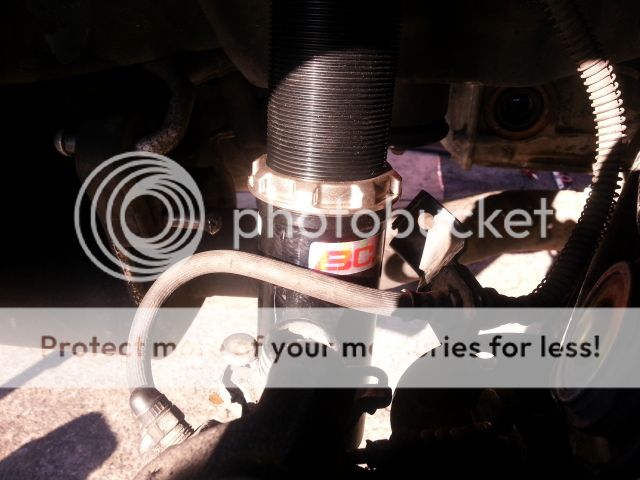
EVO8 suspension
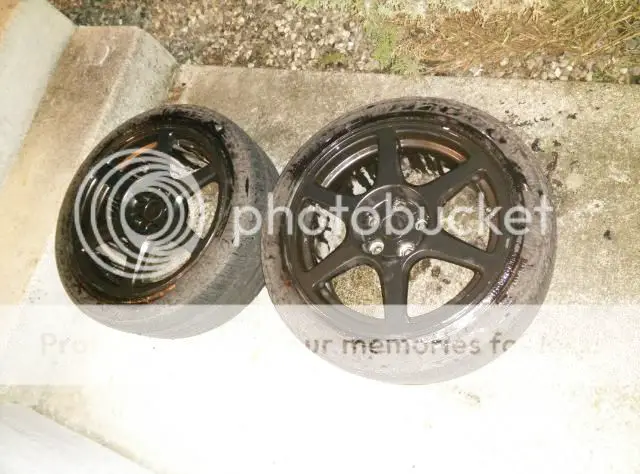
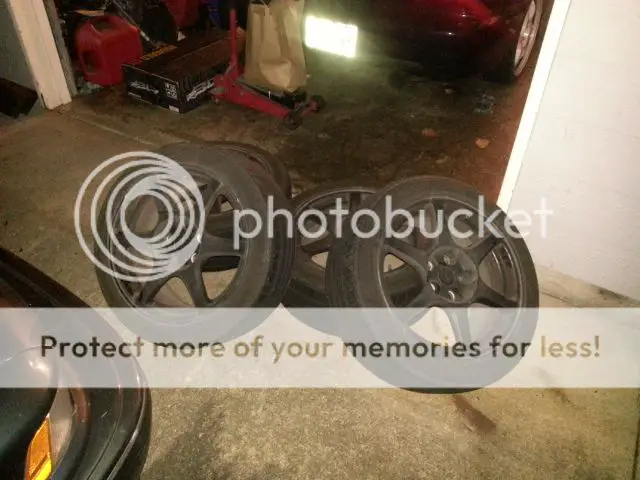
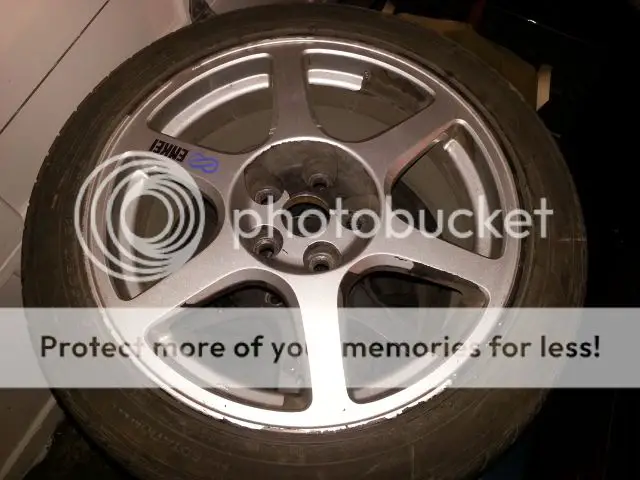
Konig Traffik's
should be about it... its a copy/paste.
/ubbthreads/images/graemlins/devil.gif
engine:
G4CS 2.4L block
OEM 100mm crankshaft
Eagle rods (stock length)
Wiesco pistons (86.5mm, 8.8:1cr)
1g/6bolt turbo head w/mild port
Si Valvesprings/retainers
ForcedPerformace 'FP2' 272/272 cams
Cometic Headgasket .051"
ARP Headstuds
Balance shafts removed
EGR removed/blocked off
emissions thrown away
FICV blocked off
SS braided oil line kit
94 Galant GS cam gears
turbo:
EVOIII manifold
Forced Performance "Red" turbo (ported)
OEM EVOIII turbo gaskets
OEM EVO8 manifold gasket
TiAL 38mm WG (open dump)
baller ceramic coated o2 housing
3" 1g china downpipe
turbohf 3" exhaust
Magnaflow muffler (11219)
turbohf 2.5" charge pipes
IRC/2-216 intercooler
TiAL 50mm bov
turbohf 3" intake
K&N 3" filter
fuel:
ECMLink v3
4bar MAP sensor
GM Intake Air Temp sensor
turbohf Speed Density harness *still need to make this*
PTE 1000cc injectors
Denso/Supra pump
PLX M300 wideband
Turbosmart 30/30 boost gauge
Turbosmart MBC
transmission:
1g DSM (minty)
ACT 2600
Fidanza flywheel
other:
1g radiator
group 151 battery
interior:
1g boot
turbohf custom shifter
Skunk2 10th Anniversary knob
fixed seatbelts/chime (aka unplugged)
suspension:
EVO8 suspension
Konig Traffik's
should be about it... its a copy/paste.
/ubbthreads/images/graemlins/devil.gif
")