The Top Mitsubishi Galant VR-4 Resource

Join the best E39A 1991-1992 Mitsubishi Galant VR-4 community and document your GVR4 journey.

  • Software Upgraded - Reset Your Password to Login
    In order to log in after the forum software change, you need to reset your password. If you don't have access to the email address you used to register your GVR4.org account, you won't be able to reset your password. In that case, follow the instructions here to regain access to the forum.

New Owner of 1837/2000

Brett Adams' Galant VR-4

oldman_tau

Well-known member
Joined
Jun 13, 2010
Messages
239
Location
cerritos,california
Quoting G:
I was going to say, underneath doesn't look like a cali car. I've purchased older japanese cars from cali that were cleaner than that. Run that carfax.


If you read some posts history has been mentioned already.
 

bobdole

Well-known member
Joined
Aug 23, 2007
Messages
866
Location
U.K.
"bobdole really did a great job patching up rust. I decided to use Rust Bullet to refurbish the area as he did"

I just checked the area last week after a year. Still looks great. No signs of rust coming back. Rust Bullet is good stuff.
 

GSTwithPSI

Well-known member
Joined
Jan 1, 2012
Messages
3,461
Location
SoCal
So I stripped the passenger side. The rust was mainly on the surface, but like most rusted surfaces, the rust penetrated a little deeper in some spots more than others. As you can see, the little black spots are the areas I'm talking about. I could get the surface down to a mirror smooth finish and remove all the pits, but it would be at the expense of removing much more metal from the surrounding areas. There's no rust left, even in the pitted areas though. Even after being stripped, the metal is still really solid, and I'd like to keep as much of the integrity as possible by removing as little as possible.

The Rust Bullet is designed specifically to take care of surfaces just like this one, reacting with any tiny remaining rust areas to stop it from reoccurring. That being said, what do you guys who have dealt with rust recommend? Is the surface pictured below prepped good enough? This is my first time repairing rust, and I'd just like a second opinion from some of you guys more experienced in this area. I don't want to leave anything to chance since I'm already in the process of repairing it. In short, I'd like to ensure I'm not doing this again in the near future. Thanks!


Before:
WP_000190.jpg


After:
WP_000207.jpg

WP_000209.jpg

WP_000211.jpg
 

LIV4PSI

Well-known member
Joined
Nov 24, 2011
Messages
1,774
Location
O-H-I-O
I have only used POR-15 before, but that definitely looks prepped plenty good enough.
 

GSTwithPSI

Well-known member
Joined
Jan 1, 2012
Messages
3,461
Location
SoCal
I finished the driver side. Luckily the metal on the body was really solid, and I didn't have any issues there.

The metal that extends out past the body to hold the fender was in bad shape though; much worse than the passenger side. I had to cut out a small section that was rusted through. After removing most of the rust, the metal lost most of its rigidity, and had to be repaired.

I cut a small piece of replacement metal and welded it in place over the old piece. It turned well enough IMO. Please guys, go easy on my welding. I'm definitely no pro. I was using a small 110V MIG welder (no gas), and ran out of wire 3/4 of the way through the job. I would have liked to make a few more passes. To add to it, the metal was thin and weak by the time it was stripped in some areas near the front, and wasn't in the best shape to weld on. I just needed something strong enough to bolt a fender to that's not rusty weak metal.

The pictures kind of suck because it was dark, and the flash reflects off the metal. I'll try and take some more tomorrow in the daylight. All that's left to do is apply some new seam sealer to the joints, and then seal the metal using the Rust Bullet when is arrives in the mail.

Before:
WP_000197.jpg

WP_000212.jpg

WP_000213.jpg

WP_000214.jpg


After:
WP_000223.jpg

WP_000219.jpg

WP_000221.jpg

WP_000228.jpg

WP_000233.jpg
 
Last edited:

bobdole

Well-known member
Joined
Aug 23, 2007
Messages
866
Location
U.K.
Looks great. Good job. Mine was a little worse than yours.
 

GSTwithPSI

Well-known member
Joined
Jan 1, 2012
Messages
3,461
Location
SoCal
Thanks, Charles. I don't know how many times I've used your build for reference. Thanks for all the great documentation! I have some Metal Blast that I'm going to use to prep the surface before I apply the Rust Bullet. Can you give me the Cliff's Notes version of what you did for prep? Also, what did you top coat the Rust Bullet with on the underside of the car?
 

GSTwithPSI

Well-known member
Joined
Jan 1, 2012
Messages
3,461
Location
SoCal
Well, got the car all stripped and cleaned up for paint. The plan is to seal everything with the rust bullet, and then apply a top coat. The Rust Bullet came with some top coat called Black Shell, but it's black (hence the name). All of the areas being painted are hidden under the bumper and such for the most part. Is there any reason why I shouldn't paint what's showing in the pictures black? It would cover pretty much the whole front clip, and wheel wells. I'm planning on getting some Summit White W09 eventually, but I'm thinking the Black Shell top coat will be more durable over the Rust Bullet since the two are made to use with one another. What you guys think?

Here's a few shots before I prepped everything:
WP_000247.jpg

WP_000245.jpg

WP_000246.jpg


Ready for paint:
WP_000248.jpg

WP_000256.jpg

WP_000257.jpg

WP_000250.jpg

WP_000251.jpg

WP_000252.jpg

WP_000253.jpg

WP_000254.jpg

WP_000255.jpg
 

Gizmovr4

Well-known member
Joined
Nov 18, 2009
Messages
366
Location
andover,NJ
Nice work!! I can appreciate all the man hours you have put in !! /ubbthreads/images/graemlins/applause.gif
 

GSTwithPSI

Well-known member
Joined
Jan 1, 2012
Messages
3,461
Location
SoCal
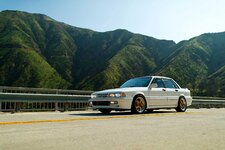
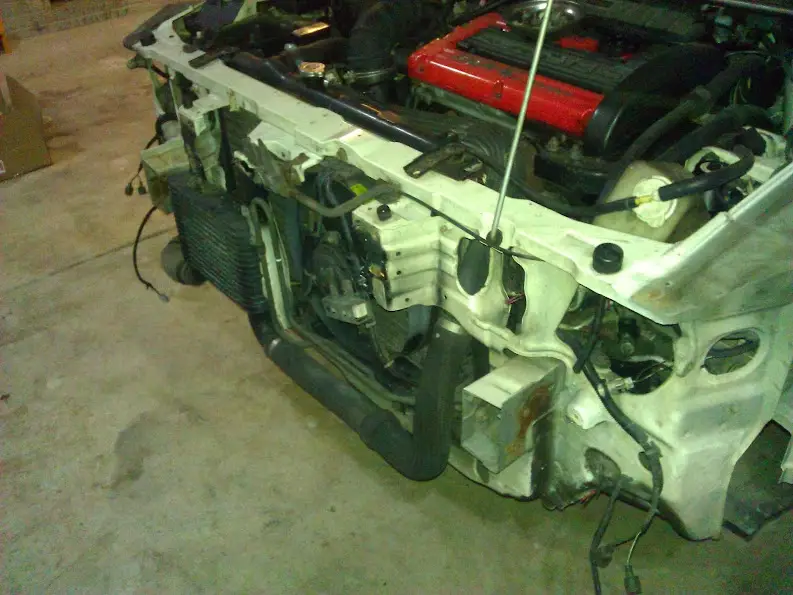
The weather in Maryland was beautiful today! Since I got a break from the cold, I've been putting in some work on 1837. It has been down pretty much since I got it, and I'm dying to get it back on the road.

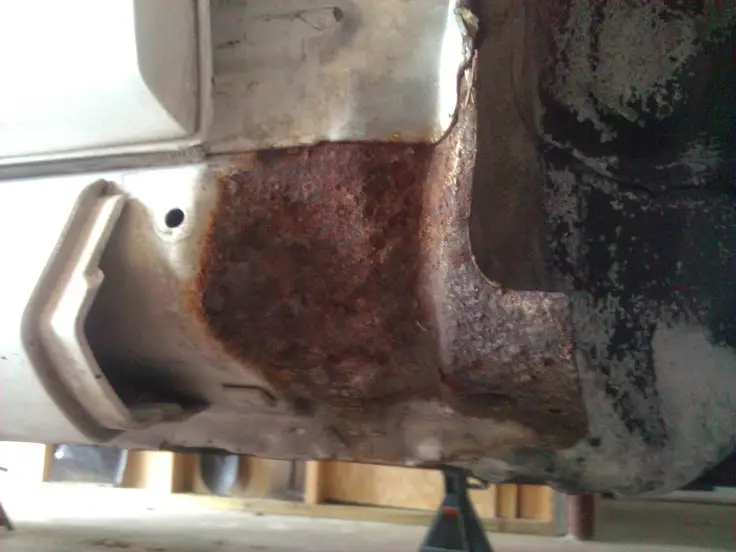
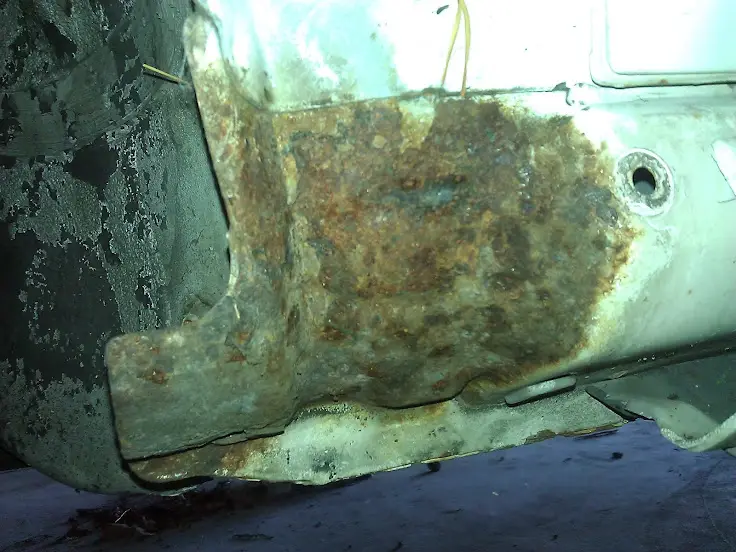
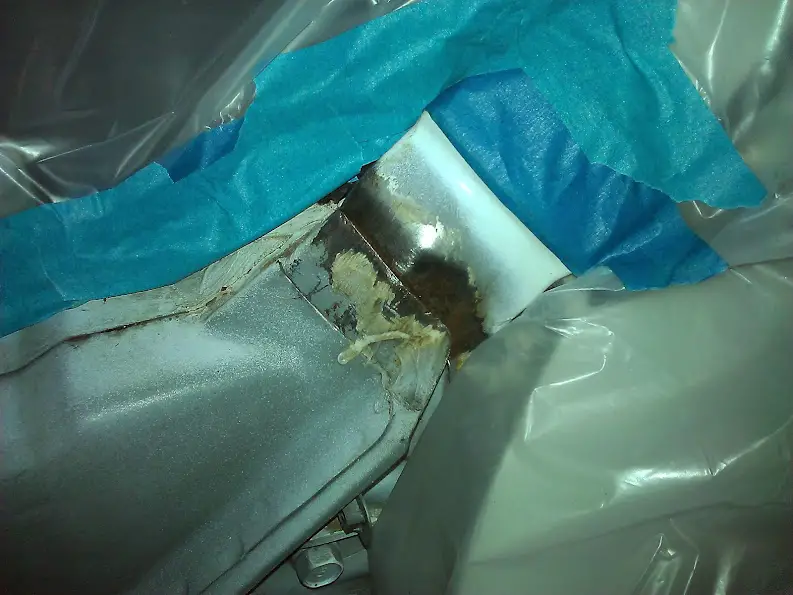
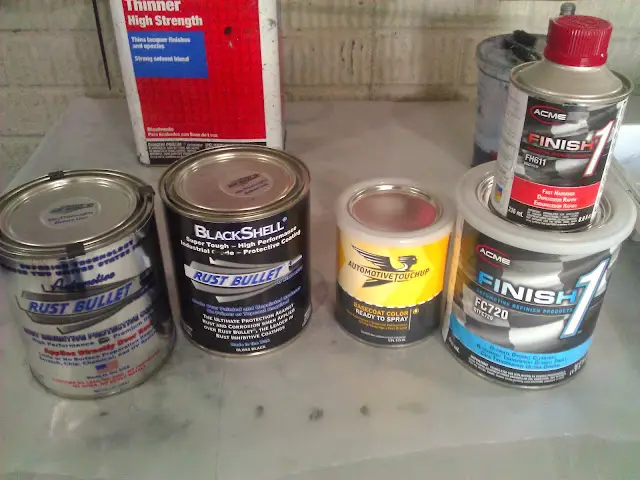
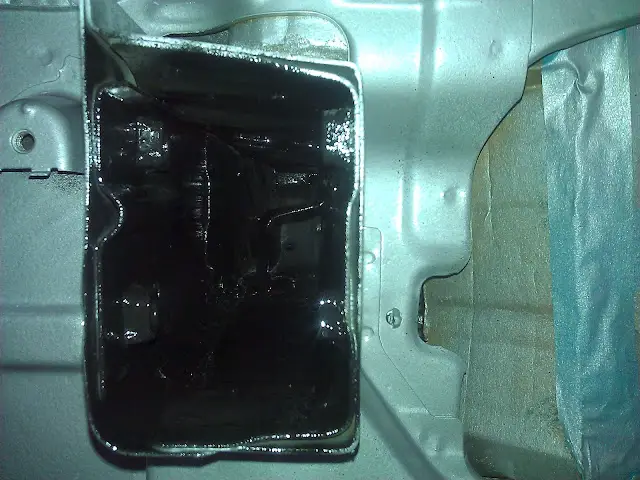
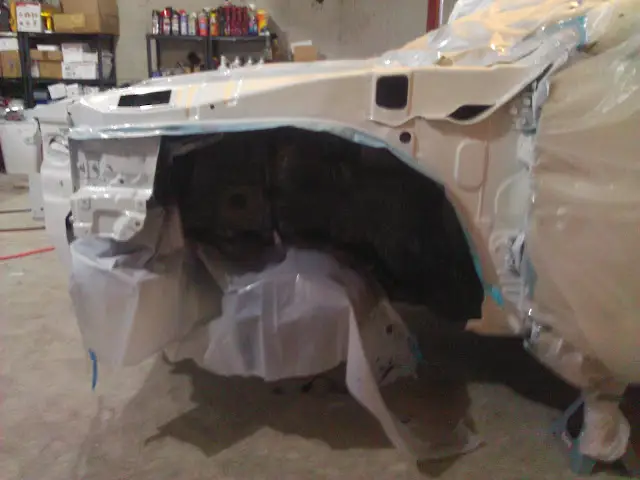
After assessing the rust issue, I decided to correct it using Rust Bullet. I removed all the rust down to bare metal, and then cleaned the surface with another Rust Bullet product called Metal Blast. Metal Blast slightly etches the surface while also removing remaining rust, grease and contaminates. It worked great.

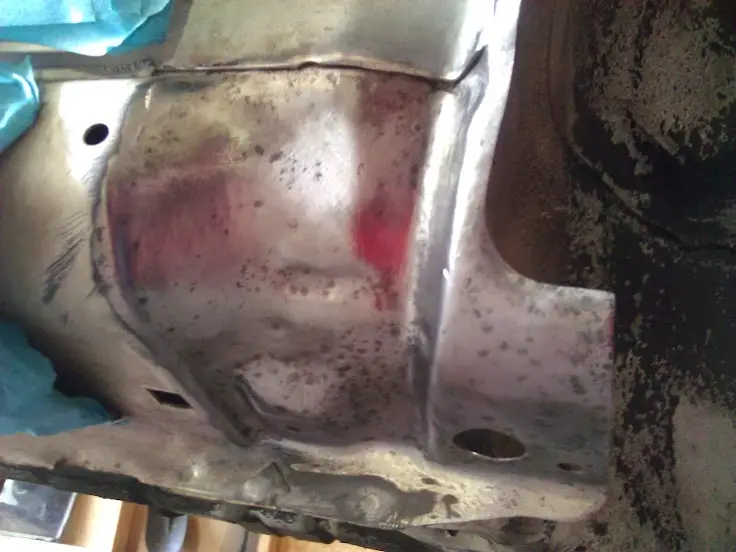
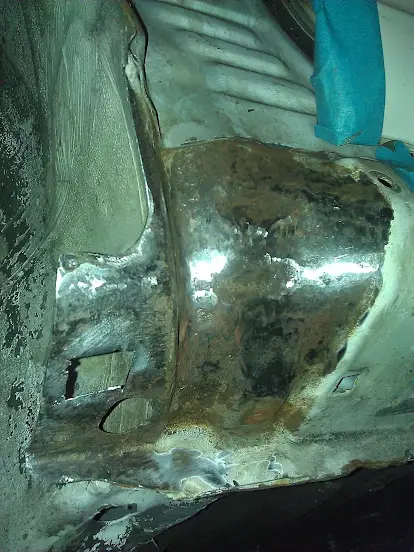
Then, I applied the Rust Bullet grey rust inhibitor over the entire front clip. I applied it using a HVLP gravity spray gun, and ran into a slight issue during application. Rust Bullet is supposed to be ready to spray right out of the can. The problem is, it is really thick. Rust Bullet recommends a 1.7-2.0 fluid tip for application. I was using a 1.7, which I thought would be good, but wasn't quite cutting it. The application wasn't as smooth as I would have liked, so make sure you have a 2.0 fluid tip if you ever plan to spray this stuff and get a real professional looking job. I let the car sit 24 hours, and then coated the wheel wells with BlackShell. It is basically Rust Bullet's black top coat. Despite my inadequate 1.7 tip, it still covered well, and got the job done.

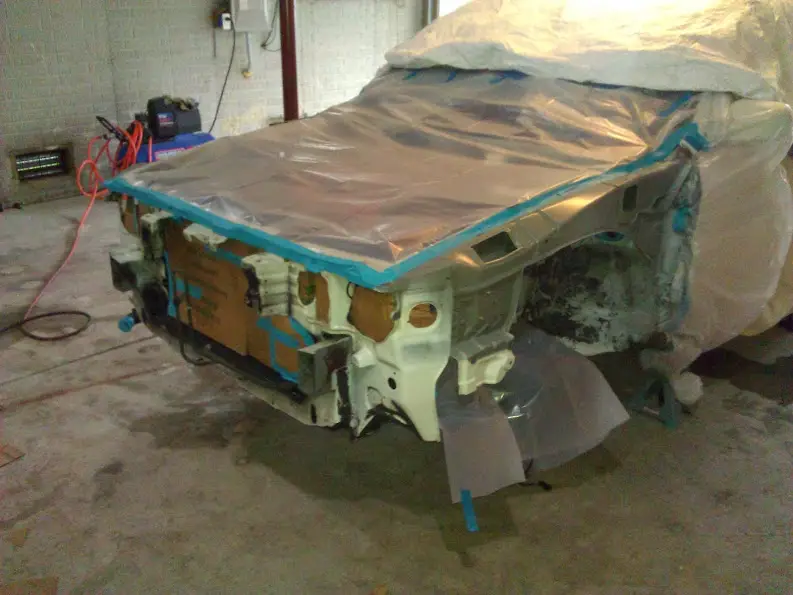
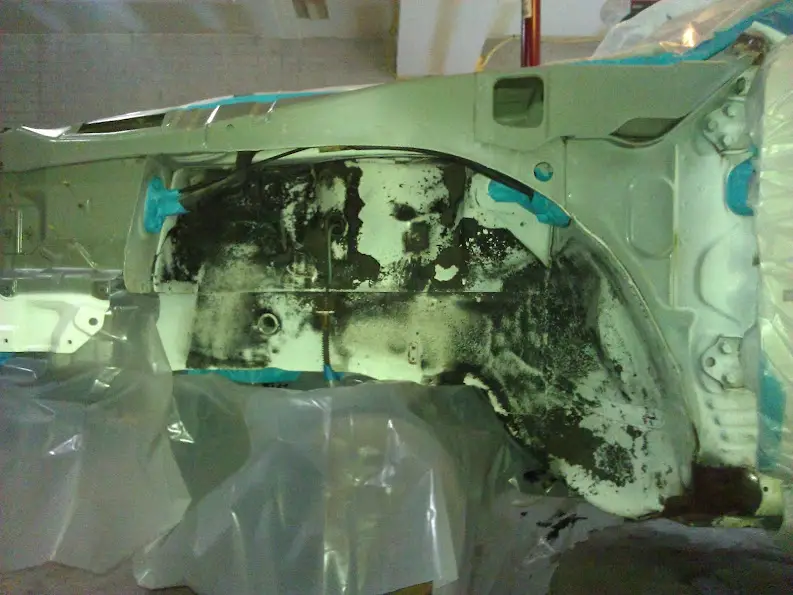
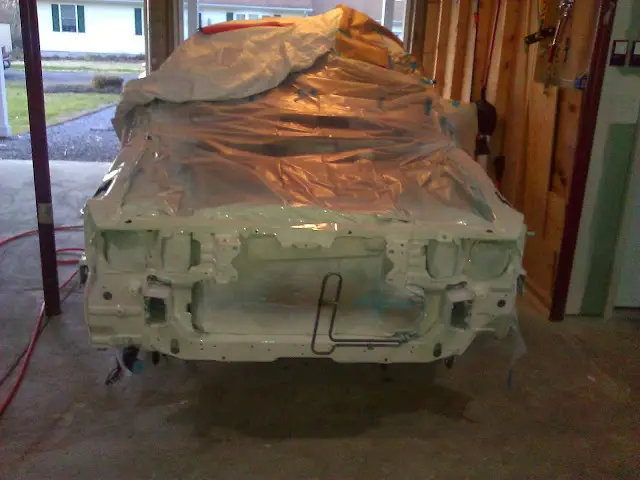
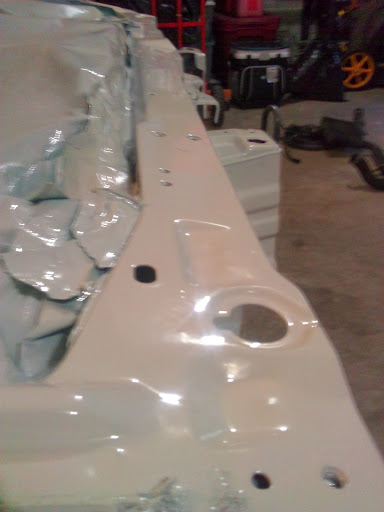
At first, I was just going use the BlackShell to top coat the whole front clip, but then thought it would look much better factory white. In addition, the core support looked horrible, and could stand to be freshened up with a new coat of paint. I decided to order some summit white (WO9) from automotivetouchup.com and give it a try. I ordered a pint of summit white urethane base coat, and a quart of their 2 part urethane clear. Let me just say, for the money, this is pretty good paint. In my experience, pre-reduced ready to spray paint typically sucks. I was really impressed with this stuff though, and to my surprise it matched the rest of the car perfectly. I usually only use PPG products, and I can honestly say this stuff finishes almost just as well. The color and clear both covered really well, and the finish looked great even before buffing/sanding. Bottom line, I'd recommend the paint from automotivetouchup.com to anyone.

Everything I used:
WP_000400.jpg


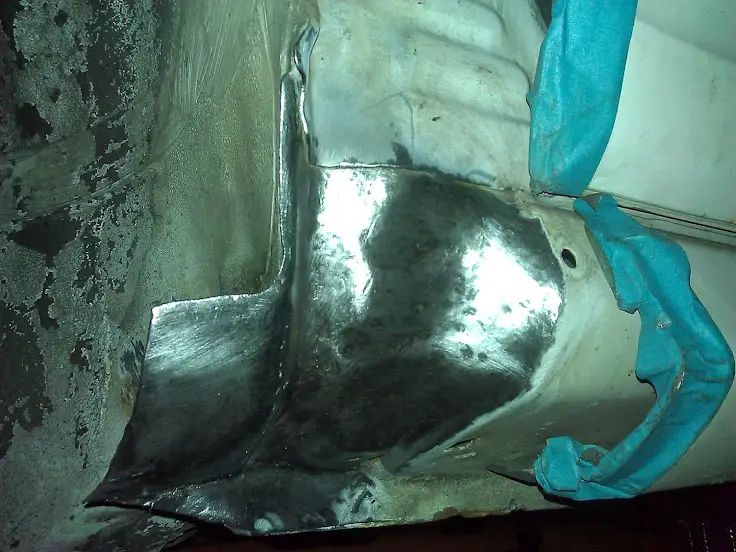
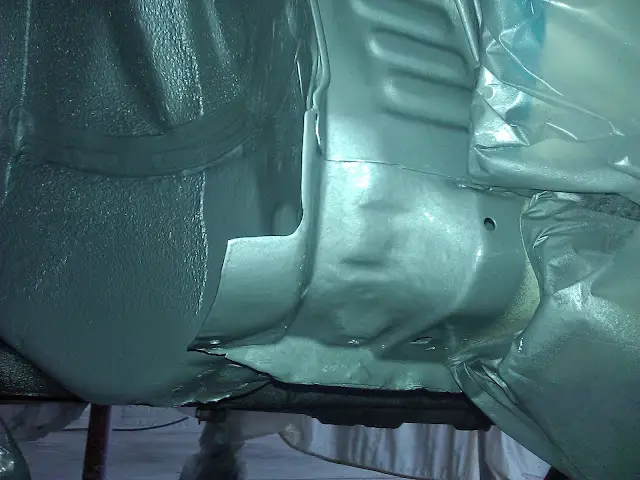
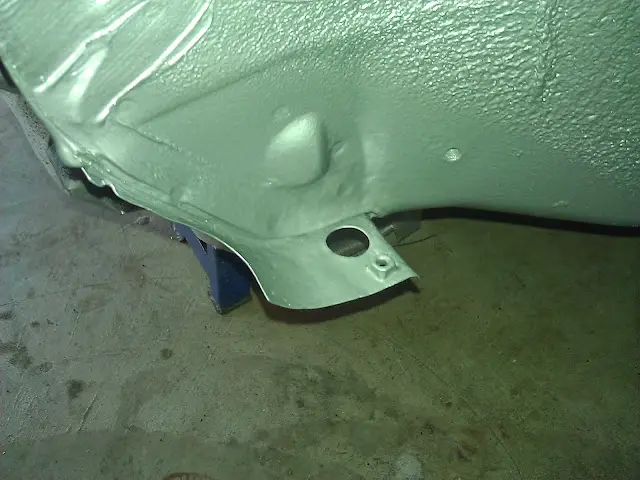
Rust inhibitor applied:
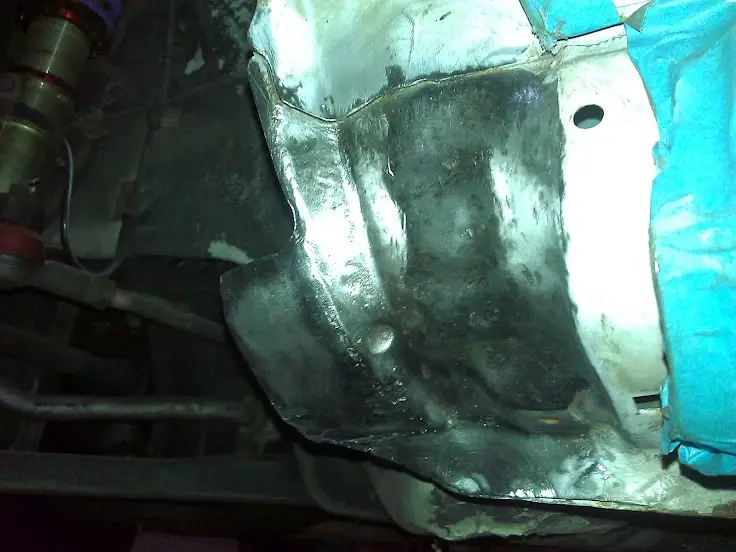
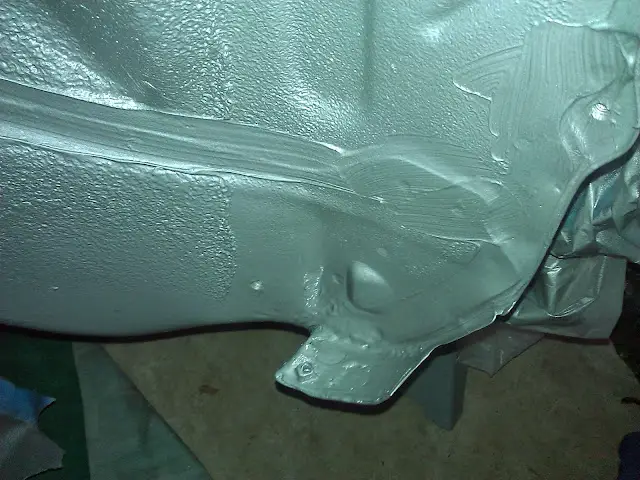
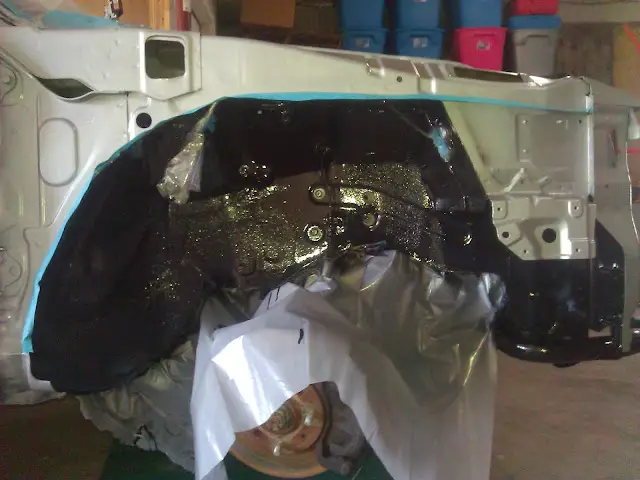
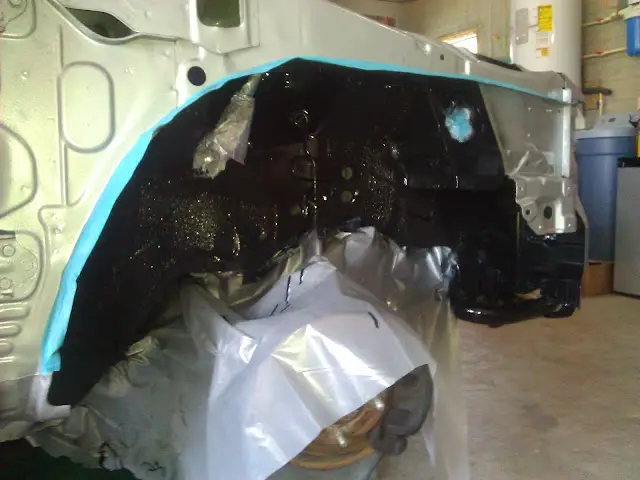
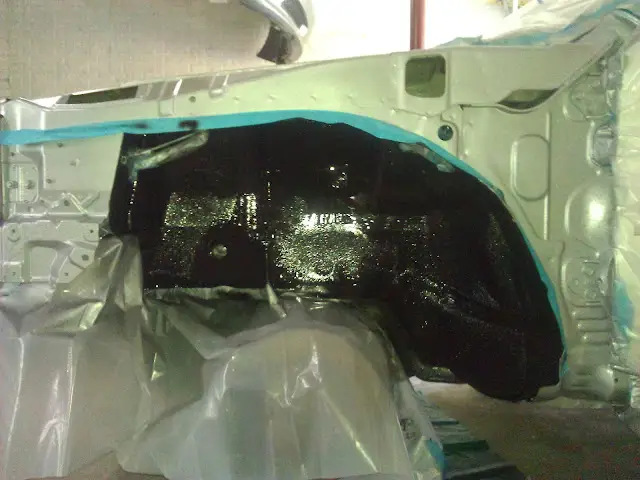
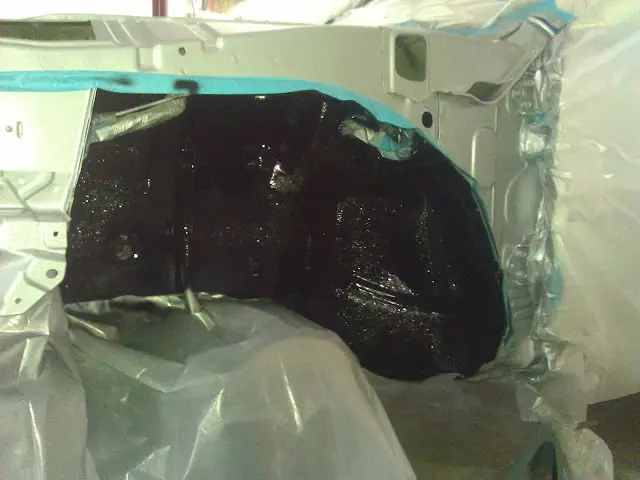
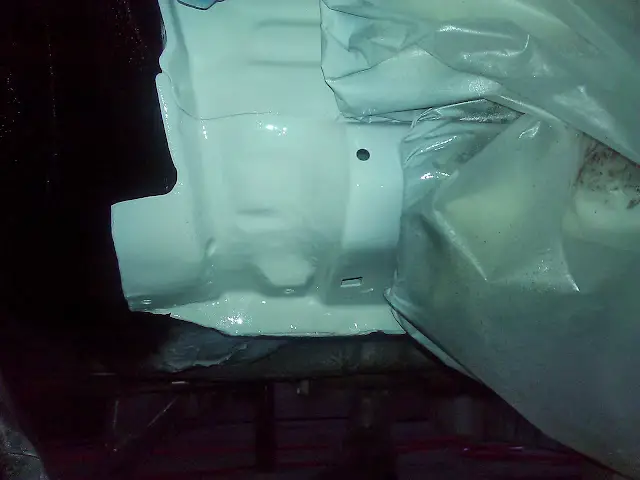
WP_000390.jpg

WP_000378.jpg

WP_000379.jpg

WP_000380.jpg

WP_000382.jpg

WP_000383.jpg

WP_000384.jpg

WP_000387.jpg

WP_000389.jpg

WP_000385.jpg

WP_000386.jpg


BlackShell Applied:
WP_000391.jpg

WP_000392.jpg

WP_000393.jpg

WP_000398.jpg

WP_000396.jpg

WP_000397.jpg

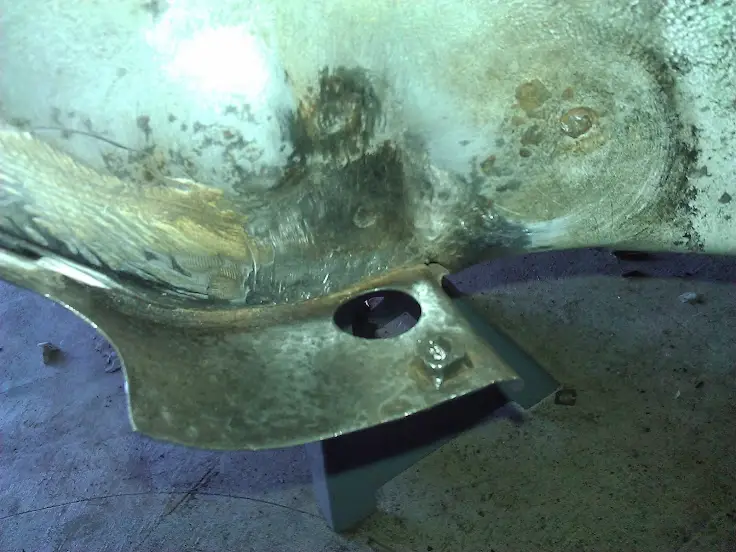
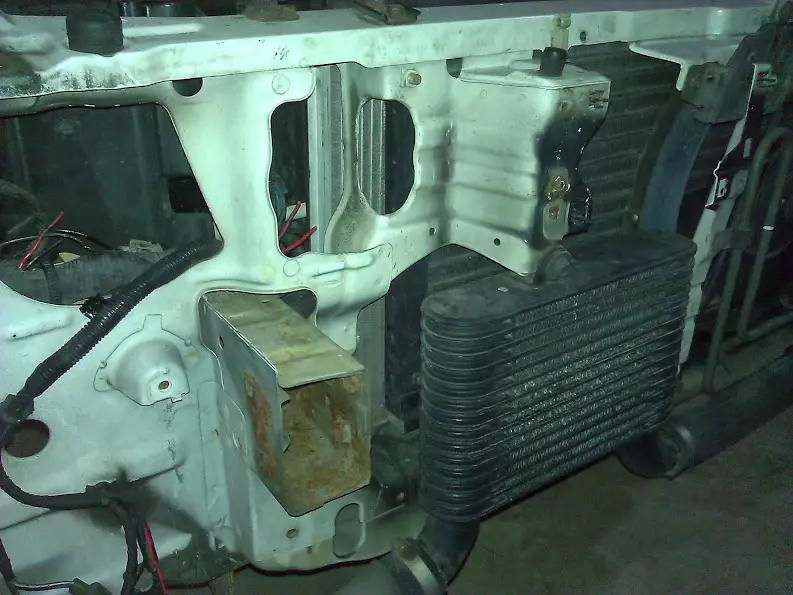
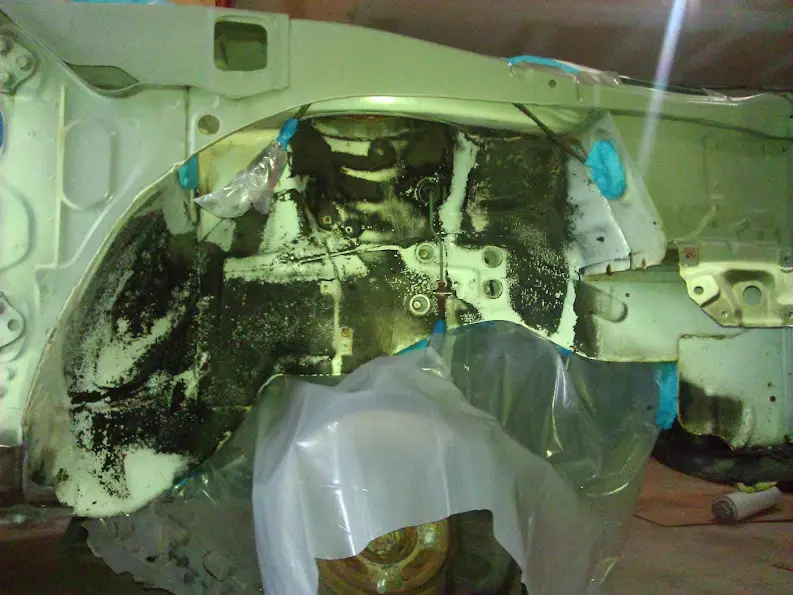
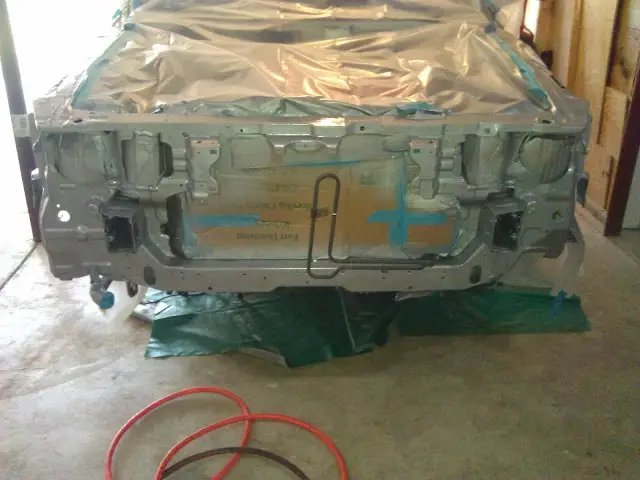
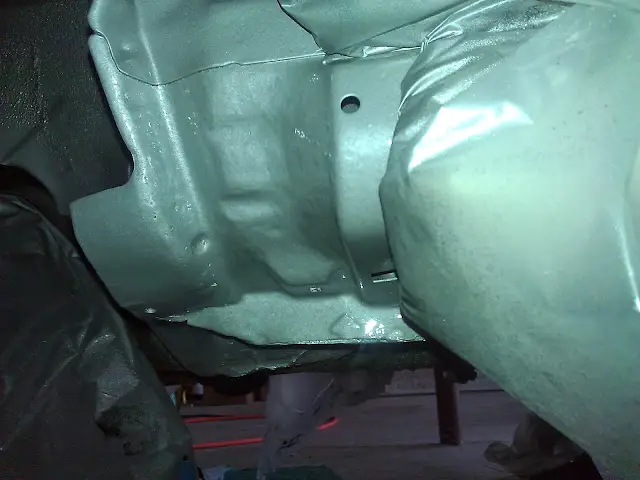
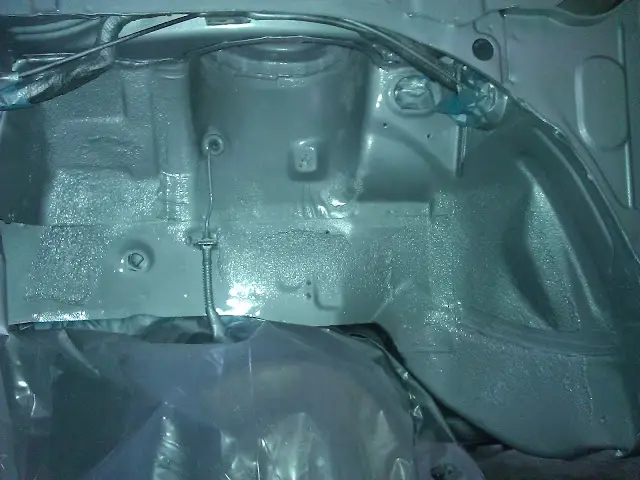
I made sure to get as much inside the frame rail as possible:
WP_000395.jpg


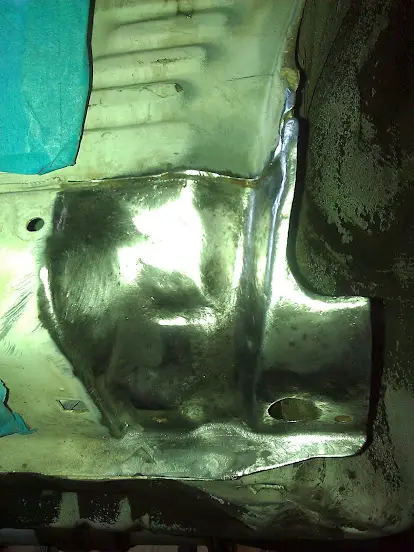
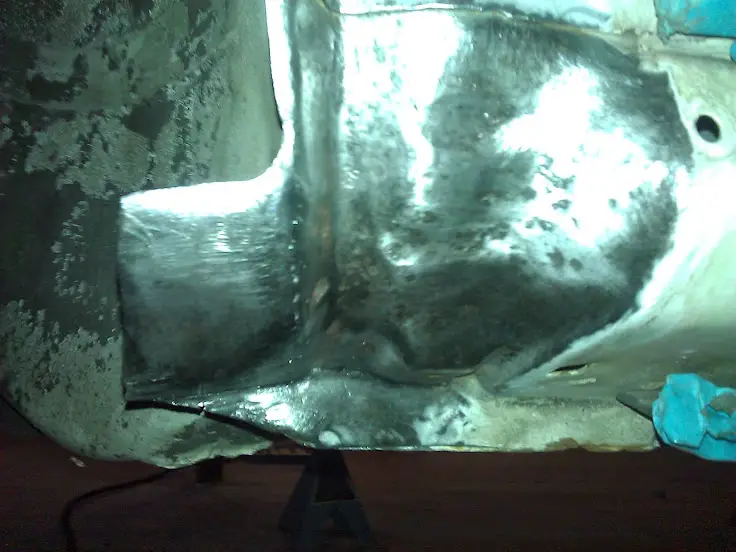
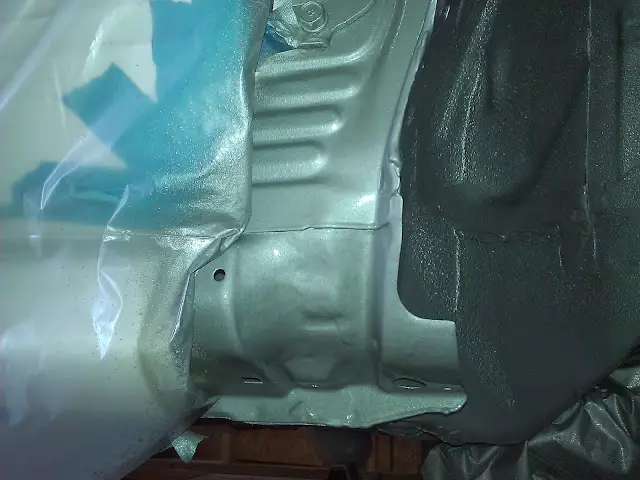
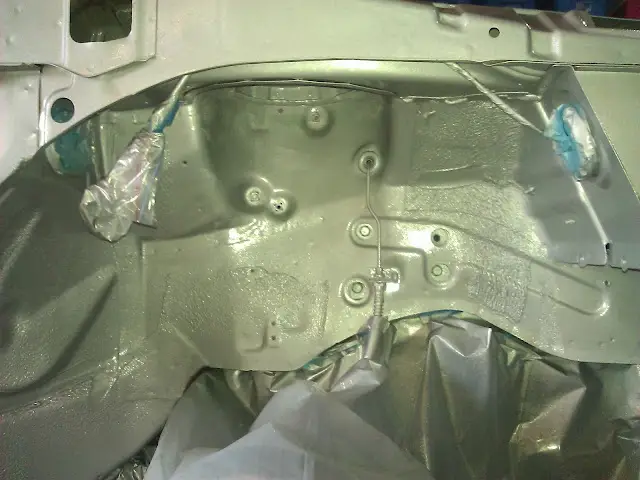
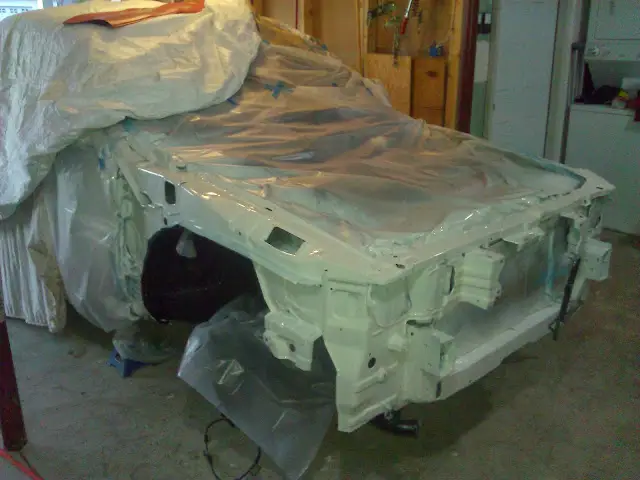
After the W09 base and clear:
WP_000403.jpg

WP_000404.jpg

WP_000405.jpg

WP_000421.jpg

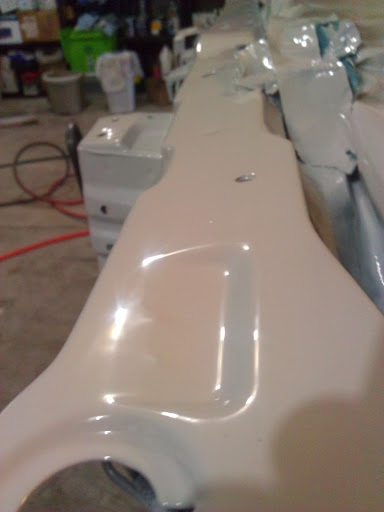
The core support was one of the few areas I spent time sanding and smoothing before shooting the base and clear coats. In comparison to the other areas I just shot without much sanding, it looks glassy smooth.
WP_000408.jpg

WP_000412.jpg

WP_000422.jpg

WP_000418.jpg


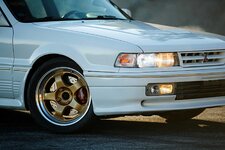
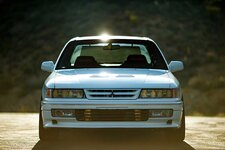
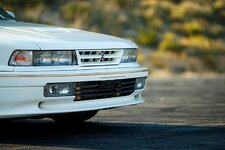
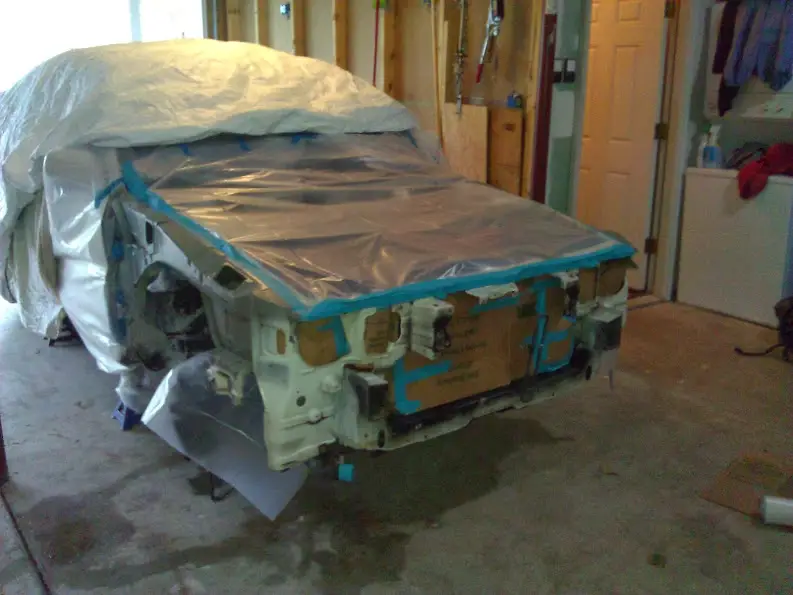
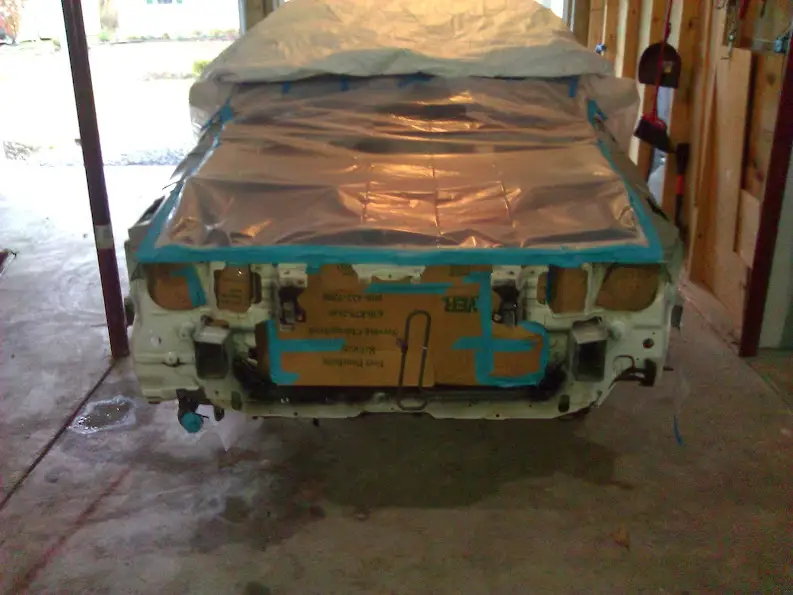
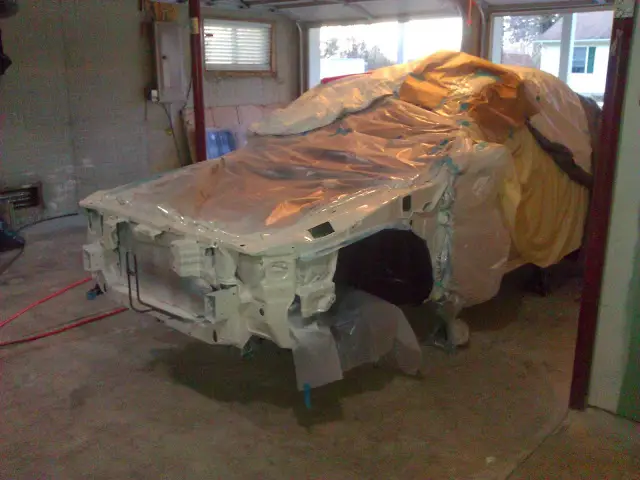
Lastly, I thought I'd put a few shots of the overall progression.

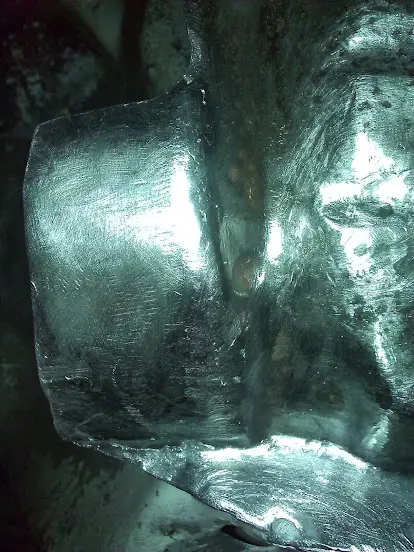
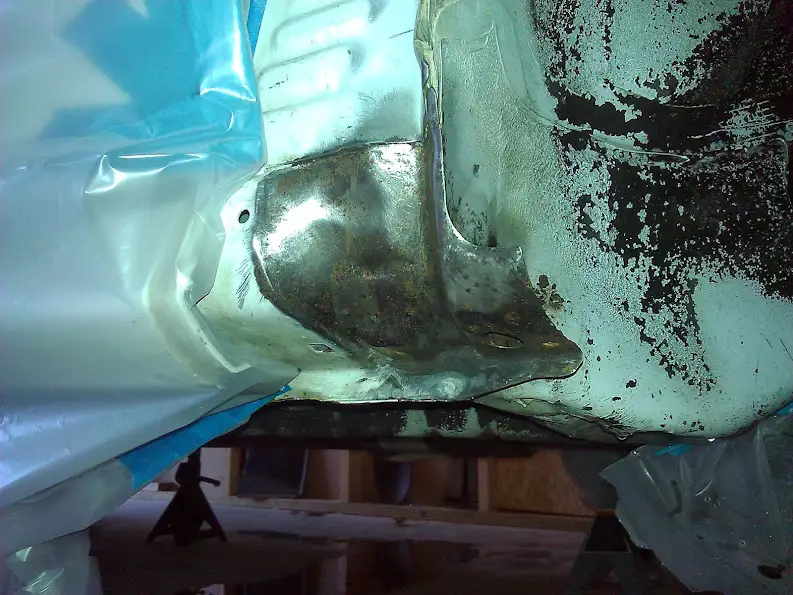
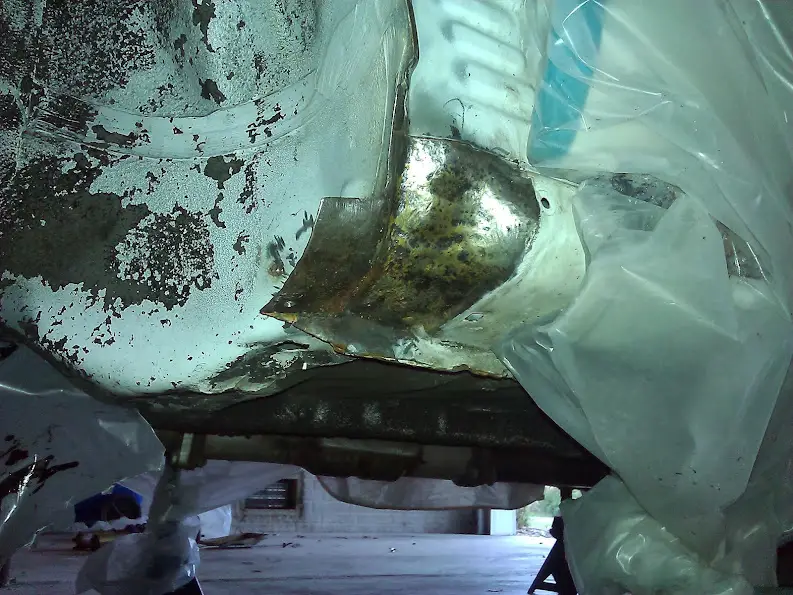
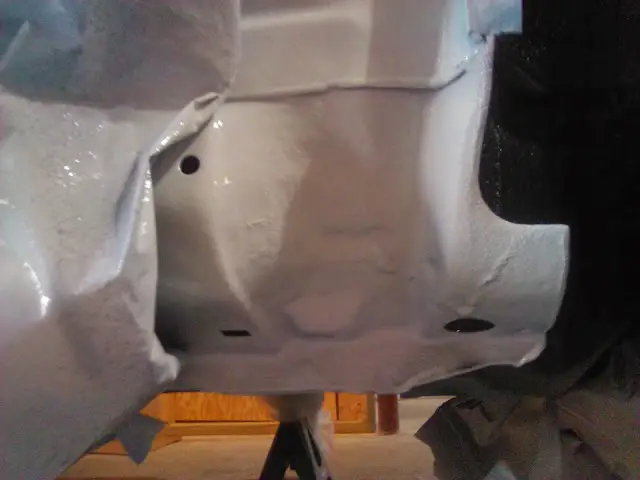
Driver side rust area:
WP_000197.jpg

WP_000213.jpg

WP_000221.jpg

WP_000382.jpg
WP_000418.jpg


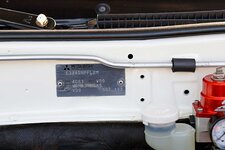
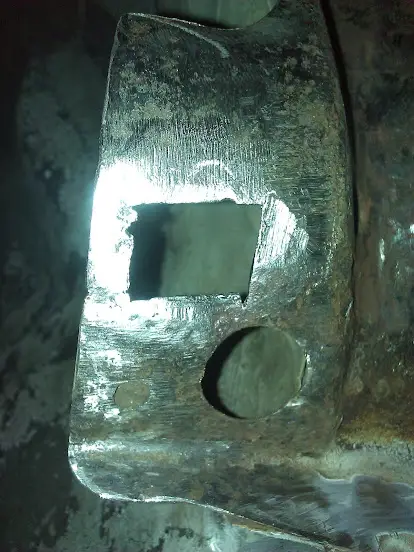
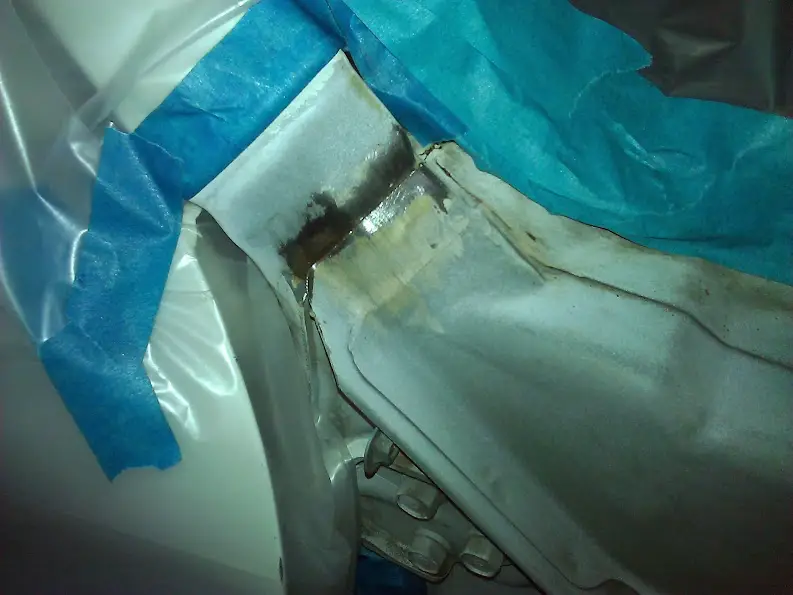
Lower front window support.
WP_000253.jpg

WP_000380.jpg


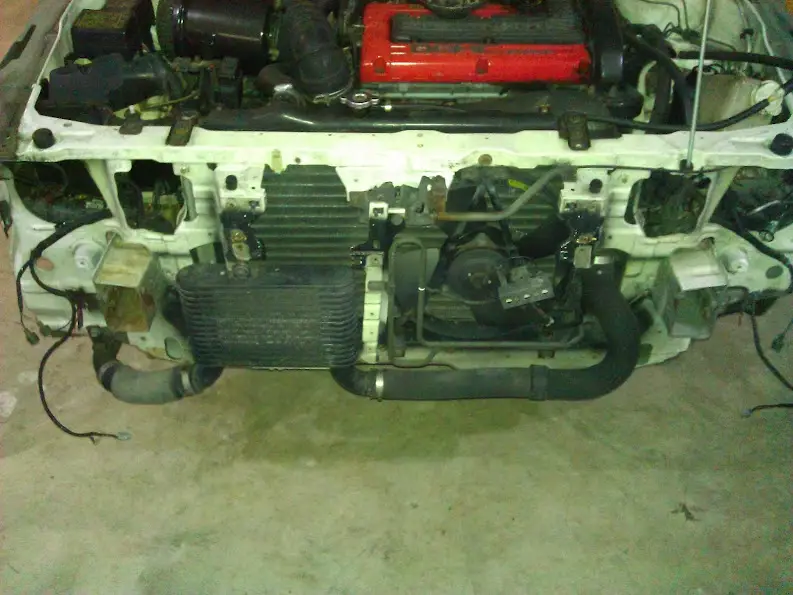
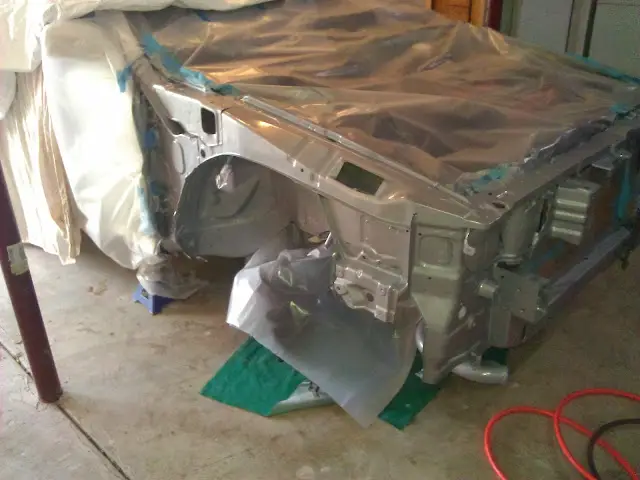
Front view of the clip:
WP_000247.jpg

WP_000256.jpg

WP_000390.jpg

WP_000403.jpg


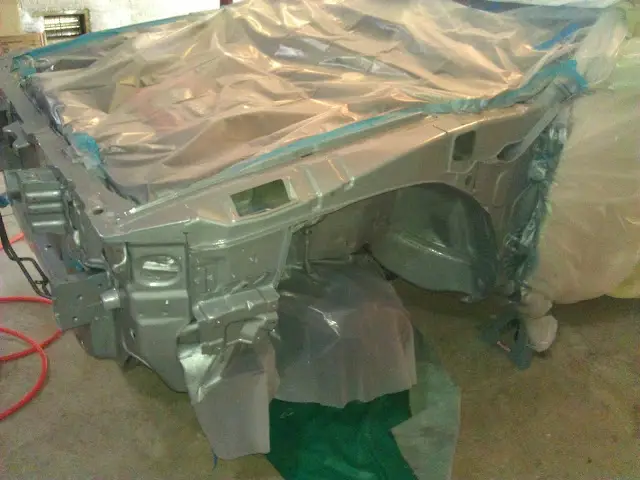
Driver side of the clip:
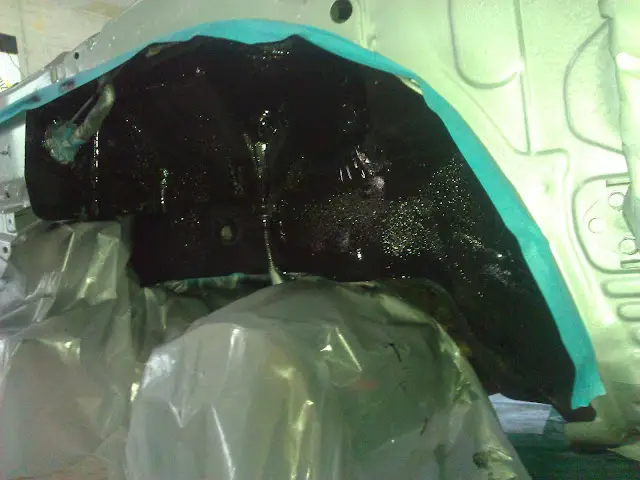
WP_000245.jpg

WP_000257.jpg

WP_000379.jpg

WP_000405.jpg


Driver fender well:
WP_000254.jpg

WP_000385.jpg

WP_000398.jpg

WP_000421.jpg


Now, I just have to throw everything back together. I feel confident that my rust issues are taken care of, at least in the front of the car. The rear area near the doglegs seem to be rust free. As soon as I get some more time, I'd like to do the same thing to the entire undercarriage, much like Charles (bobdole) did.
 
Last edited:

G

Staff member
Joined
Feb 24, 2004
Messages
8,896
Location
zompton
Looks awesome!
 

GSTwithPSI

Well-known member
Joined
Jan 1, 2012
Messages
3,461
Location
SoCal
Thanks, G! I know it must look decent if I have the blessing of the official GVR4 rust appraiser /ubbthreads/images/graemlins/worthy.gif
 
Last edited:

GSX_TC

Well-known member
Joined
Apr 7, 2011
Messages
3,725
Location
Houston, Texas
Way to get rid of that rust Brett!
 

the_underdog

Well-known member
Joined
Dec 14, 2010
Messages
264
Location
Knoxville, TN
Well done! Thank you for all of the great step-by-step pictures too!
 

DynastyLCD

Well-known member
Joined
May 12, 2006
Messages
761
Location
Harwinton, CT
Wow! Awesome job, Brett!

I've wrenched for the better part of 10 years and I would still hesitate to take on a project like that. Congratulations on such an awesome result. You did very well! Now do 881 /ubbthreads/images/graemlins/rofl.gif
 

bobdole

Well-known member
Joined
Aug 23, 2007
Messages
866
Location
U.K.
Looks really good. Great job.
 
Support Vendors who Support the GVR-4 Community
Boosted Fabrication ECM Tuning ExtremePSI Fuel Injector Clinic Jacks Transmissions JNZ Tuning Kiggly Racing Morrison Fabrications RixRacing RockAuto RTM Racing STM Tuned
Top