dsmtalontsi95
Well-known member
So I am going to try to make this work and look stock. My dash has seperated from the foam at the spot where the ECS pod goes so I figure lets try something to fill it and place gauges. I got the idea from other members who have done this as well. The gauges that I'm going to put in are not the ones I'm using to mock it up. They will more then likely be oil pressure and AEM wideband. That could change though. So here's the plan.
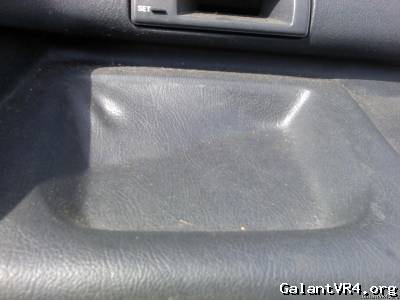
Dash
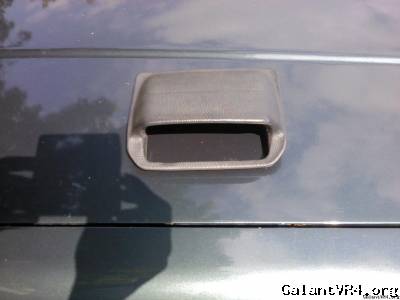
Pod
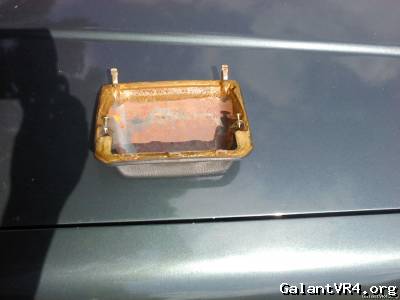
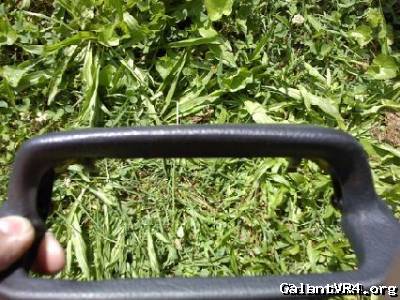
Under pod
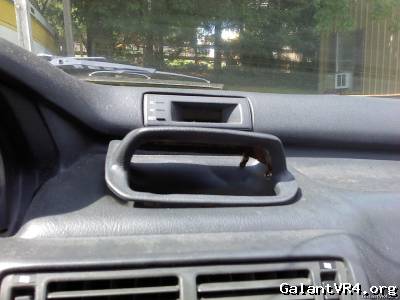
Pod on the dash
Pod with gauges on the dash
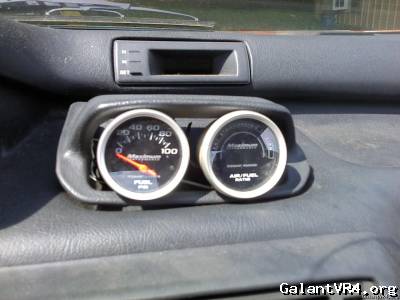
Now with the gauges in the pod, they press on the lower bar of the pod causing it to bow. I'm hoping I can slightly trim the foam to allow the bar to keep straight.
I'm taking the setup to work to see what me and a few of the engineers at work can come up with. I want to fill the pod in the front and sides of the gauges so you can't see the white of the gauges. It looks like we will need to bring a meterial out flush with the edge of the pod. Depending what we come up with I may even try to turn the gauges slightly to the driver but I think it may look bad.
Dash
Pod
Under pod
Pod on the dash
Pod with gauges on the dash
Now with the gauges in the pod, they press on the lower bar of the pod causing it to bow. I'm hoping I can slightly trim the foam to allow the bar to keep straight.
I'm taking the setup to work to see what me and a few of the engineers at work can come up with. I want to fill the pod in the front and sides of the gauges so you can't see the white of the gauges. It looks like we will need to bring a meterial out flush with the edge of the pod. Depending what we come up with I may even try to turn the gauges slightly to the driver but I think it may look bad.
Last edited:
