KiNgMaRtY
Well-known member
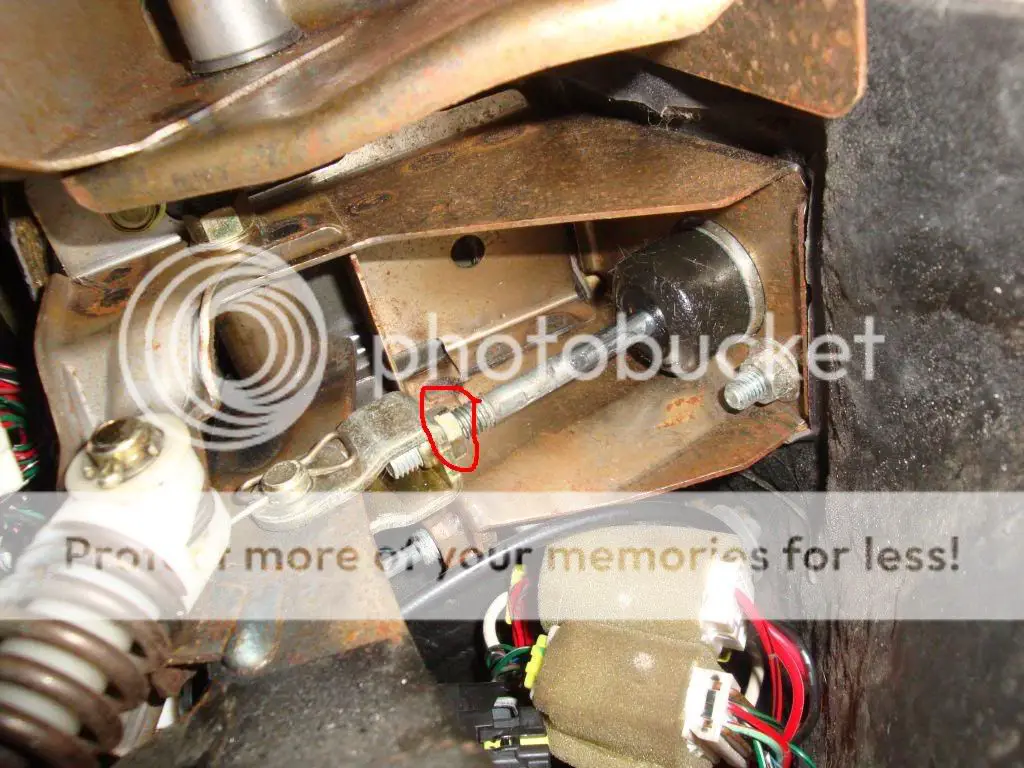
So I started pulling out my clutch pedal assembly this morning. I got it unbolted, dropped the stealing column, disconnected the befalls from the rods and pulled the mastercylinders back. The brake master cylinder doesn't go very far back. When I try to wiggle the assembly out it won't clear the mater cylinder rod fork. I then can't pull it out enough to clear it because the top of the assembly hits the bracket the would hold up the under dash cover/ holds up the little fuse box.
Am I missing something.?
Am I missing something.?