The Top Mitsubishi Galant VR-4 Resource

Join the best E39A 1991-1992 Mitsubishi Galant VR-4 community and document your GVR4 journey.

  • Software Upgraded - Reset Your Password to Login
    In order to log in after the forum software change, you need to reset your password. If you don't have access to the email address you used to register your GVR4.org account, you won't be able to reset your password. In that case, follow the instructions here to regain access to the forum.

The never ending build of 1062.

Galantvr41062

Well-known member
Joined
Aug 20, 2007
Messages
410
Location
plymouth, MN
I was out of town 2 weeks ago, and did not have time to head down to discount steel until this saturday. So here is the start of the frame work for the removable front end.

Picture_10326.jpg

Picture_10329.jpg

Picture_10328.jpg

Picture_10331.jpg

Picture_10330.jpg

Picture_10334.jpg

Picture_10332.jpg


~John
 

Galantvr41062

Well-known member
Joined
Aug 20, 2007
Messages
410
Location
plymouth, MN
Picture_10338.jpg


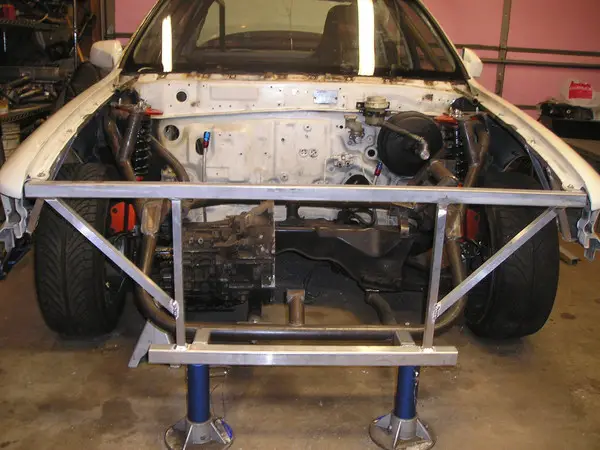
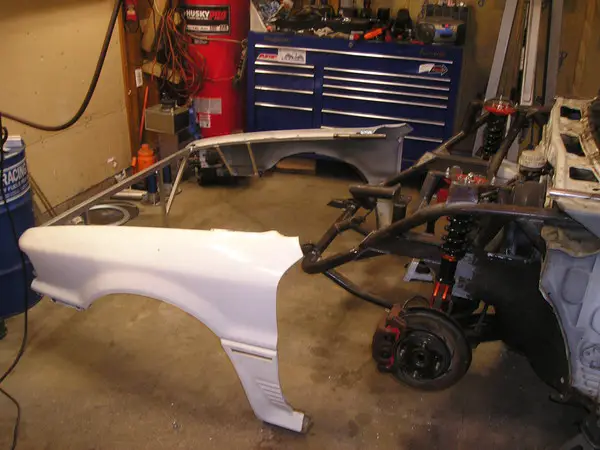
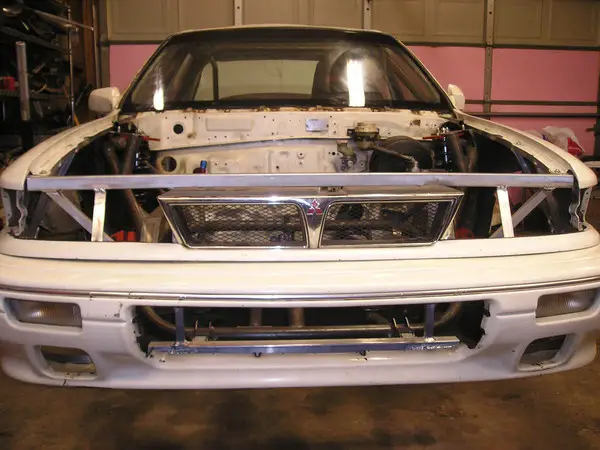
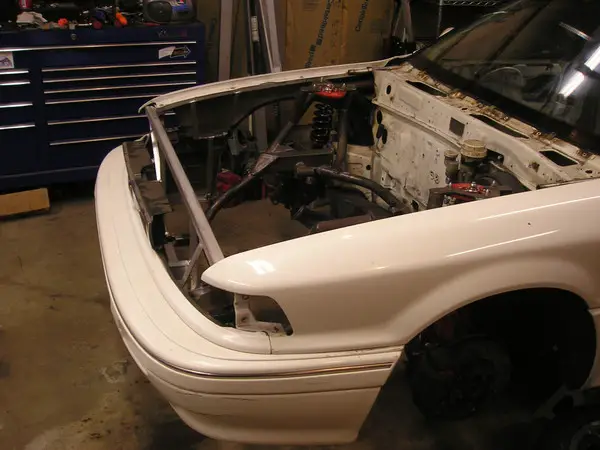
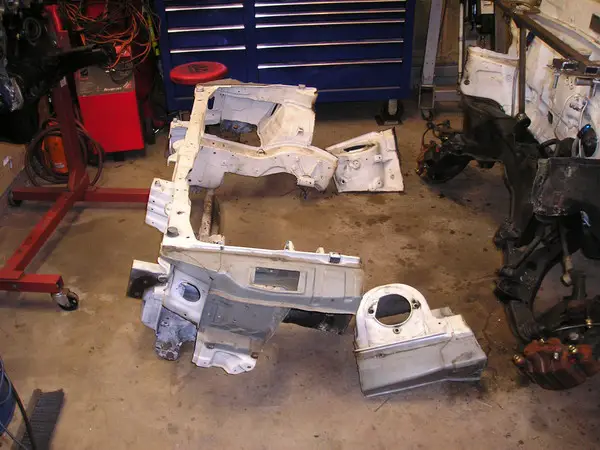
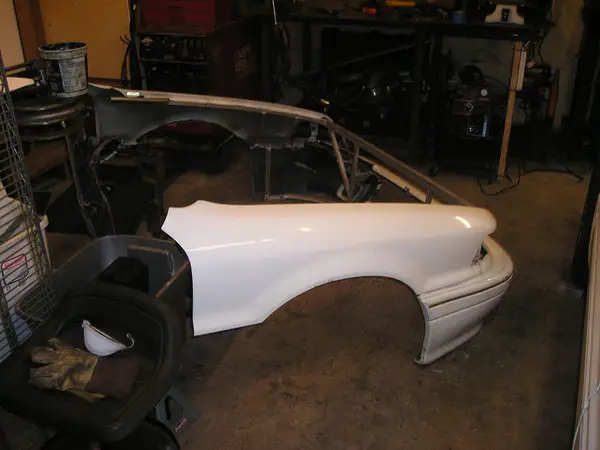
Here it is, removable fender/frame assembly.

Picture_10342.jpg


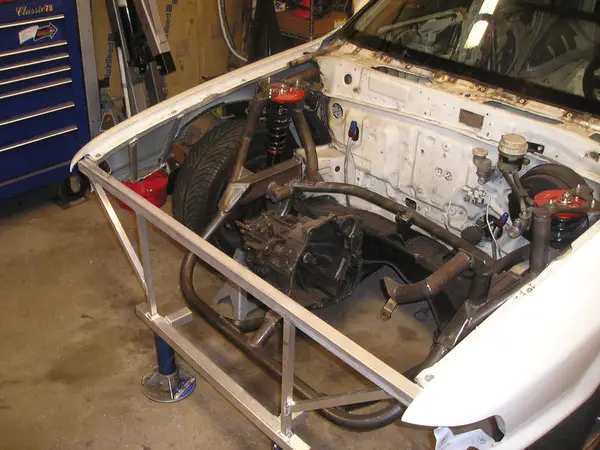
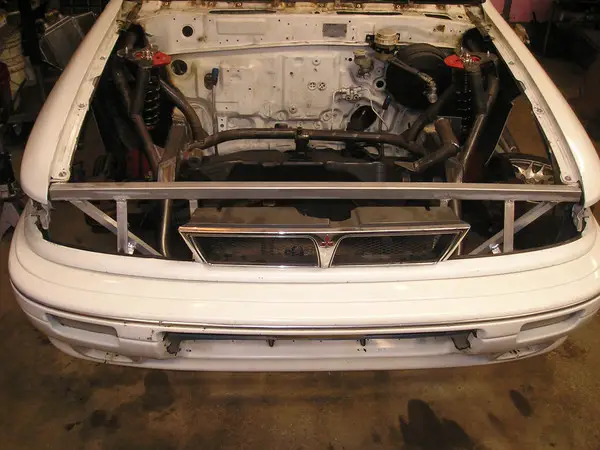
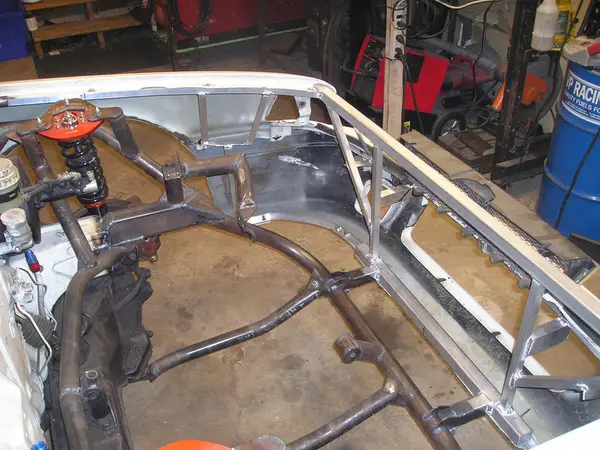
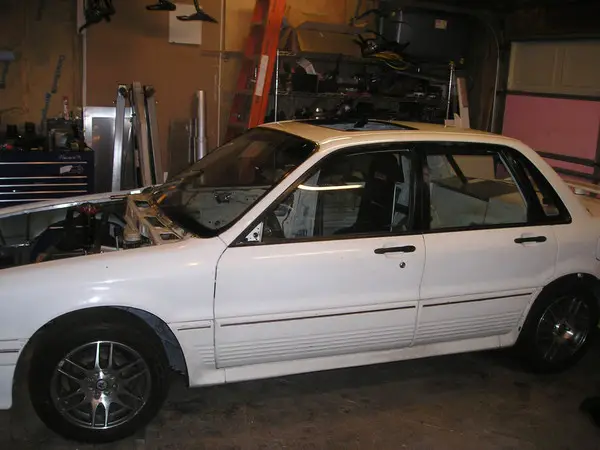
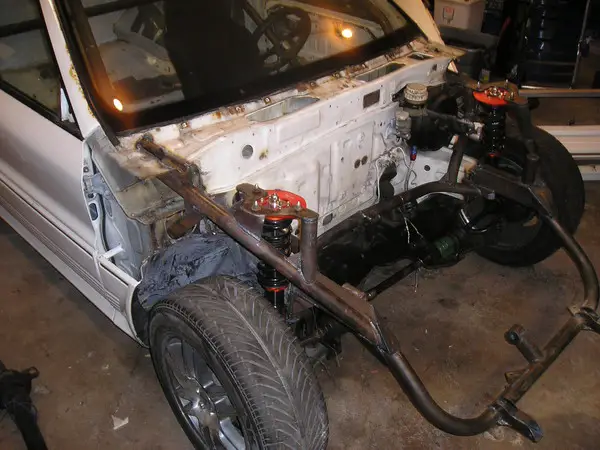
This is the first stage of removal and about half way threw the install of the front clip. I will modify the fire wall mounts so that with a second set of hands the front clip can be removed with or with out the hood on and the front wheels on and the car with it on the ground by only removing 4 pins. All this to make it easier to work on of course.

Picture_10343.jpg


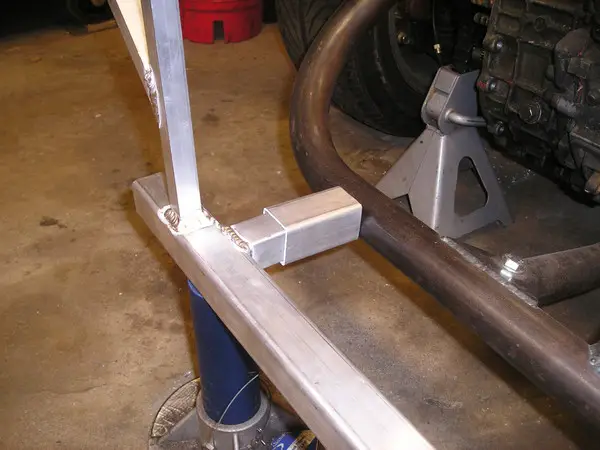
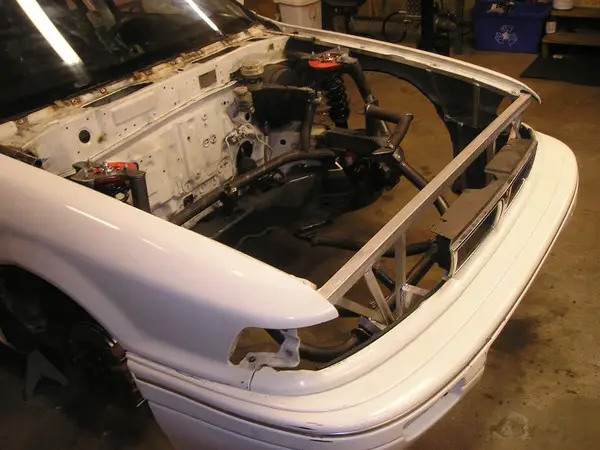
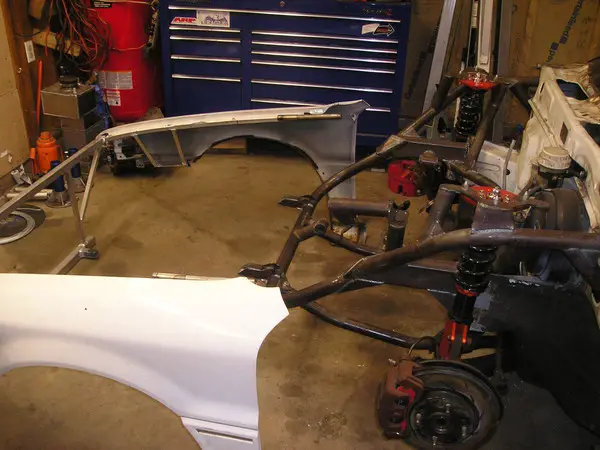
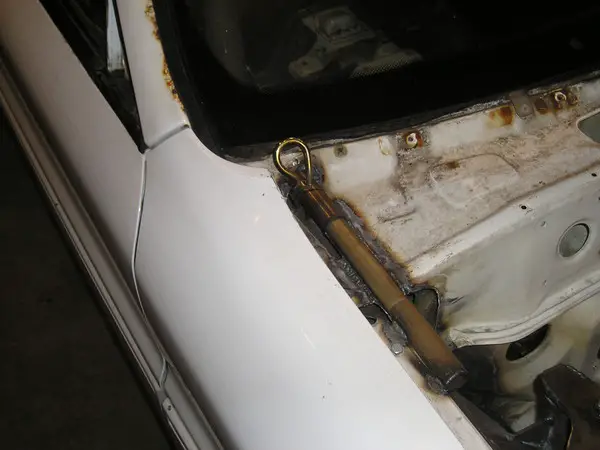
Here it is pushed in to the correct depth.

Picture_10339.jpg


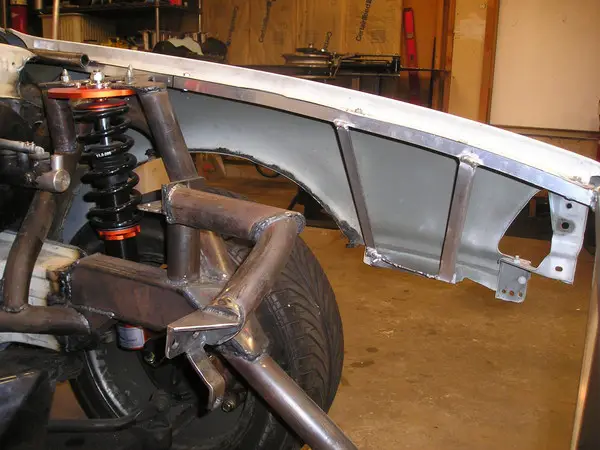
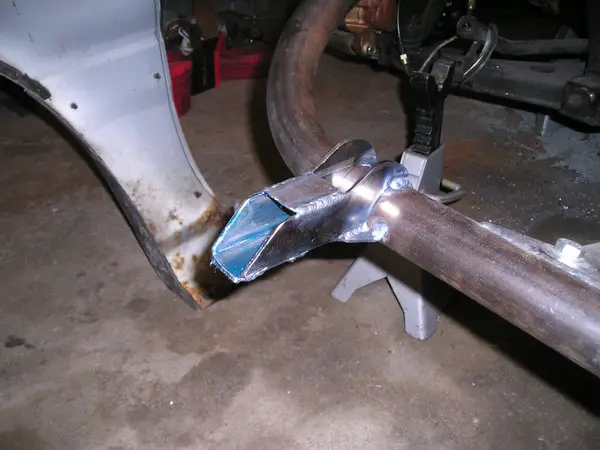
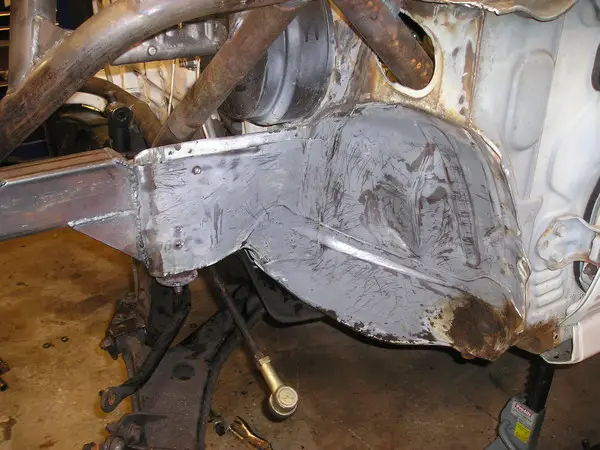
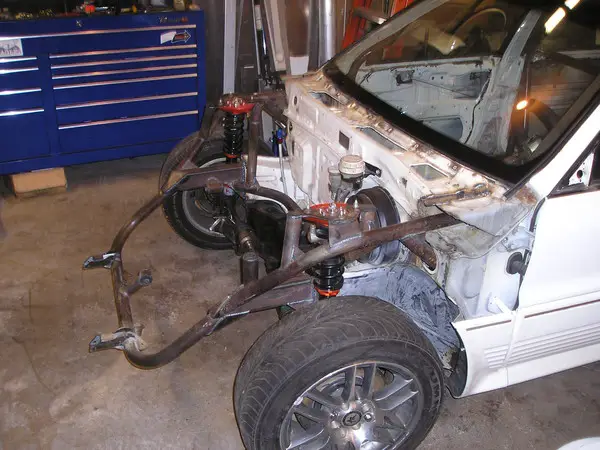
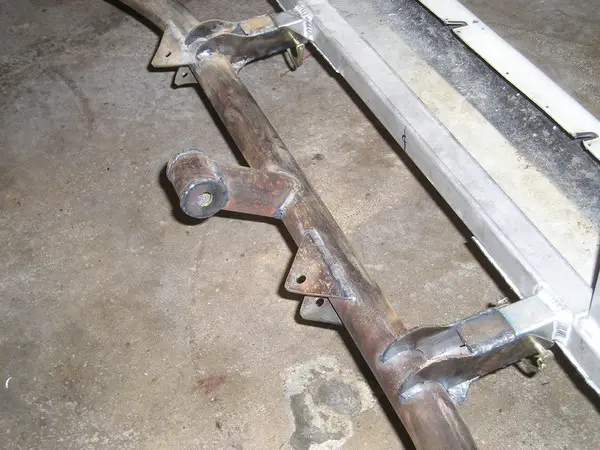
Here are the front slip connections, these are fabricated out of 1/8" mild steel and will be fully welded to the frame when completed.

Picture_10341.jpg


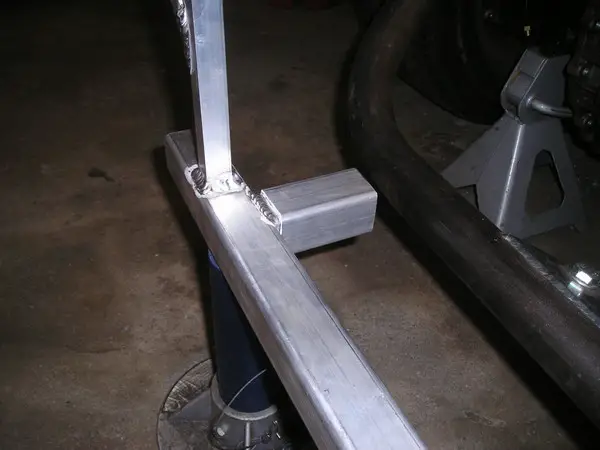
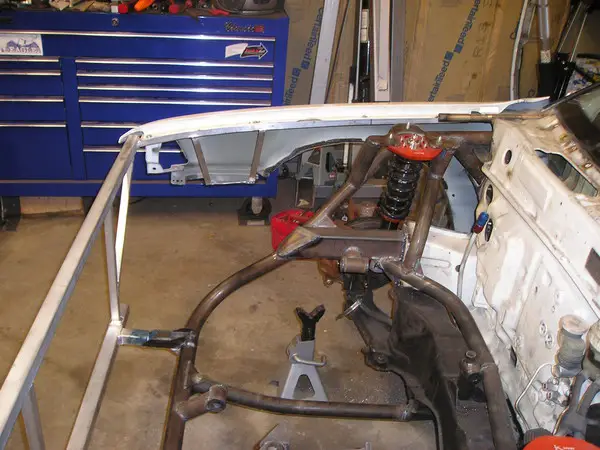
The other side bracket

Picture_10344.jpg


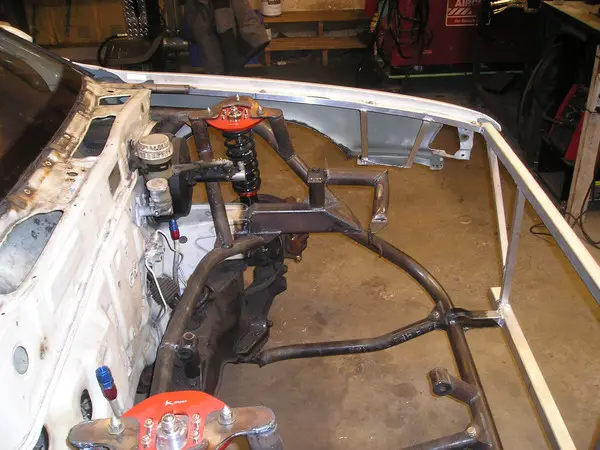
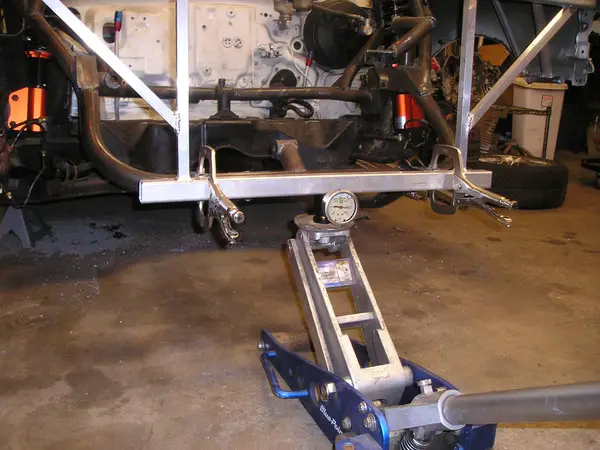
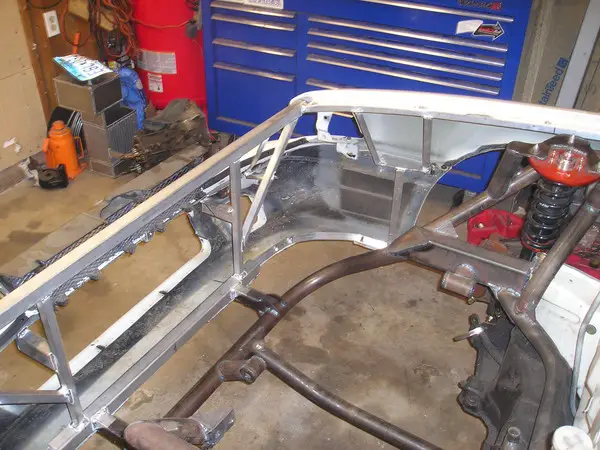
I think the brackets are strong, yes this is me standing on the front core support.

Picture_10345.jpg


Picture_10347.jpg


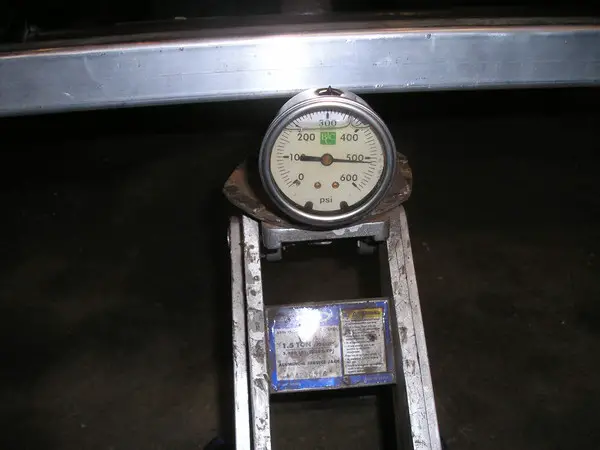
Never mind, I think I might have made this structure a little to strong, this is a floor jack with a 0-600 PSI gauge on top, and it only takes about 520lbs to lift the entire front end of the car right now, so I do not need to worry much about this setup flying off the front of the car anytime soon. I thought I would just see how much pressure it could handle before it started to bend or something. Now I just need to make the front bumper cover mounts, front grill mounts, head lights/turn signal mounts, then finish weld and start to paint stuff.

~John
 

Galantvr41062

Well-known member
Joined
Aug 20, 2007
Messages
410
Location
plymouth, MN
The reason I was showing that is there are no rules or regulations for the front of the car. All of the NHRA and IHRA rules are made to save the driver, so figuring out how to make a tubular front end and a removable front clip is a little of a stab in the dark for me. I am lacking the needed engineering degree to know what will work so I am over building the front end. I have looked at few door slammer cars and a full tube chassis car build to come up with my cars front end design.

I did get the front bumper cover mounted up tonight, here are a few pics.

Picture_10351.jpg

Picture_10349.jpg

Picture_10348.jpg

Picture_10350.jpg

Picture_10352.jpg

Picture_10353.jpg


~John
 

NateCrisman

Well-known member
Joined
Nov 22, 2008
Messages
2,054
Location
Blairstown, NJ
Have you been keeping track of weight so far in what you cut off of OEM front end vs what you have built? Im very interested in the weight change more than anything.
 

Galantvr41062

Well-known member
Joined
Aug 20, 2007
Messages
410
Location
plymouth, MN
Picture_2039.jpg

The front end pieces on the ground weight about 80lbs.

Picture_10337.jpg


Here is what replaced what was removed, minus the fenders. I estimate this weight to be about 50lbs total, but the main structure should be stronger then the factory unibody design. So in the end I saved about 30lbs of weight up front but it should be A LOT easier to work on.

~John
 
Last edited:

Galantvr41062

Well-known member
Joined
Aug 20, 2007
Messages
410
Location
plymouth, MN
With the front clip done until I get a hood I moved the car forward and started to cut up the rear end of the car. So far I have found about 80lbs to remove. The rear doors are gutted minus the crash bar and the door handles to open it. The glass is held up by a bracket that is bolted to the crash bar. The truck area is cut up and I bought some thin aluminum sheet to rivet in to cove the new holes. I will remount the fuel cell and make the truck lid as light as possible and will be held on with 4 pins vs the latch and hinge setup. Then after the rear bumper is re mounted I will weigh the rolling chassis in its more complete state to see how heavy it is.

~John
 

steve

Well-known member
Joined
Sep 11, 2003
Messages
18,897
Location
NJ
Quoting GalantVR41062:
Picture_8056.jpg


img.php
 

Galantvr41062

Well-known member
Joined
Aug 20, 2007
Messages
410
Location
plymouth, MN
That made me LOL. I was out working on the back end of the car again, long story short there will be a lexon rear windshield and about 200lbs of weight removed sense the last time it was on the scales. One step closer to the 2400lb race weight.

~John
 

Galantvr41062

Well-known member
Joined
Aug 20, 2007
Messages
410
Location
plymouth, MN
In the process of removing the trunk lid hinges the rear glass broke, no bid deal minus the mess it made. Here a few pics of the progress. This will be a little easier to seal off the trunk area all said and done also.

Picture_10358.jpg

Picture_10354.jpg

Picture_10356.jpg

Picture_10355.jpg

Picture_10357.jpg


~John
 

Wow what an amazing Build thread, one of the best ive seen. Great workmanship keep it up!
 

Galantvr41062

Well-known member
Joined
Aug 20, 2007
Messages
410
Location
plymouth, MN
Picture_11357.jpg

Here is the external pic of the rear deck lid.

Picture_11362.jpg

Here is the inside shot of the rear deck lid, the interior will be painted all 1 color.

Picture_11364.jpg

This is the passenger front wheel well.

Picture_11365.jpg

This is the driver front wheel well, we removed a total of 6 lbs of under body coating, this included both front wheel wells and few feet of the floor pan. I would guess the under body coating is a total of 15lbs and the rest will stay on the car for now.

Picture_11320.jpg

Picture_11321.jpg

Picture_11322.jpg

Here is the solid rear bushing I made to replace the rubber on the front lower control arm. This is steel and chrome moly welded and lubed with extreme high pressure grease.

Picture_11324.jpg

Here is a shot of the welded in solid subframe mounts I made.

More to come later this week. I do have a few more pics in my album, and thanks for looking.

~John
 

strokin4dr

Well-known member
Joined
Aug 30, 2005
Messages
2,770
Location
Savannah, GA
Making great progress, keep it up!
 

curtis

Well-known member
Joined
May 4, 2003
Messages
11,892
Location
Clarksville TN
Do work son..... /ubbthreads/images/graemlins/applause.gif Liking the aluminum front end.
 

Galantvr41062

Well-known member
Joined
Aug 20, 2007
Messages
410
Location
plymouth, MN
Thanks guys, I do not like to think about the man hours so far into this project. But on a plus note its getting closer to rolling.

Picture_12328.jpg


Rolling on all 4 again. A rear bumper cover and a hood away from a complete rolling chassis

Picture_12337.jpg


I removed the plastic molding and cut the bottom part of the fenders off.

Picture_12334.jpg

Picture_12335.jpg


And solid mounted the plastic molding to the chassis, and a few zuss fasteners will hold the bottom parts of the fenders in.

Picture_12330.jpg

Picture_12338.jpg

Picture_12333.jpg


The front clip now has quick release pins, which will be removable even with the hood installed.

Picture_12331.jpg

Picture_12332.jpg


The fuel cell is mounted and the battery box has a home, I just need to buy the thread rod for the battery tie down.

Just a few more items to finish up the chassis then its back onto getting the engine up and running, then finish mount a few items when the motor is back in the car.

~John
 
Support Vendors who Support the GVR-4 Community
Boosted Fabrication ECM Tuning ExtremePSI Fuel Injector Clinic Jacks Transmissions JNZ Tuning Kiggly Racing Morrison Fabrications RixRacing RockAuto RTM Racing STM Tuned
Top