Bimmubishi
Well-known member
I know of only one other that might take the title but it's a little less street and a little more race.
Paul asked me to post some pics of parts we're recieving for him on a daily basis. There'll be more to come. These are parts exactly to his specification so I'm sure he's more prepared to answer questions than I am. (especially on the electronics!!!)
There are plenty more to come!
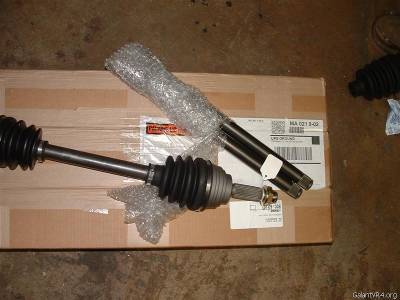
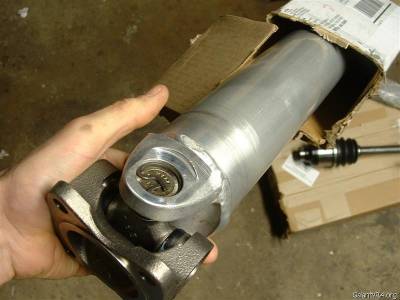
Driveshaft shop step 2 axles front and rear. Heat treated ALU driveshaft.
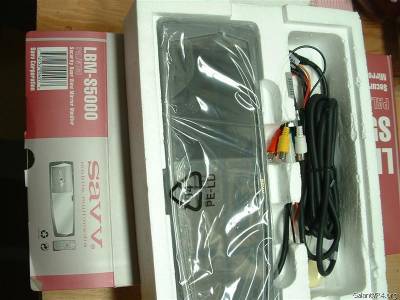
James Bond rear view mirror (WTF!? Paul, you're nuts /ubbthreads/images/graemlins/smile.gif
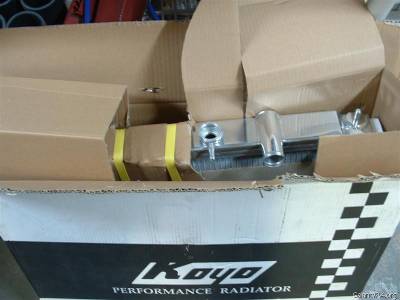
Koyo Radiator
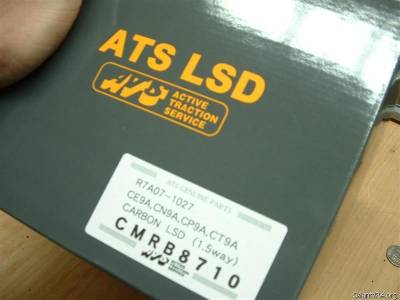
ATS Front and Rear carbon differentials, Cusco Center on the way now.
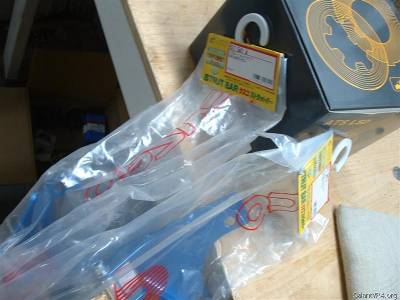
Cusco Front and Rear Strut bars (last ones in the world)
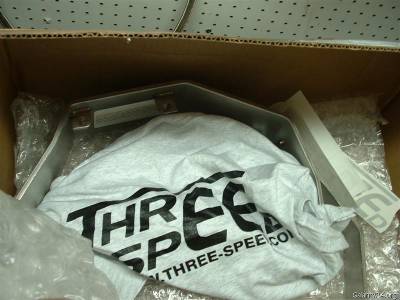
Three Speed SS, after all the chassis work he's not going to want to grenade a flywheel and ruin his car.

Holset HX35/40 internal gate direct bolt on (you guys have seen this one)
Paul, I'm calling about your wheels today.
Al
Paul asked me to post some pics of parts we're recieving for him on a daily basis. There'll be more to come. These are parts exactly to his specification so I'm sure he's more prepared to answer questions than I am. (especially on the electronics!!!)
There are plenty more to come!
Driveshaft shop step 2 axles front and rear. Heat treated ALU driveshaft.
James Bond rear view mirror (WTF!? Paul, you're nuts /ubbthreads/images/graemlins/smile.gif
Koyo Radiator
ATS Front and Rear carbon differentials, Cusco Center on the way now.
Cusco Front and Rear Strut bars (last ones in the world)
Three Speed SS, after all the chassis work he's not going to want to grenade a flywheel and ruin his car.
Holset HX35/40 internal gate direct bolt on (you guys have seen this one)
Paul, I'm calling about your wheels today.
Al
Last edited:
