The Top Mitsubishi Galant VR-4 Resource

Join the best E39A 1991-1992 Mitsubishi Galant VR-4 community and document your GVR4 journey.

  • Software Upgraded - Reset Your Password to Login
    In order to log in after the forum software change, you need to reset your password. If you don't have access to the email address you used to register your GVR4.org account, you won't be able to reset your password. In that case, follow the instructions here to regain access to the forum.

New Owner of 820/1000

thomcasey

Well-known member
Joined
Sep 24, 2014
Messages
907
Location
Indianapolis, IN
It gets cold in Maryland, heat would suck with a 180 thermostat.
 

GSTwithPSI

Well-known member
Joined
Jan 1, 2012
Messages
3,461
Location
SoCal
The PO swapped a slim fan in place of the stock puller. I'm going off the stock gauge (which is known to be inaccurate), but at idle, the needle sits just past the middle on the hot side, which I thought was a bit warm. With summer coming up, I though a 180* T-stat might be a decent idea until I can get a logger or ECMlink on the car and figure out how hot it's running exactly. It's not really a performance oriented modification so much as it is a precautionary measure. For all I know, it could already have a 180* T-stat in it.

I crossed my fingers today as I switched on the A/C. I heard the compressor and fan kick on as the car's idle bumped up, but sadly the car only blew warm air. Looks like the system will need to be leak checked and charged.
 

GSTwithPSI

Well-known member
Joined
Jan 1, 2012
Messages
3,461
Location
SoCal
Spent some time cleaning today. It's not done, but it's a good start.

WP_002238.jpg

WP_002270.jpg


WP_002240.jpg

WP_002272.jpg


WP_002239.jpg

WP_002269.jpg


I pulled the fenders to gauge how much work I have to do. I knew there would be some rust when I picked the car up. The pinch welds showed the typical signs of rust behind the fenders, and there are a few other places that need attention. Just like on 1837, a bunch of crap got pinned between the fender and body and started to eat away at the lower rocker panel. There was A LOT more crap stuck on this car, though. Leaves, dirt, sand, and all kinds of poop in there.
WP_002276.jpg

WP_002280.jpg


**WARNING: EXTREMELY GRAPHIC CONTENT**


Passenger side:
WP_002273.jpg

WP_002274.jpg

WP_002275.jpg


Driver side:
WP_002260.jpg

WP_002263.jpg

WP_002264.jpg

WP_002265.jpg


It looks like poop, but it should clean up decent. The metal is solid and overall intact. I'll clean the area, remove the rust and apply an inhibitor. I've said it before, and I'll say it again; Pull those fenders and inspect/clean them every now and then. This is a good example of what can potentially happen if you don't.
 

iceman69510

Turn Right Racing
Staff member
Joined
Mar 5, 2001
Messages
10,964
Location
Michigan
I agree and have also said this before. I clean this area ever year. Other than the hood front edge (bad factory hemming and sealing job) this is really the only consistent rust area on these cars. They were built when the yen/$ ration allowed them to be built cost effectively with lots of galvanized and coated steels.
 

GSTwithPSI

Well-known member
Joined
Jan 1, 2012
Messages
3,461
Location
SoCal
Well, made some progress killing all the rust on 820. This car reminds me why G is always bitching about rust...Because fixing it sucks ass. It takes forever, and the work is tedious and time intensive. It's coming along good, though.


WP_002265.jpg


Cleaned up, and cut out some metal
WP_002284.jpg


Cut out some more metal...
WP_002312.jpg


Welded in some new metal
WP_002313.jpg


Cleaned up my birdshit welds
WP_002318.jpg


Sealed some of the metal and then filled in the pits with a little bit of body filler
WP_002333.jpg

WP_002360.jpg


More amputation near the rear fender
WP_002321.jpg


Welded in a small piece of metal and filled the repair
WP_002358.jpg


Basically, I just have to treat all the bare metal that's left with Rust Bullet. After I treat everything with the rust inhibitor, I need to sand everything and paint. I'll probably have to paint pretty much the whole driver side of the car. This car is a work in progress, but I think it will clean up pretty nice when I'm done.
 

GSTwithPSI

Well-known member
Joined
Jan 1, 2012
Messages
3,461
Location
SoCal
Yeah...About that.

That's the biggest reason I didn't want to take this project on. I just don't have the proper equipment to do the job like I would like to. All I have is a little gasless 120v flux core welder, which is horrible for a job like this. You have to keep the amperage low so it doesn't blow through the thin metal, while still making sure it will penetrate decent. The result of which is a line of birdshit welds.

The other challenge was making a contoured body panel to fit the section I cut out. I used the anvil on my vise and a ball peen hammer to fabricate the piece in the pics. /ubbthreads/images/graemlins/uhh.gif

Even though it doesn't really look the part, it's a thousand times better than it was. At least the rocker is one piece of solid metal again, and doesn't have any rusty holes through it. I hit the panel with a little body filler just to fill in any tiny little pits on the surface. I'll seal the whole thing with Rust Bullet and it should be good to go.
 

89Patches

Well-known member
Joined
Jan 30, 2013
Messages
723
Location
Ontario Canada
Can't blame ya. Welding sheet metal with a flux core isn't pretty, especially when the metal is even more thin from rusting.

Meh, it will get hidden from the body moldings. So don't put too much thought on how it looks. Just make sure it don't rust again!
 

GSTwithPSI

Well-known member
Joined
Jan 1, 2012
Messages
3,461
Location
SoCal
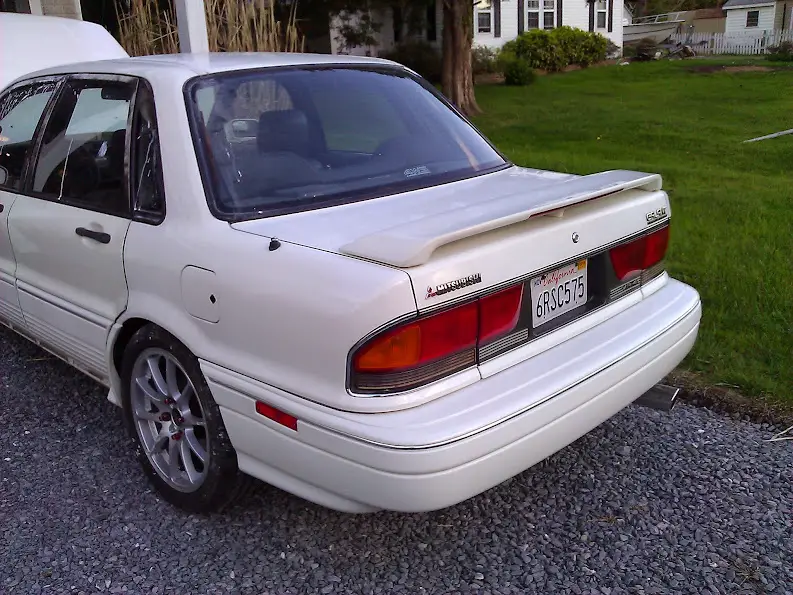
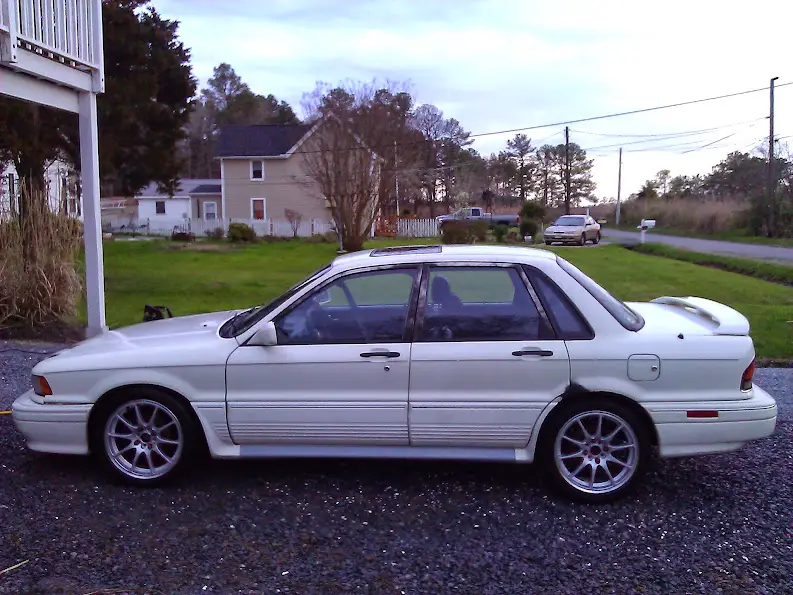
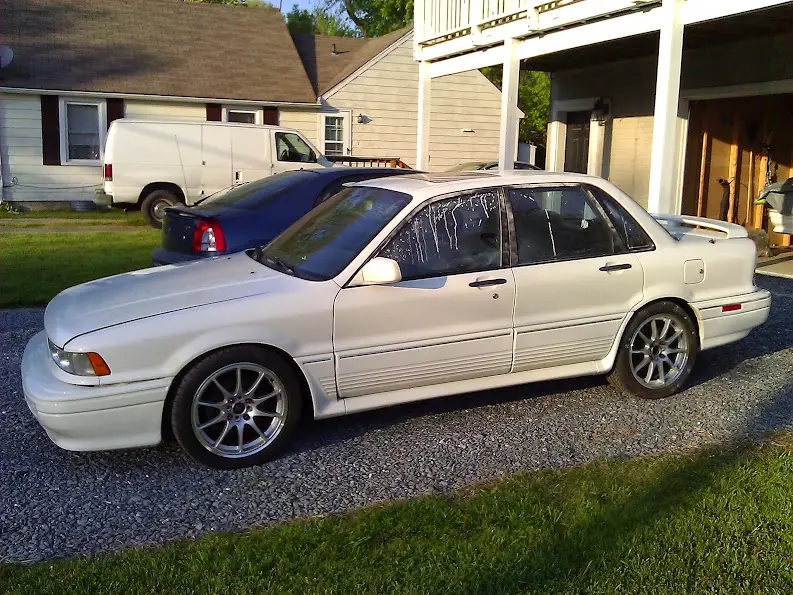
I finally completed the vast majority of the body work on 820. I wasn't going for perfection here, since that's what I have 1837 for. I just mainly wanted a 10 footer that wasn't rusting out from under me, and I think I achieved that. I've addressed all the major areas that needed immediate attention. There are a few other places on the car that I can wire brush and treat topically. I'll hit those as time allows.

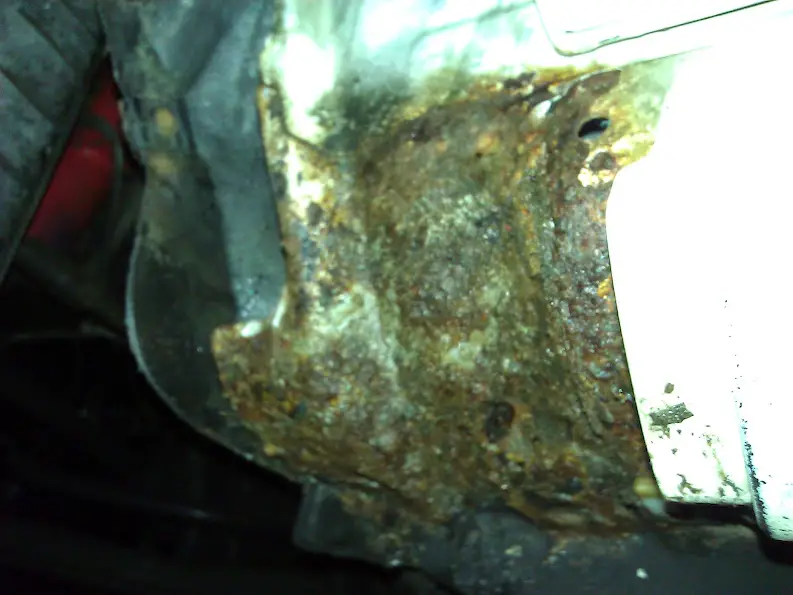
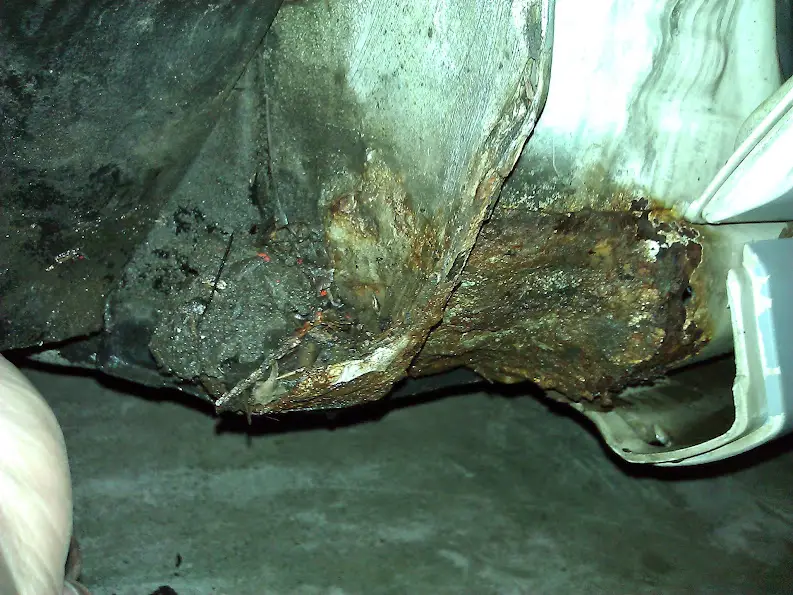
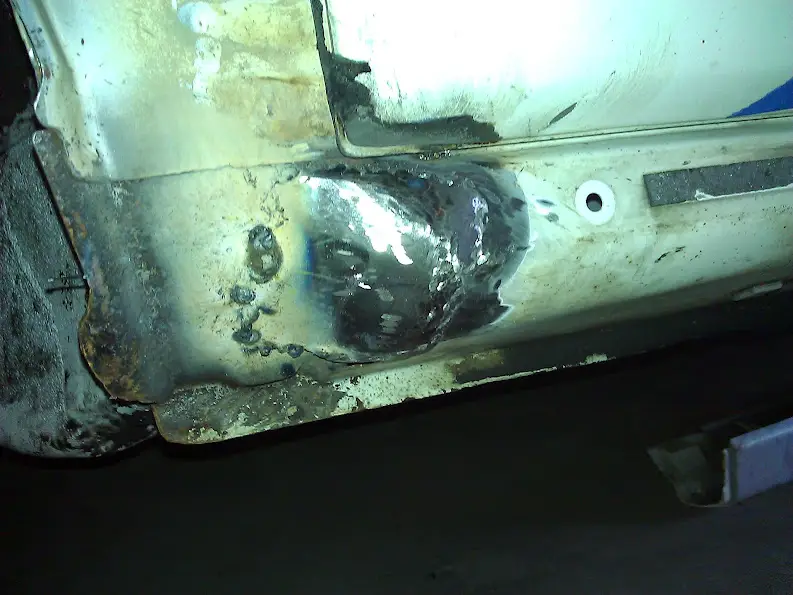
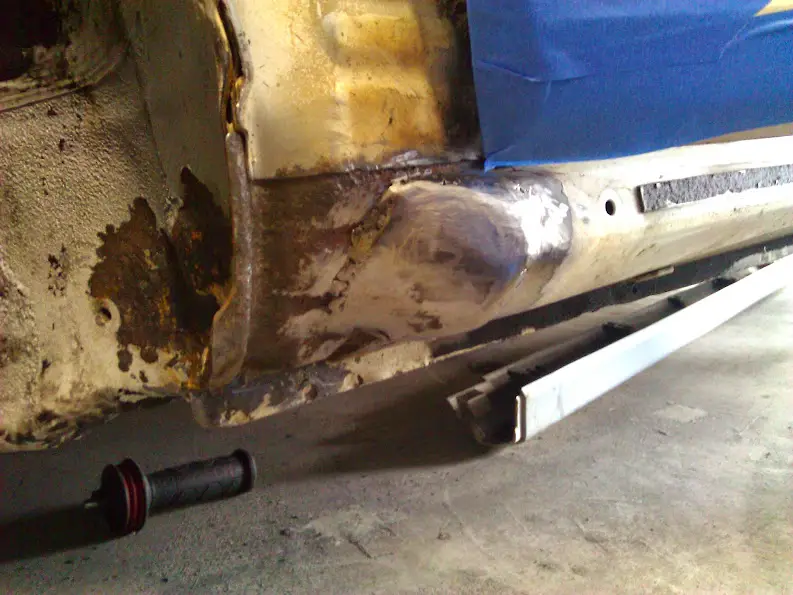
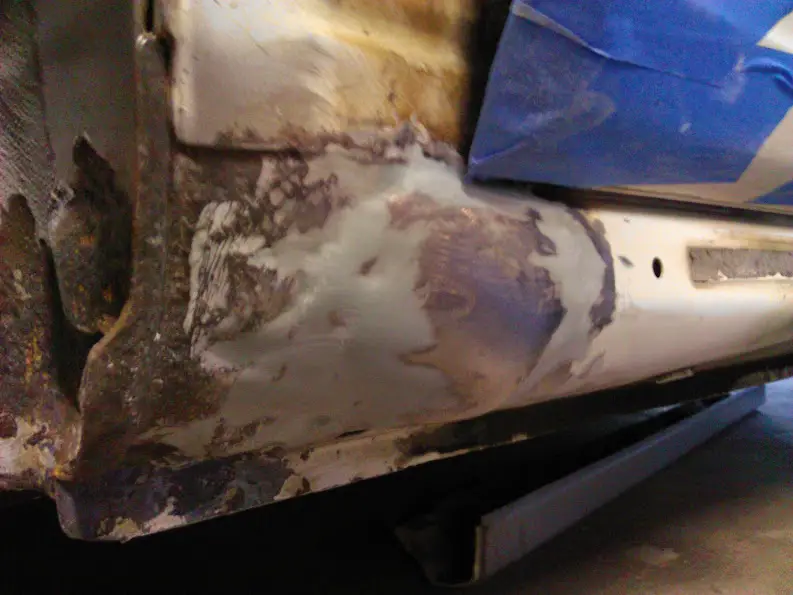
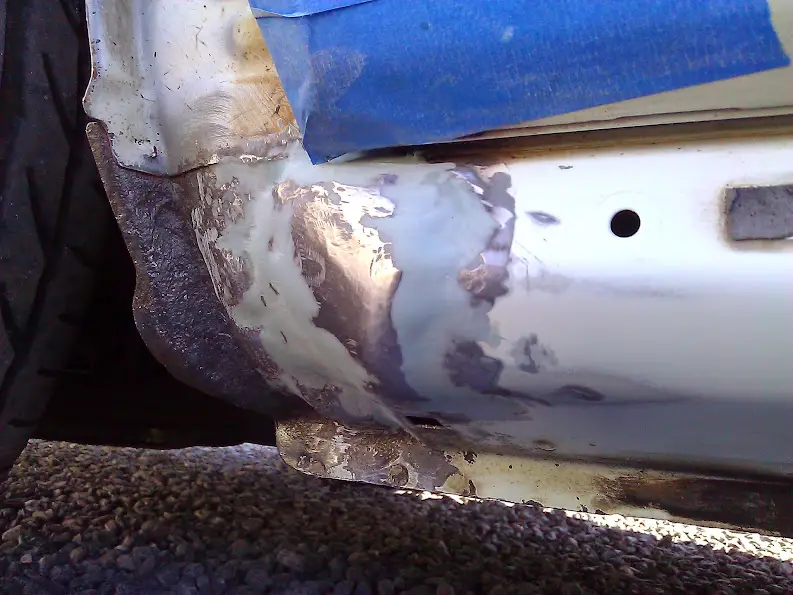
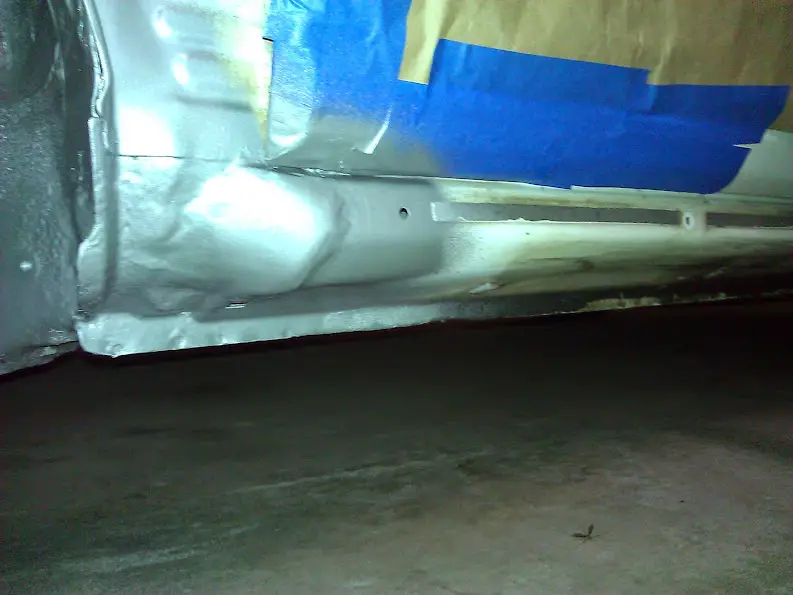
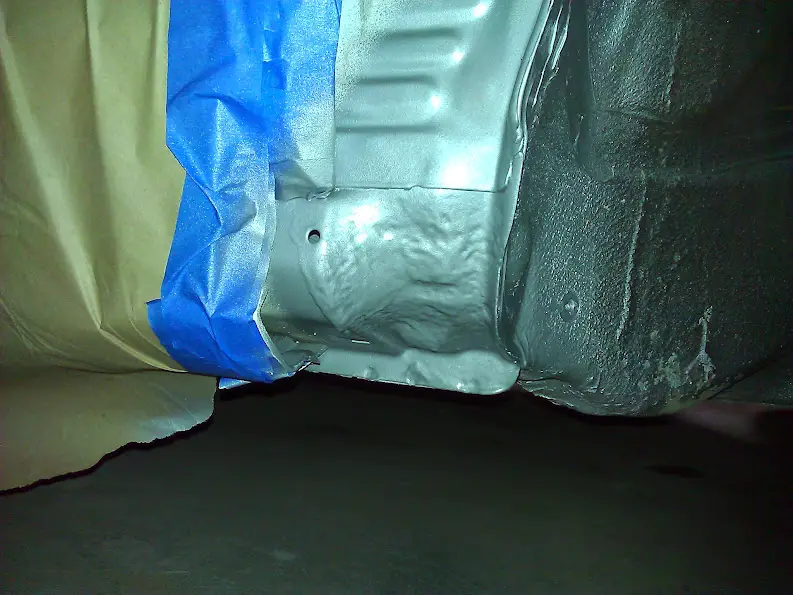
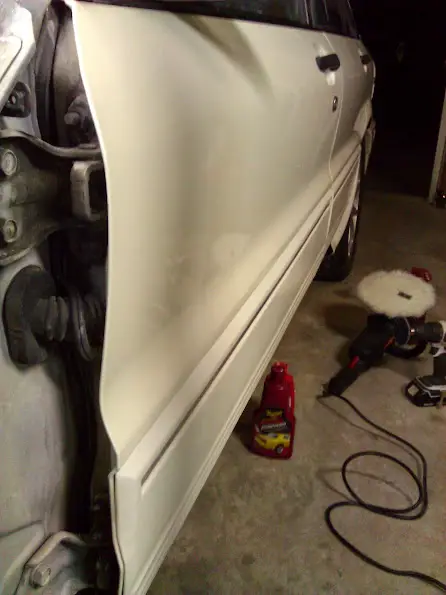
Here are some shots of the progression on the front rocker panels
WP_002263.jpg

WP_002312.jpg

WP_002383.jpg

WP_002273.jpg

WP_002382.jpg


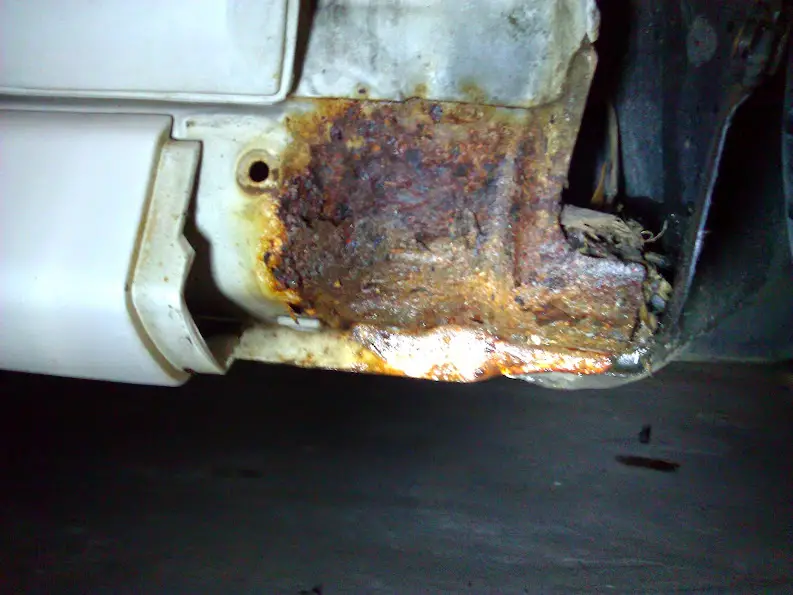
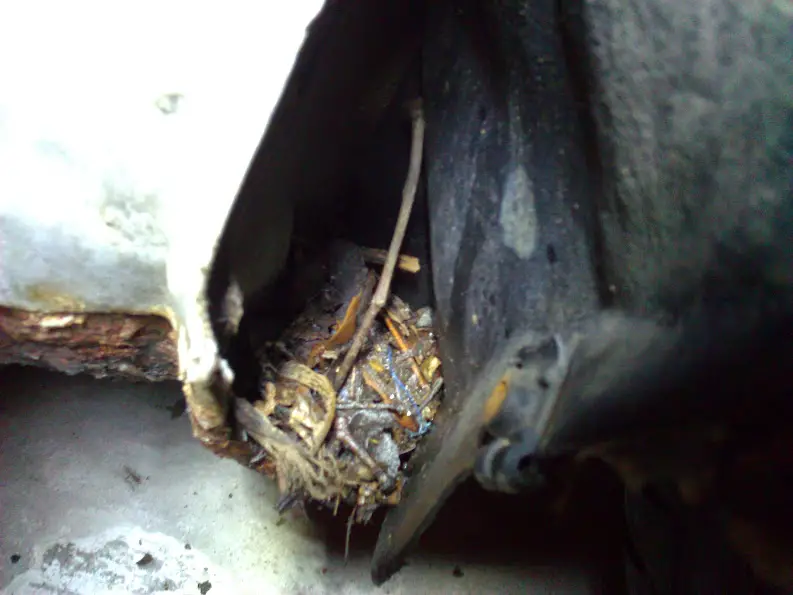
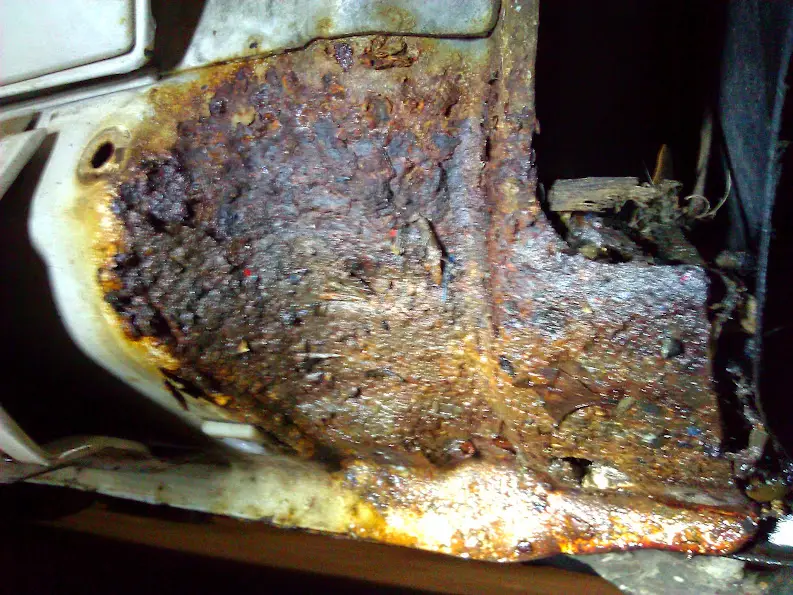
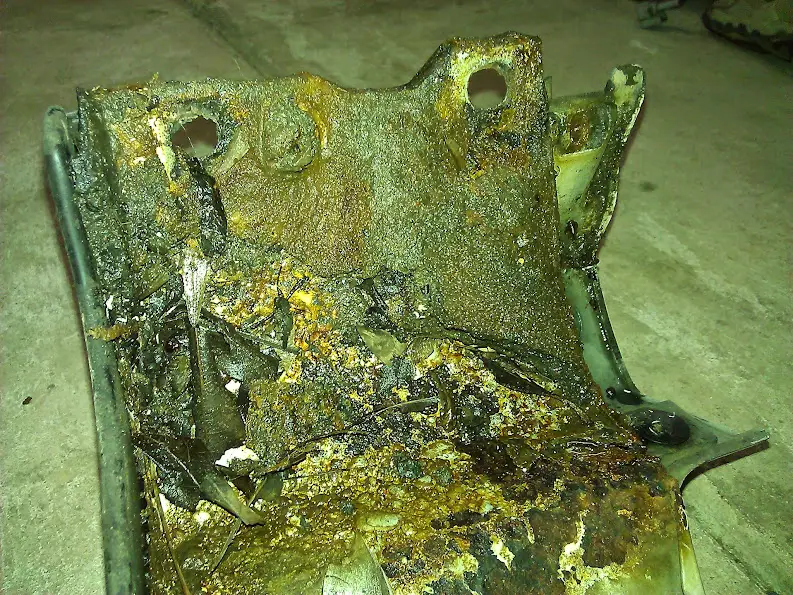
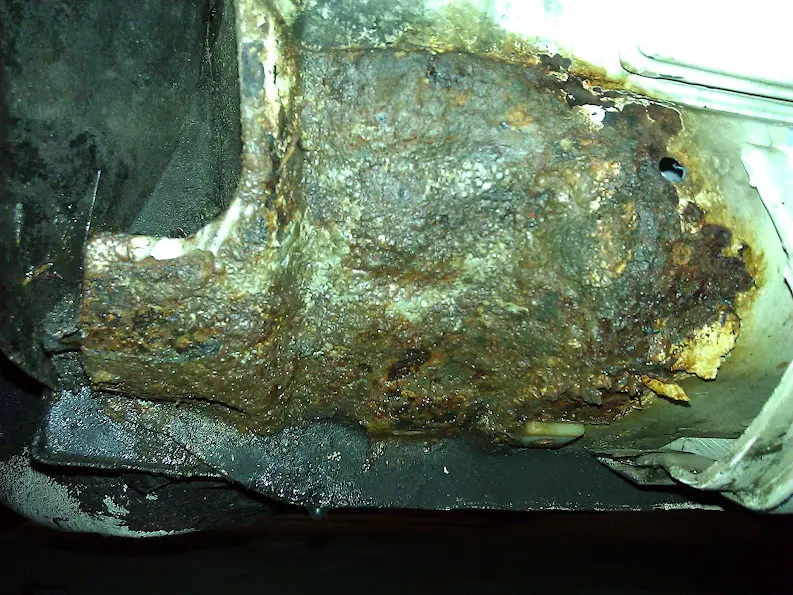
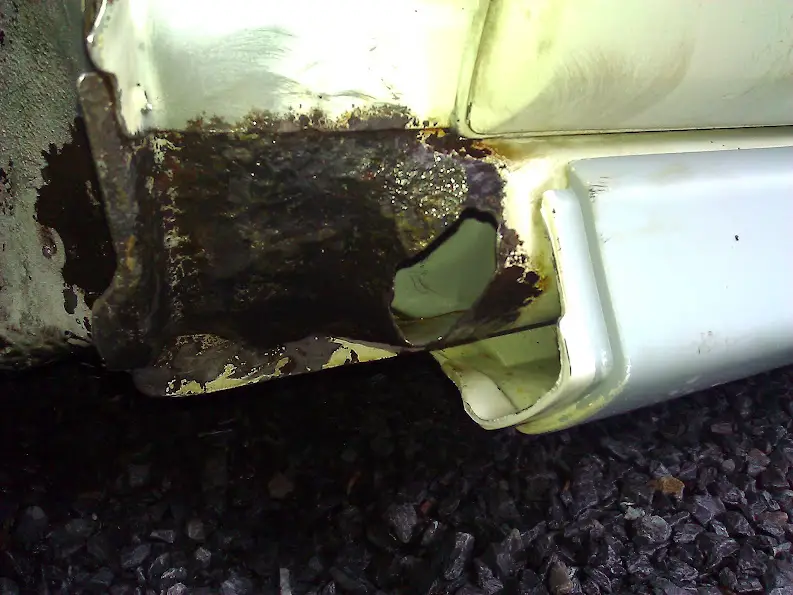
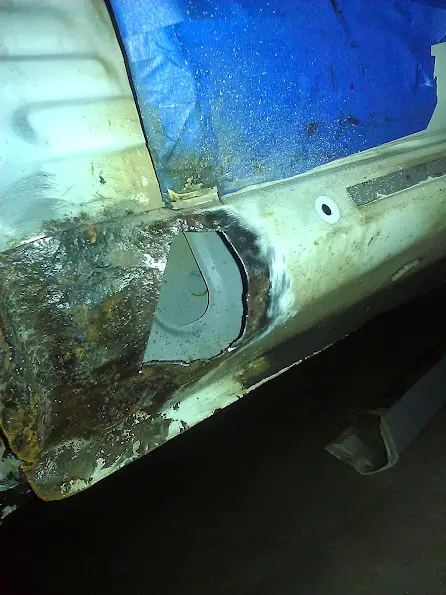
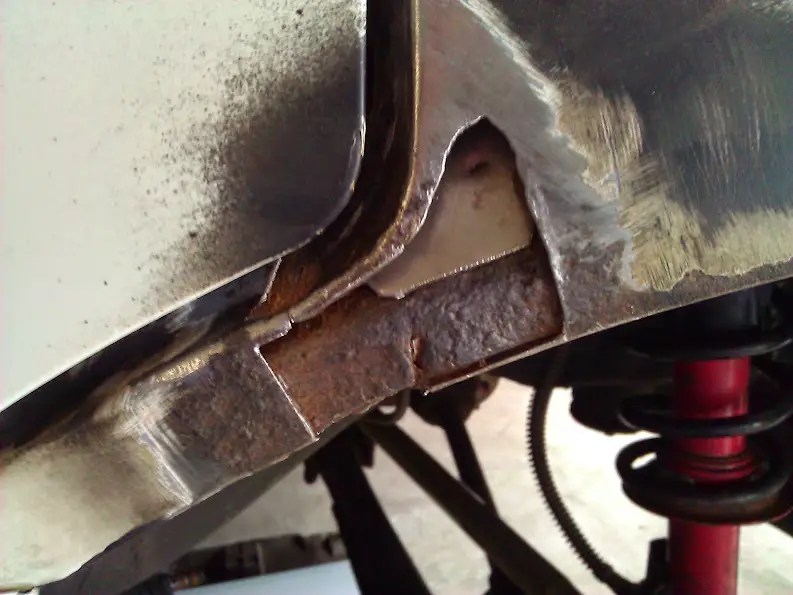
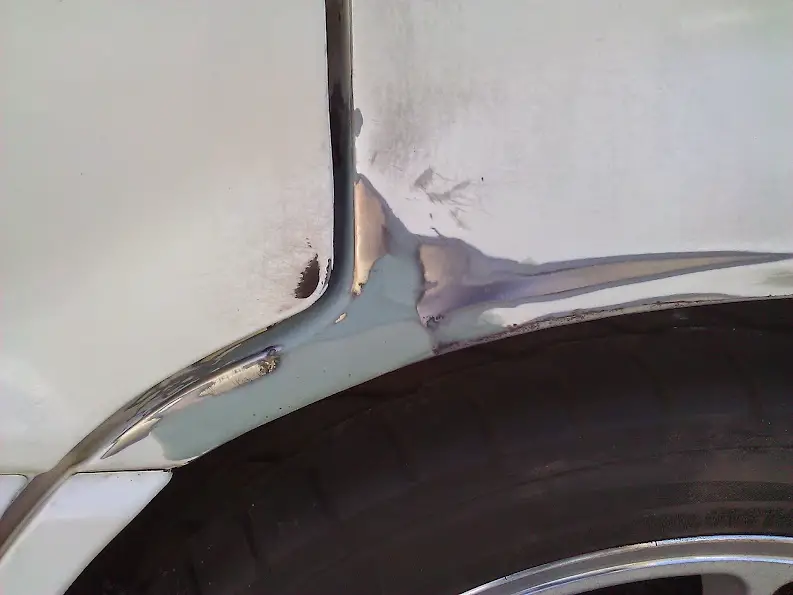
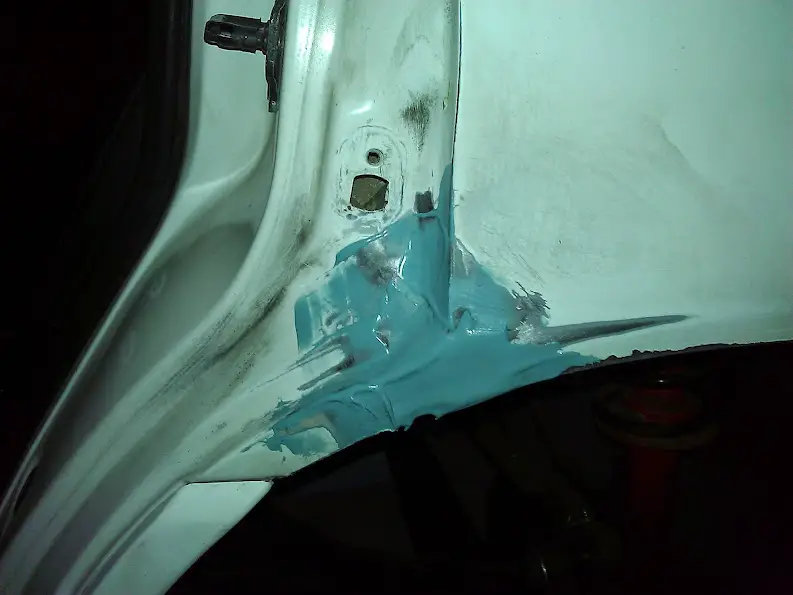
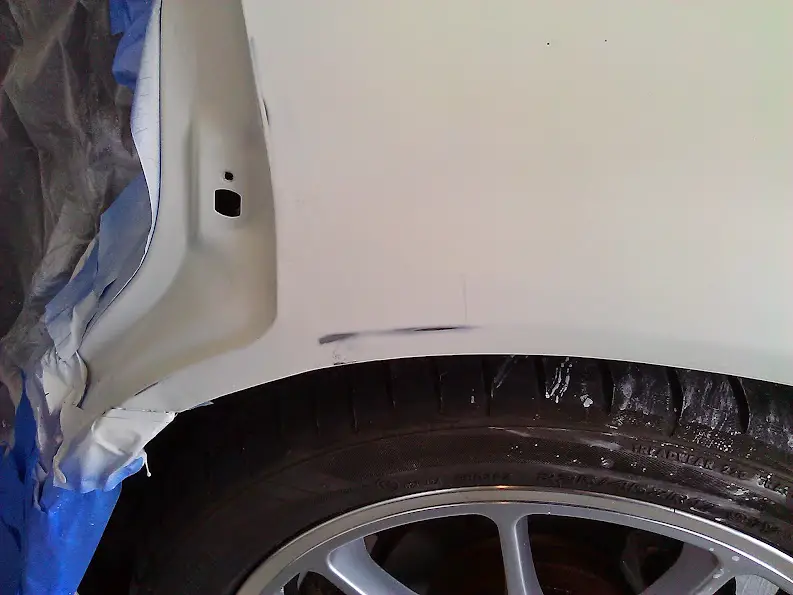
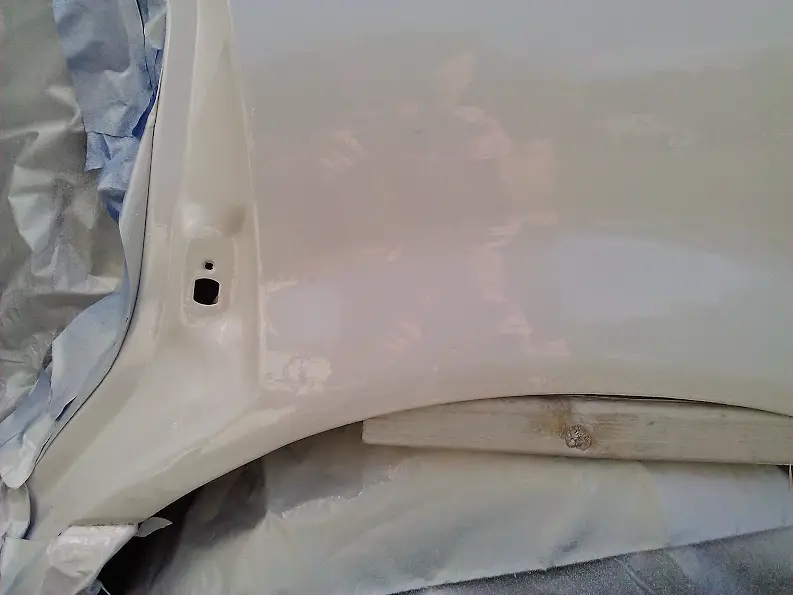
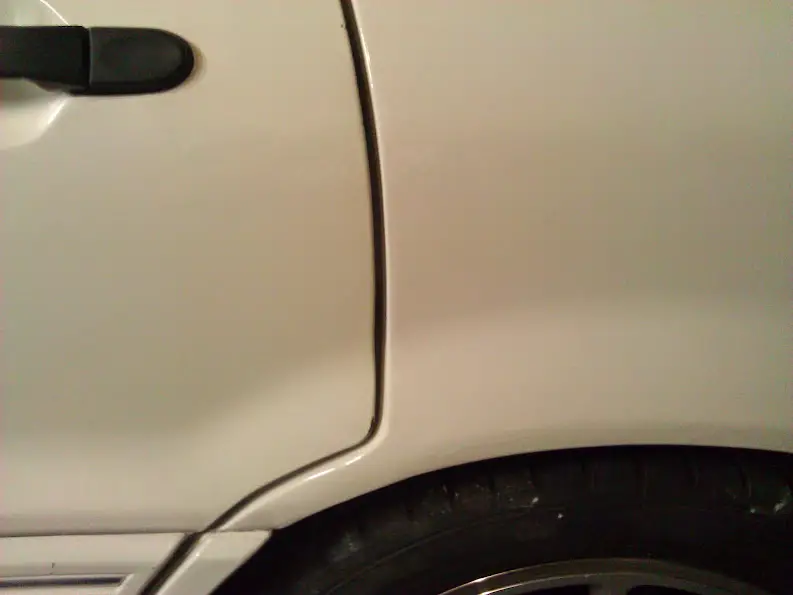
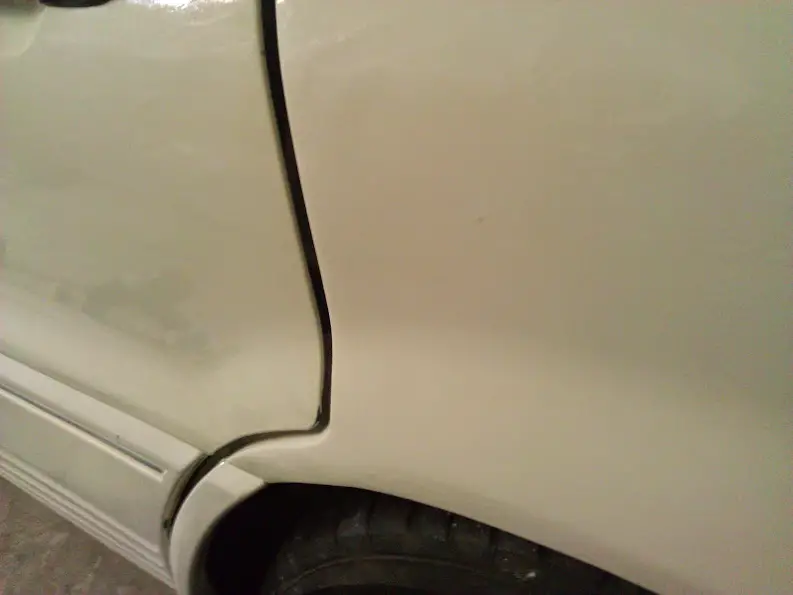
There was a crappy area at the top of the driver side rear fender well. Here's the progression of that area
WP_002321.jpg

WP_002328.jpg

WP_002358.jpg

WP_002409.jpg

WP_002418.jpg

WP_002426.jpg

WP_002432.jpg

WP_002435.jpg

WP_002436.jpg


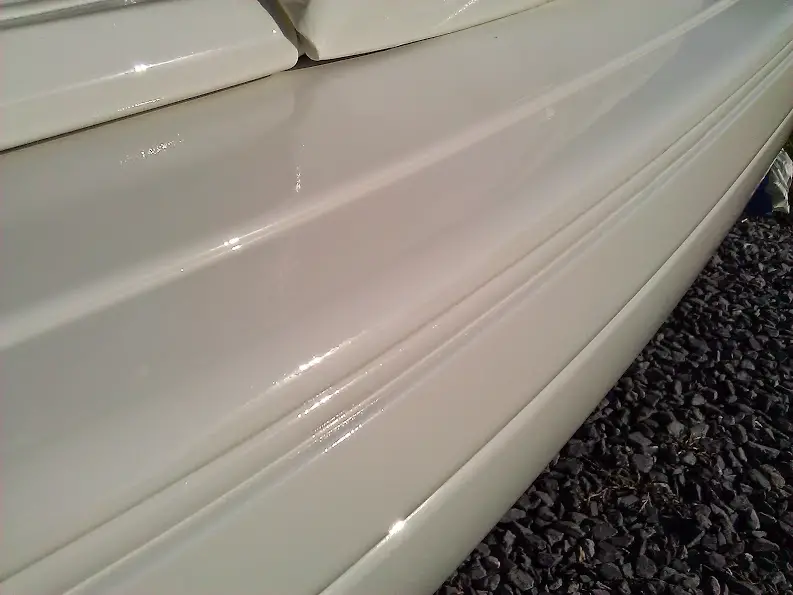
I went with paint from AutomotiveTouchup once again. A pint of W09 base coat took care of this job, topped off with their urethane clearcoat
WP_002406.jpg


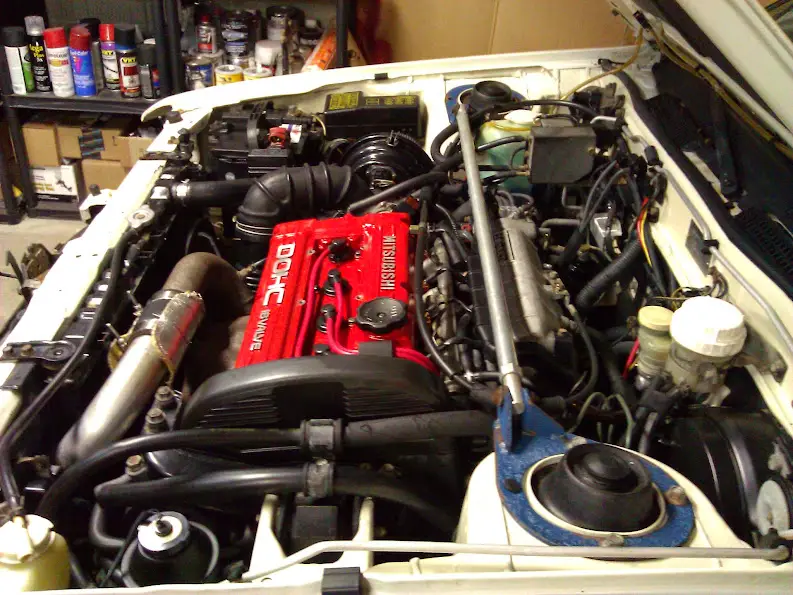
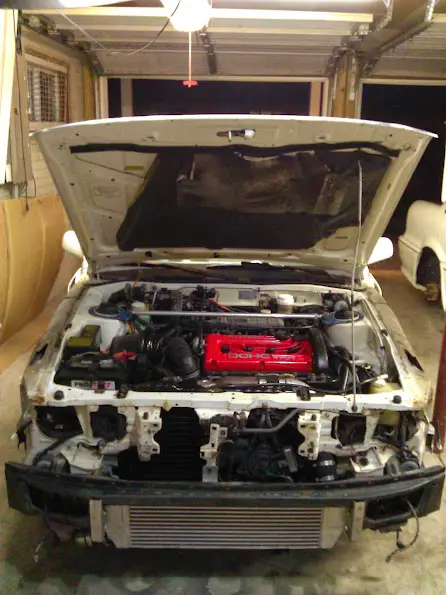
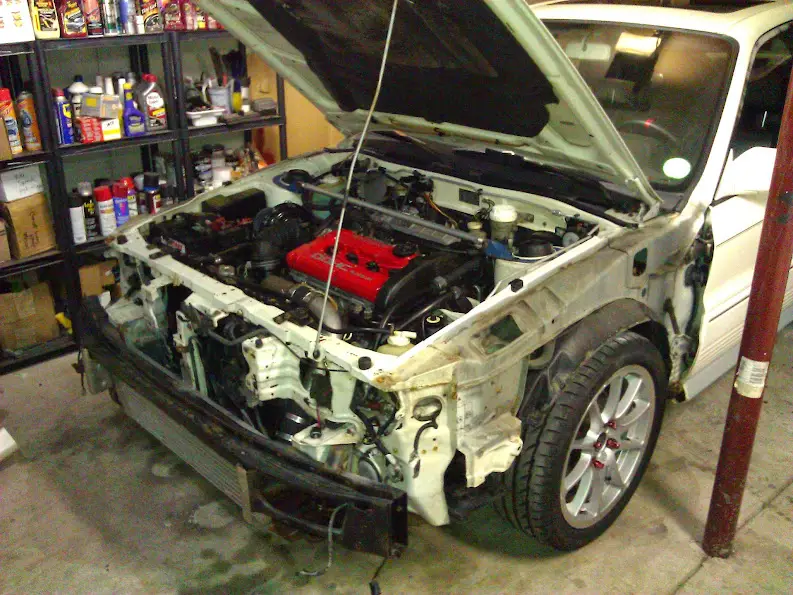
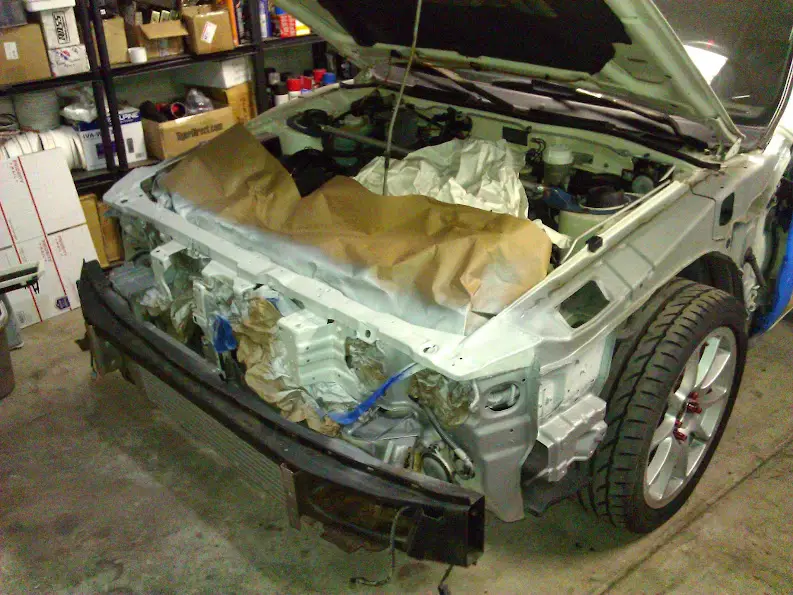
I started by treating the front clip with Rust Bullet, then followed with a quickie spray of the core support
WP_002385.jpg


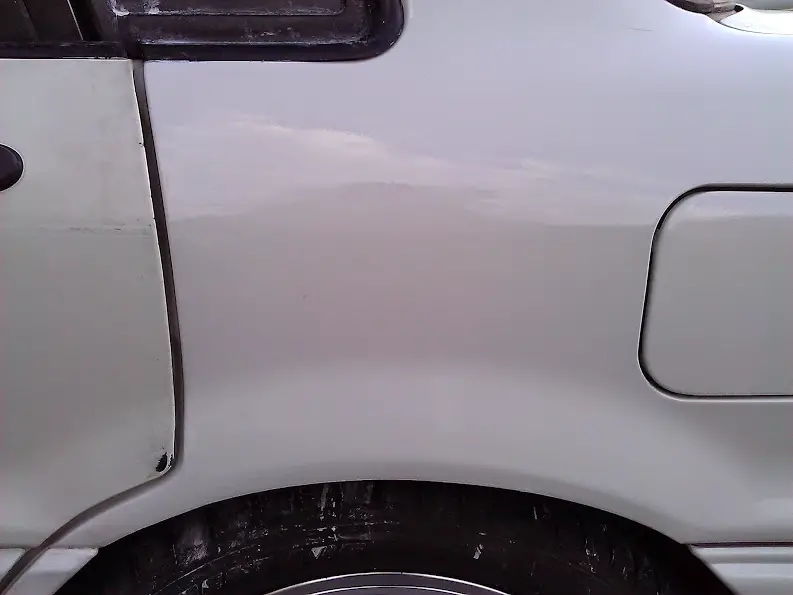
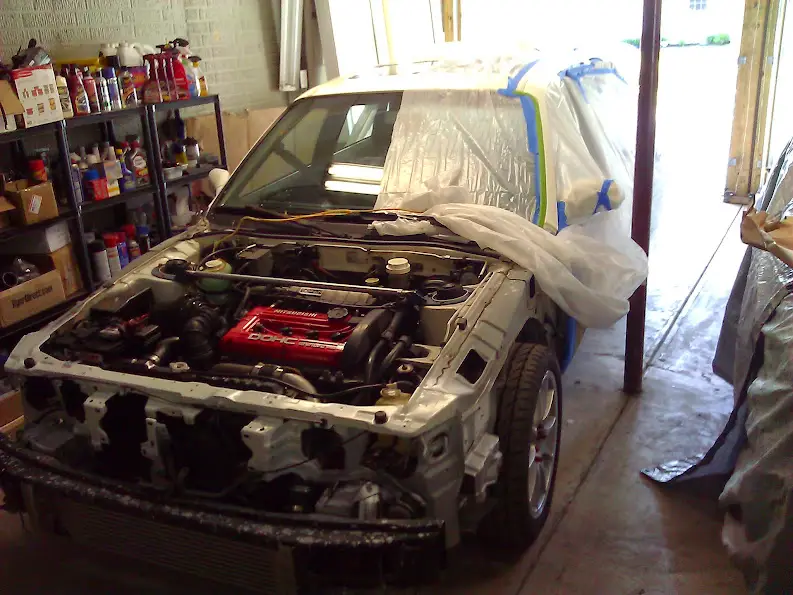
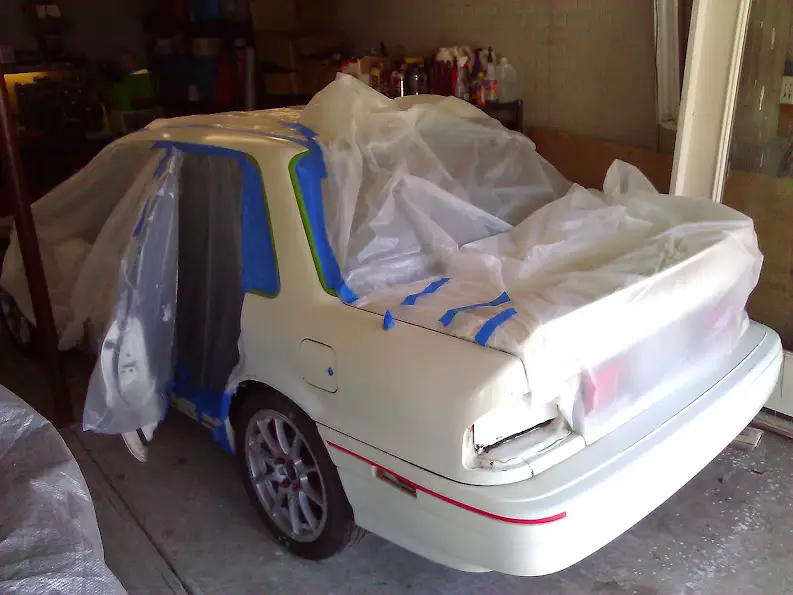
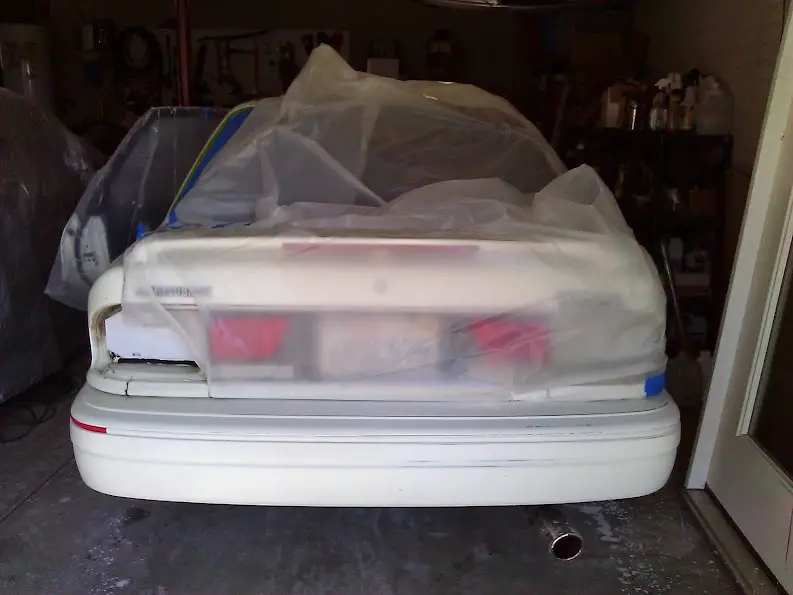
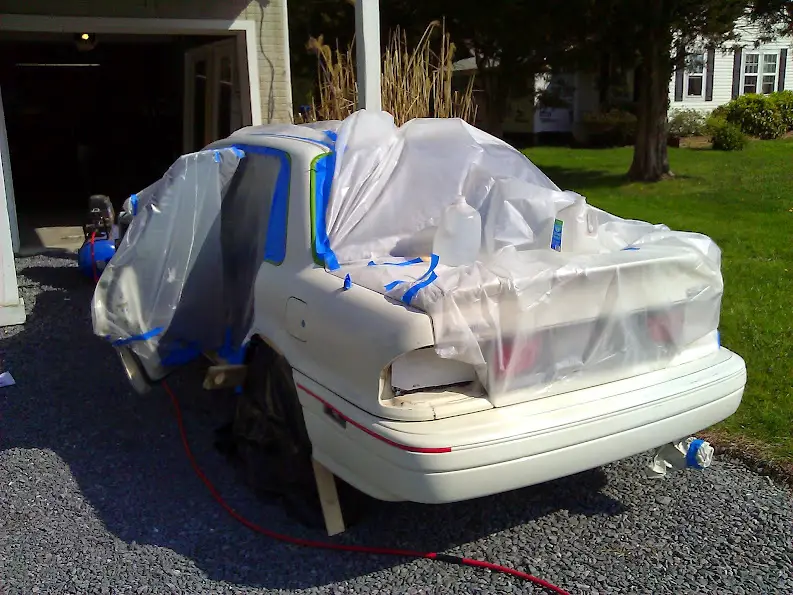
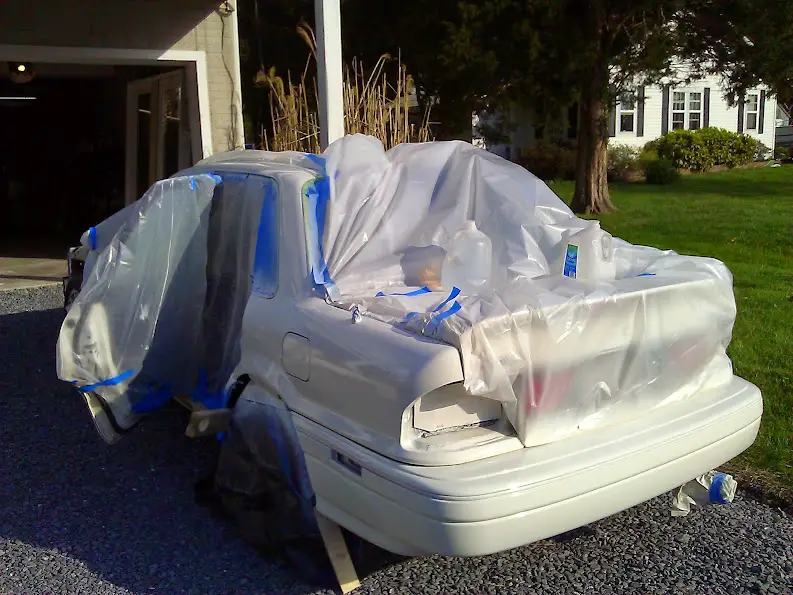
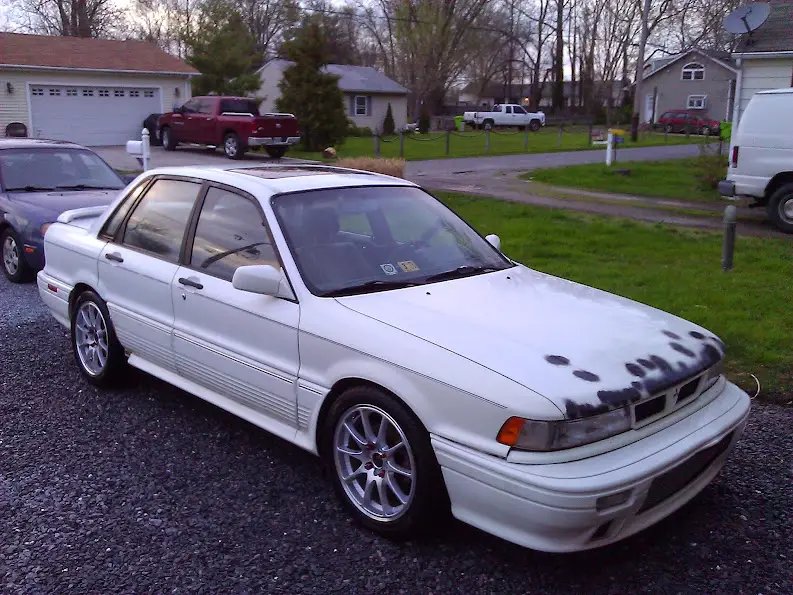
Then, taped her off so I could respray the panels that needed it. I ended up doing pretty much the whole car, save most of the passenger side (minus the passenger fender, which I did respray). I didn't have to do the the roof, decklid or front bumper either, as they were all in fairly good shape. I probably would have done the entire car if I had the paint on hand, but I only had a pint of basecoat and wasn't going to wait another week to get more.
WP_002411.jpg

WP_002407.jpg

WP_002408.jpg


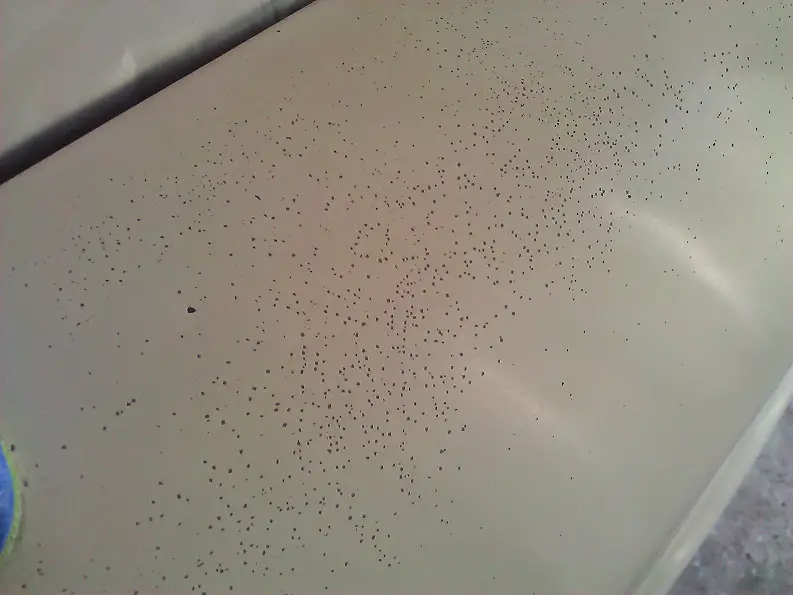
Apparently the car was left outside in a baby meteor shower...
WP_002410.jpg


Outside paint job, redneck style
WP_002414.jpg

WP_002416.jpg

WP_002430.jpg

WP_002417.jpg


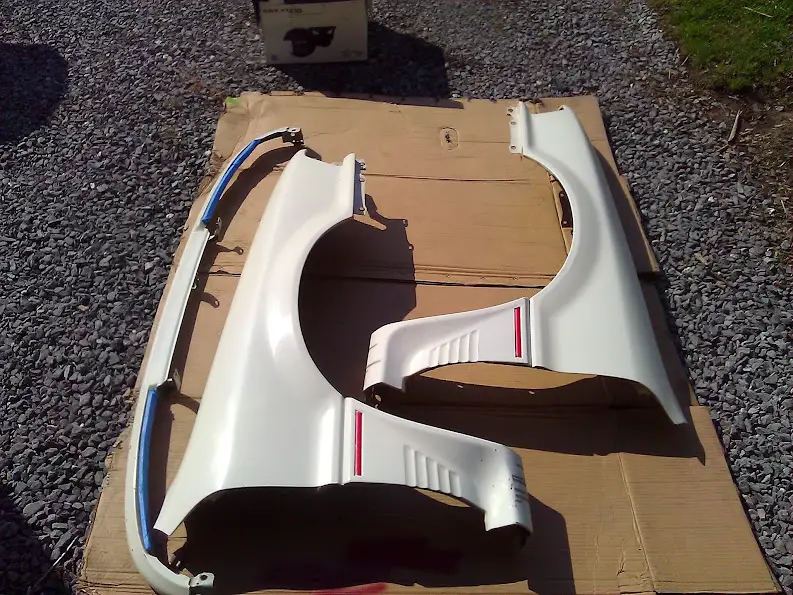
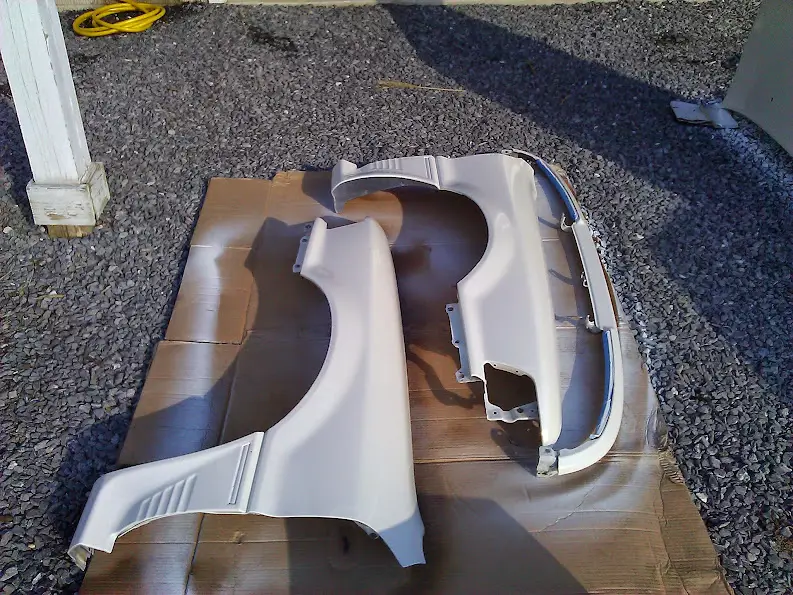
Fenders before and after spray
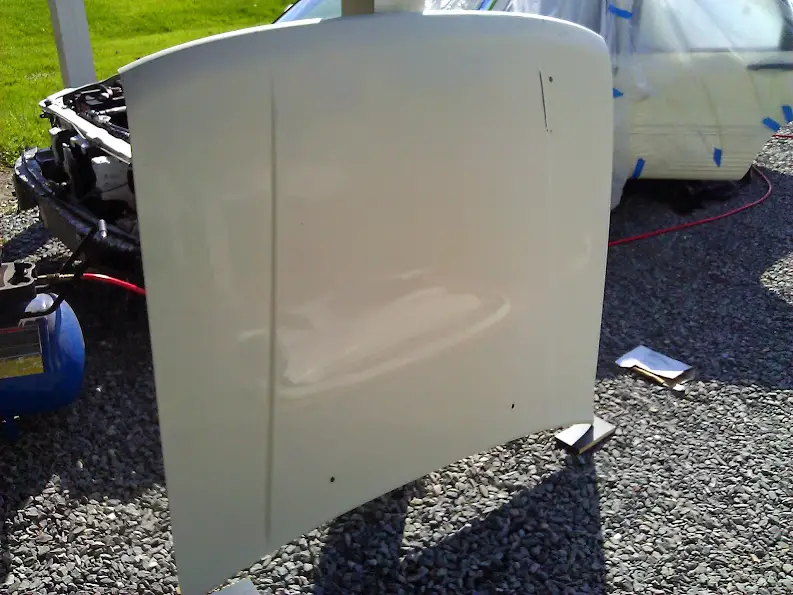
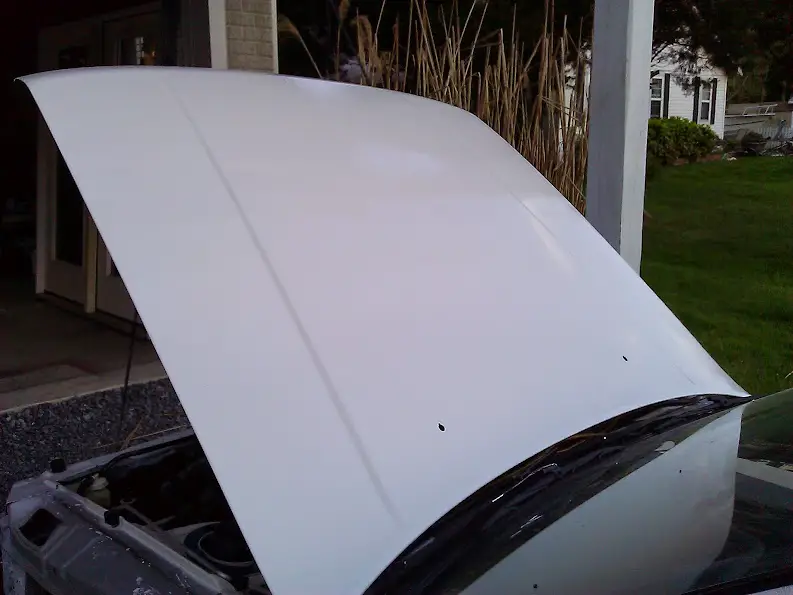
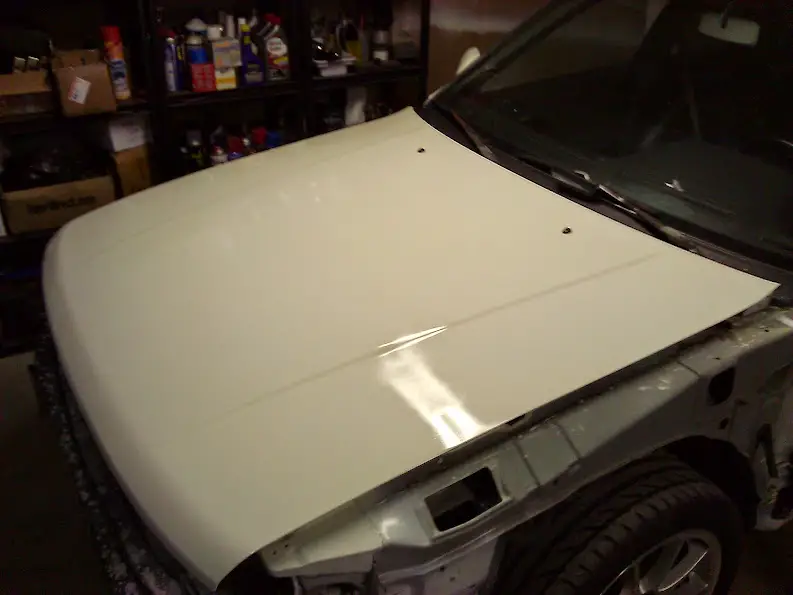
WP_002412.jpg

WP_002420.jpg


Hood
WP_002413.jpg

WP_002431.jpg

WP_002437.jpg


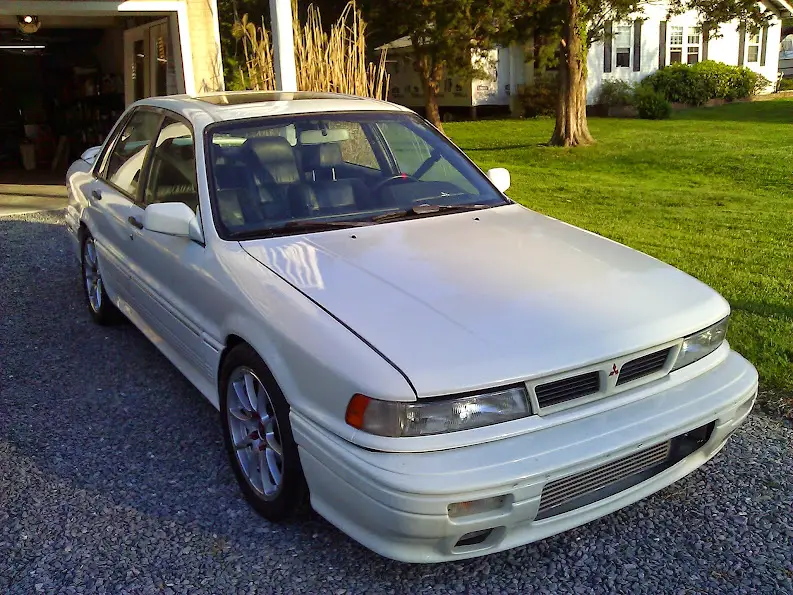
I started buffing the driver side, which shined up pretty good.
WP_002439.jpg


Basically, I just need to reassemble, wet sand, and buff at this point. I'm pretty happy with how the car is looking...Especially considering it looked like complete sh*t just a few weeks ago. It's no show car, but real close to my goal of being a 10 footer. I mean, why the f*** would I want to dump tons of time and money into a DD that some dick face is just going to slam a shopping cart into /ubbthreads/images/graemlins/grin.gif
 
Last edited:

GSTwithPSI

Well-known member
Joined
Jan 1, 2012
Messages
3,461
Location
SoCal
I picked up a set of Lamco gauges for the Galant. The needles needed refreshed, and the boost gauge needed to be recalibrated. So, I took them all apart, calibrated the boost gauge and painted the needles to match the factory cluster.

Chipped ugly needles
WP_002449.jpg


Boost gauge is a bit off
WP_002440.jpg


Disassembled and calibrated
WP_002443.jpg

WP_002444.jpg


Needle painted
WP_002447.jpg


Painted the remaining 2 needles
WP_002451.jpg


Installed-ish in the Galant. I just need a trim ring to tidy things up. I also need to wire everything in and hook up the vacuum line to the boost gauge
WP_002452.jpg


Matches pretty good!
WP_002455.jpg


I got all the painting finished, and I think it turned out ok for the time and work I have in it. It's definitely a 10 footer, but looks a lot better than it did. I removed that horrid pinstripe as well, which I thought made the car look a million times better.

Here are some before and after shots:
WP_002249.jpg

WP_002462.jpg


WP_002252.jpg

WP_002460.jpg


WP_002251.jpg

WP_002457.jpg


WP_002255.jpg

WP_002456.jpg


I still need to wet sand and buff everything, which should blend the newly sprayed panels a bit better. There's just not enough time in the day...
 

iceman69510

Turn Right Racing
Staff member
Joined
Mar 5, 2001
Messages
10,964
Location
Michigan
Looking quite nice. Window trim next. /ubbthreads/images/graemlins/wink.gif
 

GSTwithPSI

Well-known member
Joined
Jan 1, 2012
Messages
3,461
Location
SoCal
Stage 1, get rid of huge rust holes...Check.

Stage 2, making the turd reliable and stop pissing oil everywhere...

Here was the main issue:
WP_002468.jpg

WP_002470.jpg


The car had been sitting so long, the oil seals literally turned solid. The lips had absolutely no give to them. The cam seals were leaking really bad, so I figured I may as well do the main seal on the front case as well.
WP_002471.jpg


Seal removed:
WP_002473.jpg


Nice new pliable Fel-Pro seals:
WP_002472.jpg


Much better:
WP_002476.jpg


Good a time as any to do a timing belt job and throw on all new drive belts:
WP_002477.jpg
 

bobdole

Well-known member
Joined
Aug 23, 2007
Messages
866
Location
U.K.
Nice job. Looks clean for sure. I see the G35 pocking in the back ground. Are those Axis wheels on it?
 
Support Vendors who Support the GVR-4 Community
Boosted Fabrication ECM Tuning ExtremePSI Fuel Injector Clinic Jacks Transmissions JNZ Tuning Kiggly Racing Morrison Fabrications RixRacing RockAuto RTM Racing STM Tuned
Top