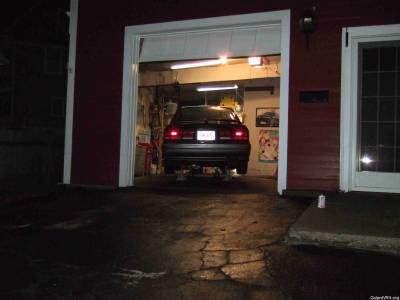
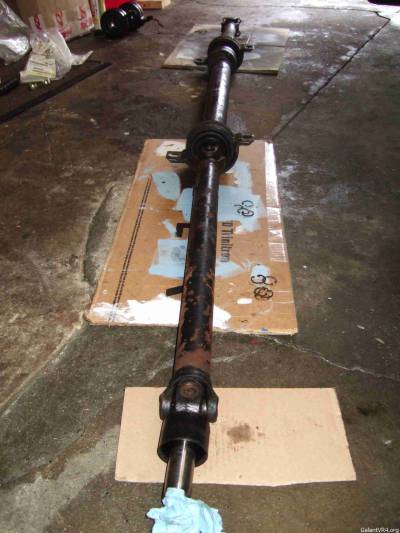
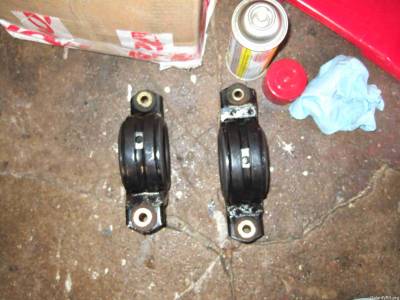
Well, I'm finished. The car drives a little better, but not as well as I had hoped. Now I'm thinking that my 4-bolt rear diff needs some help with shims and whatnot. I'm still getting some wub-wubs upon deceleration, but the shaking when speeding up is almost gone now. I followed the vfaq for the driveshaft rebuild.
I had ordered a bunch of new fastening hardware that I think was unnecessary, including the 4 bolts to attach the DS to the rear diff, the 6 bolts for the lobro joint, the two big nuts and washers, and a new seal for the t-case (had mine done at the dealer a year ago and that existing seal was still fine). The old hardware was fine, but my car was also a California princess up until last year, so I didn't even have any trouble getting the 12 c-clips off the u-joints.
I got three of the u-joint/yoke recall kits, since this was cheaper than buying the new u-joints themselves (I was replacing the part that holds the U's together). For pressing the parts in and out of the u-joints, the method described in the vfaq worked great. Use a 17mm socket and a hammer for banging the caps out and back in, as well as a socket between the ground and the u-joint.
The toughest part was getting the "big Conan nuts" off and back on. I tried a vice with wood blocks on each side, but the driveshaft piece would always get cocked when I'd apply pressure while trying to loosen the nut. So I came up with this:
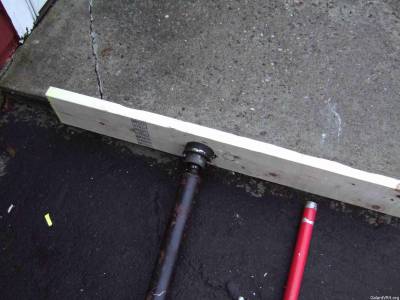
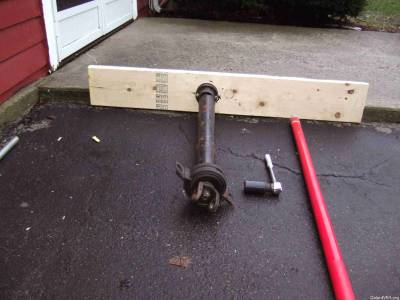
I bought a 3 foot piece of lumber, and attached the driveshaft piece to it using thick wood screws. Then I lay the board against that concrete lip you see in the picture. I then used a jack handle for more leverage against the ratchet. Two people would have made this easier, as one could hold the board while the other loosens the nut. But as I was by myself, I was using our Jetta's bumper as a brace for the board, so that one side of it wouldn't rotate as I applied pressure to the jack handle trying to loosen the nut.
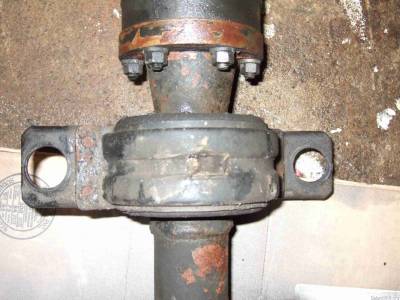
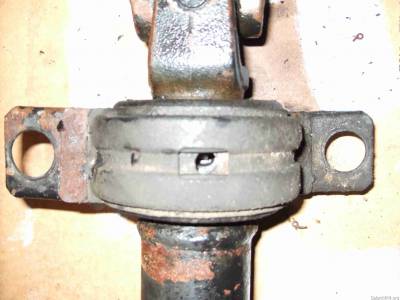
I did use the gear puller I bought at NAPA, but only for getting the inner carrier bearings off the shaft. The socket method works just fine for the u-joint caps. I used a utility knife to cut off the outer carrier bearings. I got some good Redline grease, and gear lube for the t-case. I dropped the exhaust, and had the car up on 4 stands (took this opportunity to rotate the tires).
This job really isn't all that difficult if you've got all the correct tools and replacement parts. This would mean the correct socket sizes, circlip pliers, and a gear puller. With the c-clips, I was squeezing to get one side out of the groove and then wedging a small flathead in to keep it out of the hole. Then I'd grab this exposed end with a set of pliers and yank the entire clip out. The u-joint kits came with 8 new clips of varying thickness, so don't worry about trashing the old ones. If they're rusty, you'll ruin them trying to get them out anyway.
Regarding the markings and driveshaft balance issues: I don't think this is very necessary. If you take a look at each individual piece of the driveshaft, you'll notice that EACH PIECE is balanced with a flat square piece of metal, about .75" x .75". I actually didn't put the middle piece back together with the marks, and the car drives fine, at least up to 80mph as far as I can tell. No more shaking than usual. So don't stress if you put something back together and it's off a bit. But might as well mark everything for peace of mind, as it takes all of 3 minutes to do with some whiteout.
I think that's about it. Once again, JNZ Tuning was great about getting me the parts I needed when I needed them.
