The Top Mitsubishi Galant VR-4 Resource

Join the best E39A 1991-1992 Mitsubishi Galant VR-4 community and document your GVR4 journey.

  • Software Upgraded - Reset Your Password to Login
    In order to log in after the forum software change, you need to reset your password. If you don't have access to the email address you used to register your GVR4.org account, you won't be able to reset your password. In that case, follow the instructions here to regain access to the forum.

372/1000 build thread

SmoothCustomer

Well-known member
Joined
Jul 6, 2008
Messages
3,319
Location
Lexington, KY
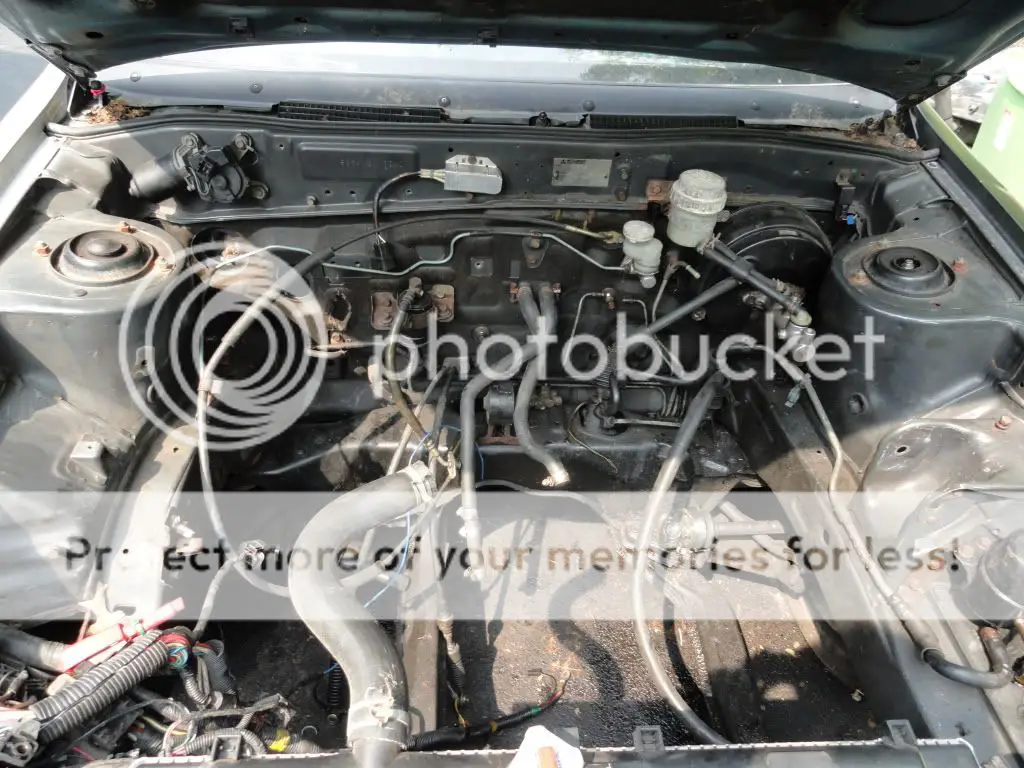
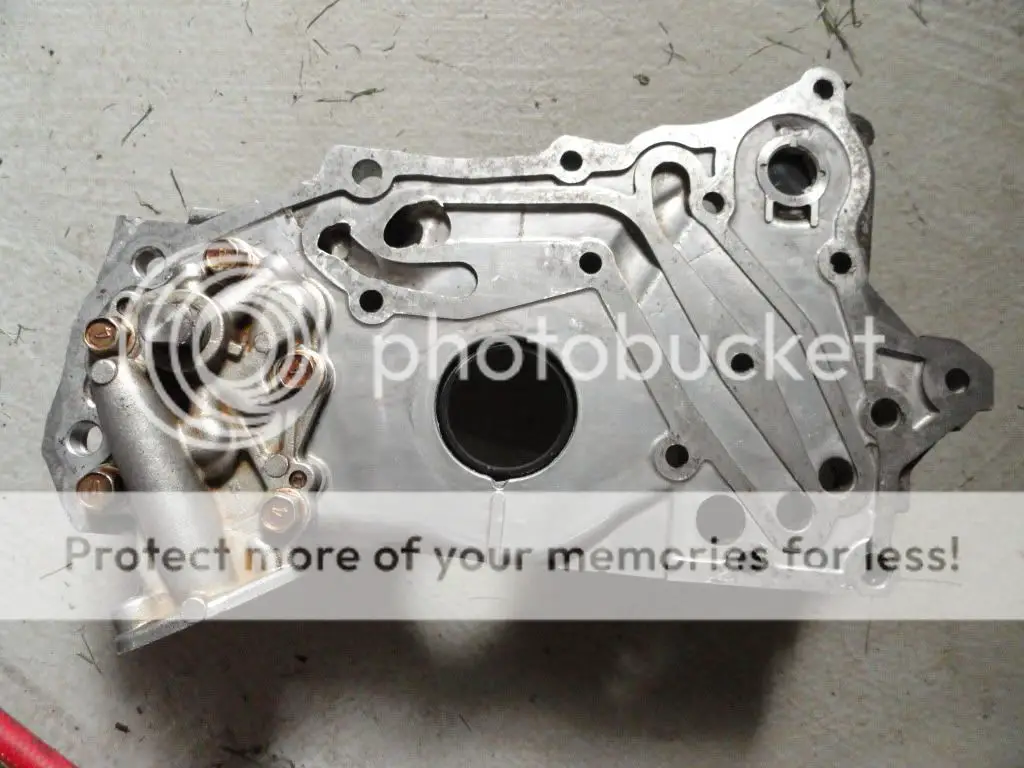
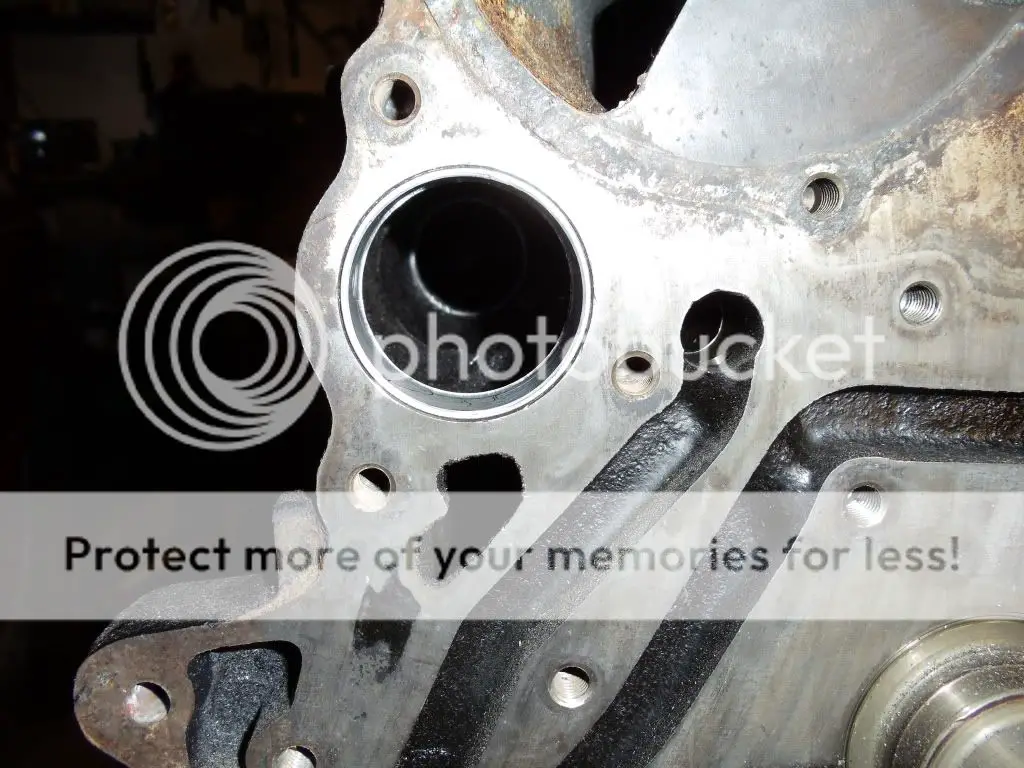
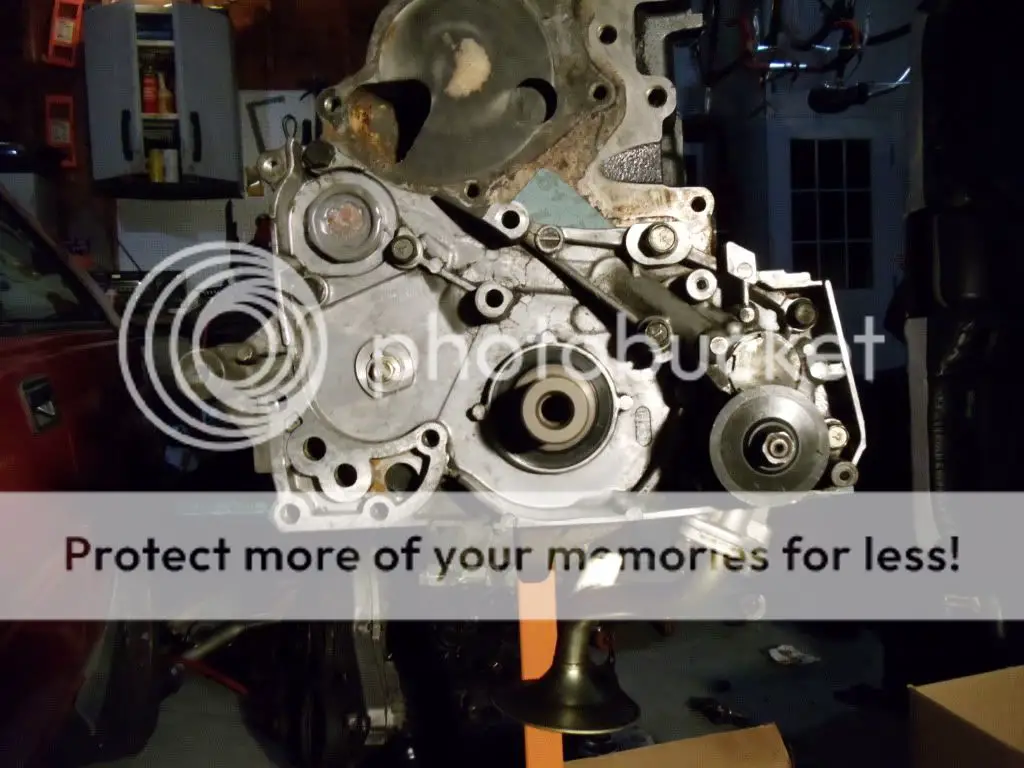
Well, I pulled off the brake lines today! I got all of the abs stuff out, except for the drivers front line which I'm worried that I rounded the fitting off that attaches to the intermediate hose. I think this connects directly into the fitting for the lower line though so if worst comes to worst I think I can put vice grips super tight on the hard line and loosen the intermediate fitting. If I have time tomorrow I will try to take that off. If I do get that done, I'm also going to try to yank that engine bay harness out. Once I'm done with those two tasks I will be getting the car on jack stands, removing all the rest of the brake stuff, dropping both subframes and por-15 the whole undercarriage including the gas tank, then I will put it all back together and it will be ready to go besides the motor, which I should be completing around the same time!
 

bobdole

Well-known member
Joined
Aug 23, 2007
Messages
866
Location
U.K.
Nice work so far. Are you goint to take car of the rust under the car?
 

SmoothCustomer

Well-known member
Joined
Jul 6, 2008
Messages
3,319
Location
Lexington, KY
Yeah. It's really not that bad, just surface rust as far as I can see so I will be taking care of that then por-15ing the whole underside so it won't happen again.
 

SmoothCustomer

Well-known member
Joined
Jul 6, 2008
Messages
3,319
Location
Lexington, KY
Finished pulling the brake lines today, and got the ecu side of the wiring harness out.
DSC00223.jpg
 

SmoothCustomer

Well-known member
Joined
Jul 6, 2008
Messages
3,319
Location
Lexington, KY
I was outside today taking pictures and boxing things up when who should show up but the FedEx man! I don't have time to check it all out and inspect it but I will tonight when I get home. Thanks a lot to Paul (thedsmguy) for the great price on this 2g head! Now all I need is my arp lube which is on its way!
DSC00231.jpg
 

SmoothCustomer

Well-known member
Joined
Jul 6, 2008
Messages
3,319
Location
Lexington, KY
Well it turned out that my original front case was just fine, luckily. Tonight I completed the front case section of the bs delete. Tomorrow during the day I will deal with those bearings, and then around this time tomorrow (once I can be sure everything has cured) I will start to put everything back together! Earlier today I started to remove things from the firewall, and tomorrow I will be painting all those brackets and I will be painting the motor mount brackets.

I was a bit overzealous with the j.b. weld haha.
DSC00235.jpg

DSC00236.jpg
 

Whoodoo

Well-known member
Joined
Jul 11, 2009
Messages
927
Location
Binghamton, NY
Your front case is sooooo much cleaner than mine was. It took forever to clean it too because of all of those little nooks and crannies everywhere... Quick question, was it really difficult to remove the gaskets? Mine were rock hard and really didnt want to come off. Even with the help of a razorblade, they took forever.
 

SmoothCustomer

Well-known member
Joined
Jul 6, 2008
Messages
3,319
Location
Lexington, KY
Thanks man! It would look even better if the lighting wasn't so awful. It was annoying to clean, and it could definitely be cleaner in the crevices, but I will take pics of the other side tomorrow because that looks even better (less nooks and crannies). Basically I just used a TON of brake parts cleaner, a scrub pad and paper towel. The gasket was super annoying to get off. I also soaked that in brake parts cleaner which kind of helped, but I found that the easiest way was to get a really high angle on the razor blade, almost straight up and just go pretty quick back and forth against the gasket.
 

SmoothCustomer

Well-known member
Joined
Jul 6, 2008
Messages
3,319
Location
Lexington, KY
Pretty upset about how things went tonight. Got both bearings out no problem, and started to put the back bearing in (for the front shaft) and I couldn't get it to go in. I decided I might as well put the front bearing in, because I shouldn't have any problem getting the shaft (which I use to pound the rear bearing in) to fit through that bearing, but now it won't fit through. I know have to figure out another way to tap in the rear bearing, or I have to tap out the front and be very careful not to damage it because I did kind of damage the old bearing messing with it to get it out. I guess I'll figure it out tomorrow. /ubbthreads/images/graemlins/mad.gif
 

Whoodoo

Well-known member
Joined
Jul 11, 2009
Messages
927
Location
Binghamton, NY
Careful, wouldn't want to get a socket stuck in the block *cough - brox - cough*. I'm just going to leave the left shaft in and not replace the right shaft's bearing. Maybe when 180k rolls around I will, but I need to cut costs as much as possible.
 

SmoothCustomer

Well-known member
Joined
Jul 6, 2008
Messages
3,319
Location
Lexington, KY
Yeah unfortunately funds are low for me too. But, I have a socket that fits just a tiny bit on the inside of the bearing, so if you hit too hard it chews it up. If I don't chew it up it will be ok. I can damage that back bearing, as the stock one came out clean.
 

SmoothCustomer

Well-known member
Joined
Jul 6, 2008
Messages
3,319
Location
Lexington, KY
More problems more problems. I pounded that rear bearing in finally, but it also got damaged on the front. I'm sure it is fine but I want to do it right. The front bearing also got damaged pretty badly, so I should really probably use a new one for that too. I would use the old rear bearing, but I'm going to instead try to buy a new pack of blockoff bearings and be SUPER careful this time. This is the only thing stopping me from putting the motor together!! /ubbthreads/images/graemlins/frown.gif /ubbthreads/images/graemlins/frown.gif /ubbthreads/images/graemlins/mad.gif /ubbthreads/images/graemlins/mad.gif /ubbthreads/images/graemlins/mad.gif To add to the list of problems, the place I get parts from is going to be at the shootout this weekend, and too busy to send my bearings out before then I'm sure. I sent them an email for good measure though just in the hopes that they will get it to me. I do not have time for this, so if I don't get these bearings in the mail by mid next week, I will have to reuse the old stock bearing for the back one, and use this damaged front one. Pics of damage on both bearings:
DSC00008-1.jpg

DSC00006.jpg
 

HAHAHAHA I bout 14/1000. Its a shell and it looks exactly like your when you took everything out. I have most of the interior and wiring but the previous owner was going to use it for a drag car. I am starting a build thread tomorrow :] I will follow yours closely lol /ubbthreads/images/graemlins/worthy.gif
 

SmoothCustomer

Well-known member
Joined
Jul 6, 2008
Messages
3,319
Location
Lexington, KY
^^Haha thanks man! I'll keep an eye on your too. I just got emailed back and my guys can't get anything shipped until monday so I'm going to use these slightly damaged bearings and keep a good eye on oil pressure. I'm not expecting or desiring this engine to last forever anyway, and I'm sure the integrity of the bearings is fine. I'm going to get por-15 today if my beater is running!
 

SmoothCustomer

Well-known member
Joined
Jul 6, 2008
Messages
3,319
Location
Lexington, KY
I finally got my por-15! Unfortunately I won't have time to start it until Sunday. I also got my pte 880cc injectors in the mail! When I get home tonight I will finally start putting the motor together for good.
DSC00009-1.jpg

DSC00010-1.jpg
 

mitsuturbo

Well-known member
Joined
Jun 2, 2008
Messages
3,551
Location
Near Seattle, Washington
Aren't those balance shaft bearings?

I'd just toss them back in with the oil hole 180° out from the oil hole in the block and not run balance shafts. Cheap, easy, and best of all... free.
 

SmoothCustomer

Well-known member
Joined
Jul 6, 2008
Messages
3,319
Location
Lexington, KY
Yeah, but the thing is I wanted to use blockoff bearings because the stock bearings can fall apart in theory, and I damaged the stock one pounding it out. I then damaged the blockoff one, but not enough to do any harm I don't think. The only way it would mess it up is if they fell apart as a result, and that won't happen I'm sure.
 

SmoothCustomer

Well-known member
Joined
Jul 6, 2008
Messages
3,319
Location
Lexington, KY
Finally made some progress! I have to get my ofh back from the kid who has it, but first I'll put my oil pan on tomorrow and then as soon as I get that I will start to put all the timing components back on.

Bearings in:
DSC00011-1.jpg

DSC00014-1.jpg
 

can you take pics of the wiring that you do in the body of the car that you need to do before you do the carpeting? I am building one as well and my wiring is in a messy box and I have no idea how to start sorting it lol
 
Support Vendors who Support the GVR-4 Community
Boosted Fabrication ECM Tuning ExtremePSI Fuel Injector Clinic Jacks Transmissions JNZ Tuning Kiggly Racing Morrison Fabrications RixRacing RockAuto RTM Racing STM Tuned
Top