r4pt0x
Well-known member
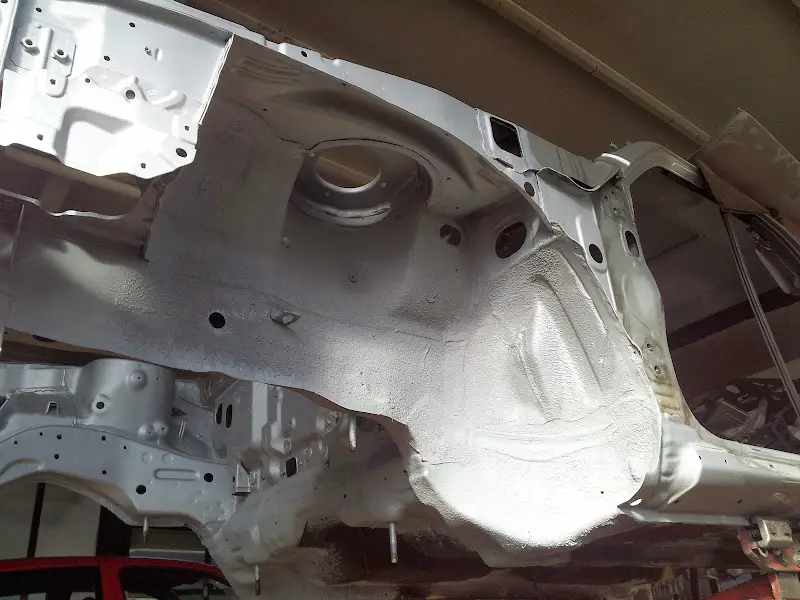
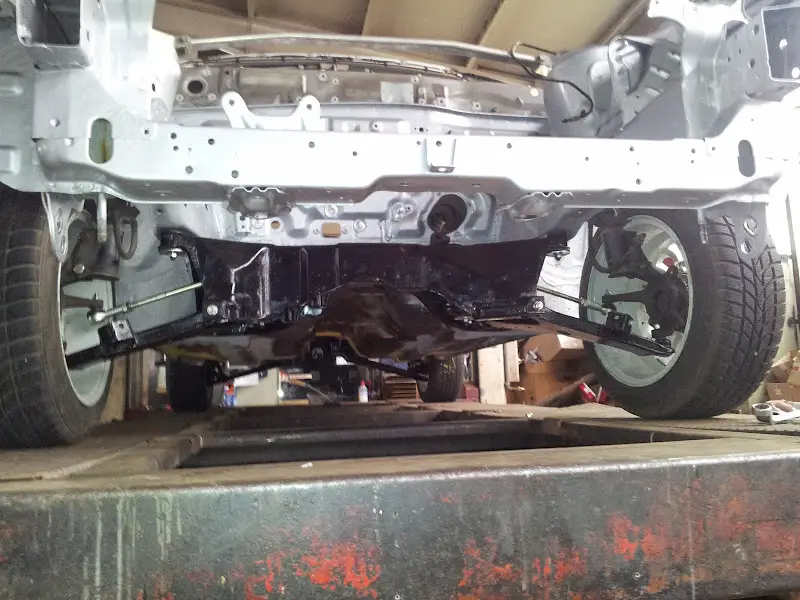
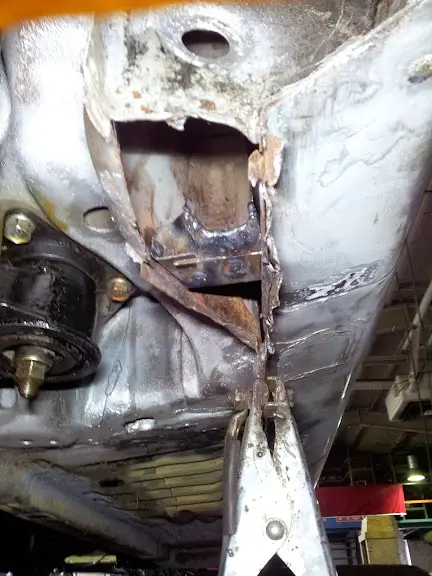
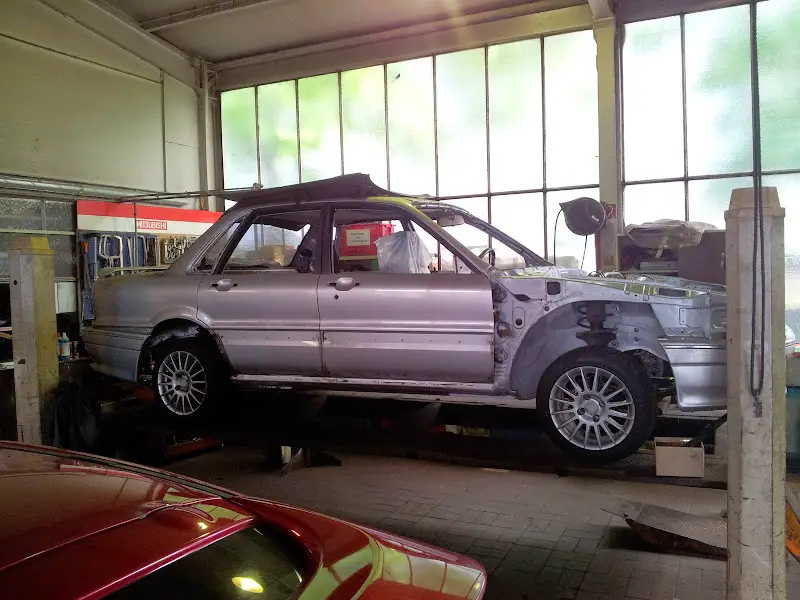
I finished the left side sill yesterday, removed the car bench tools and sealed all folds and seams with owatrol oil so today the first 2 layers of primer were applied:
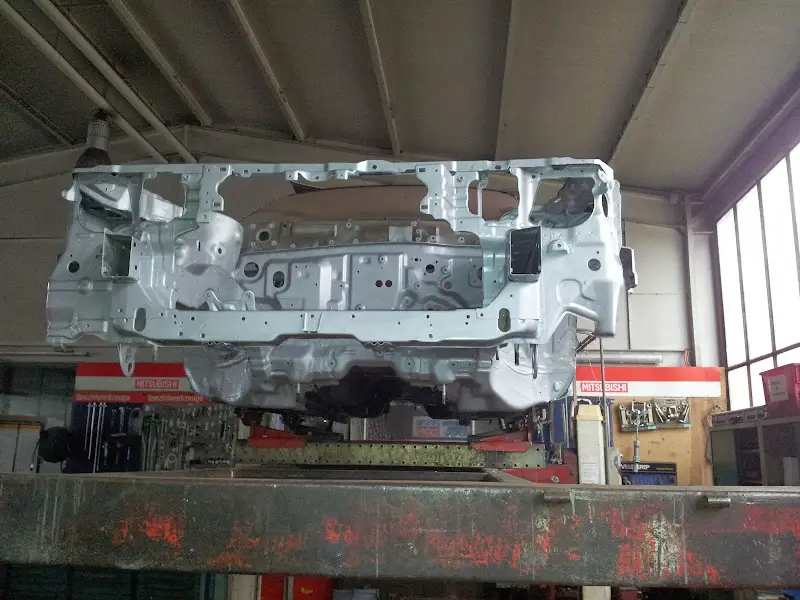
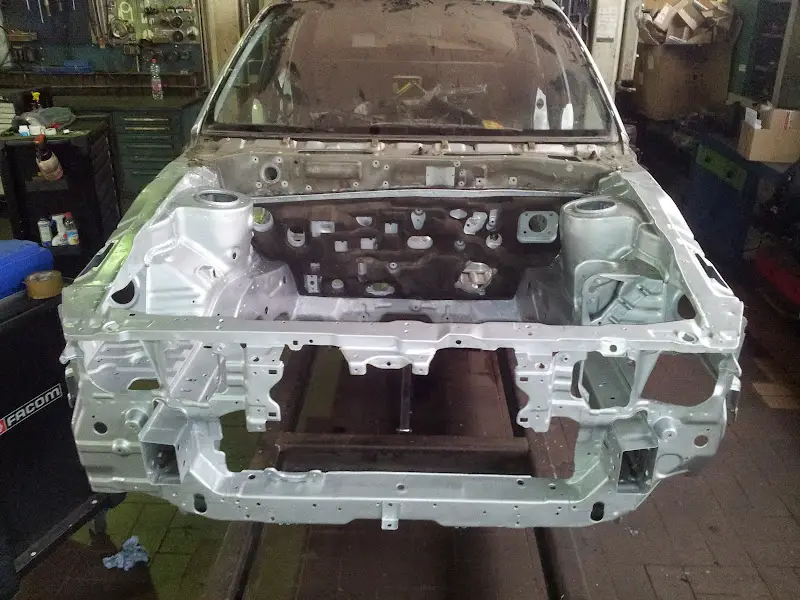
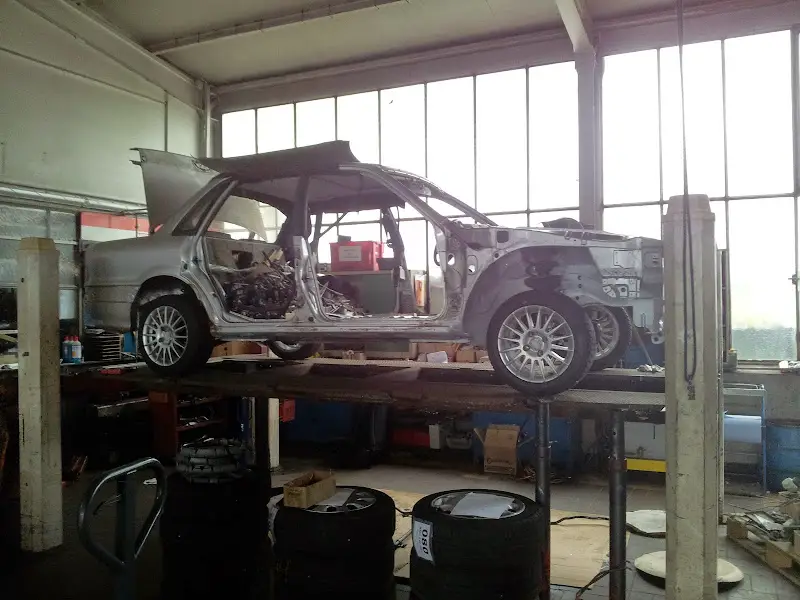
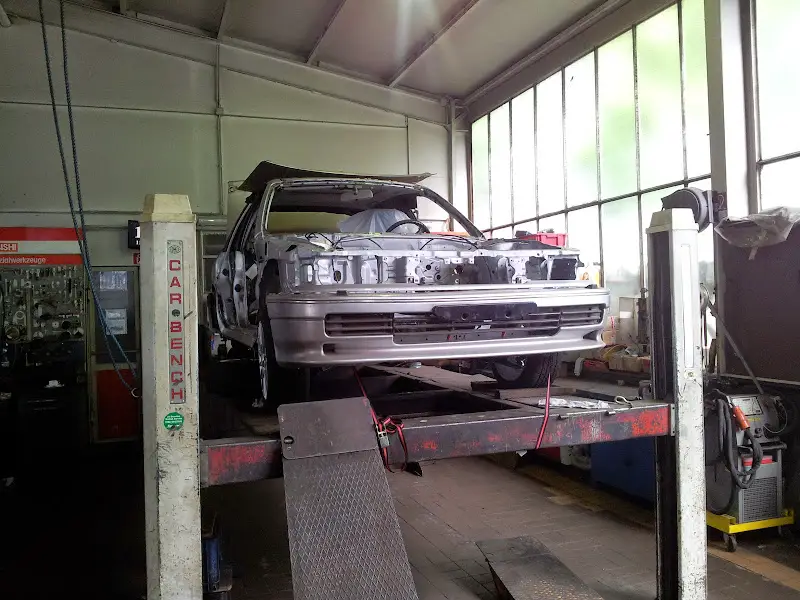
Starts to look like a car again /ubbthreads/images/graemlins/smile.gif
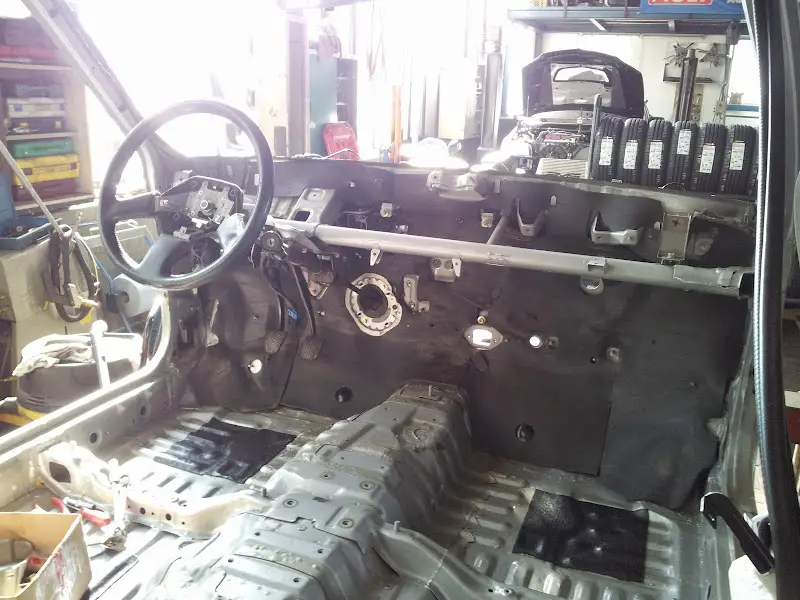
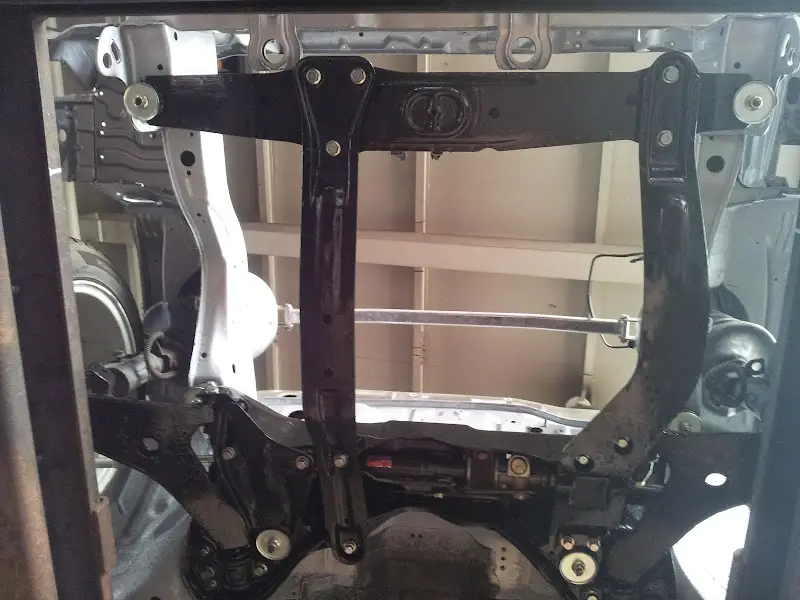
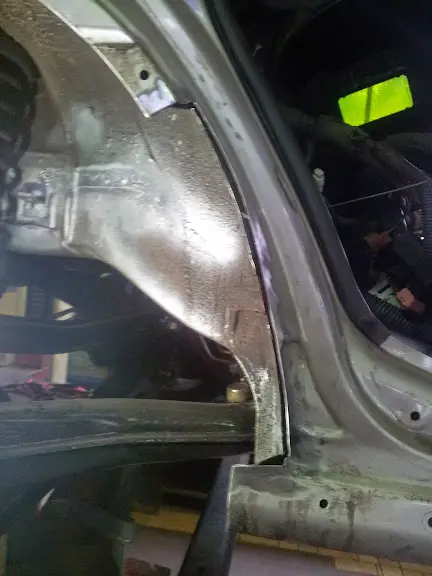
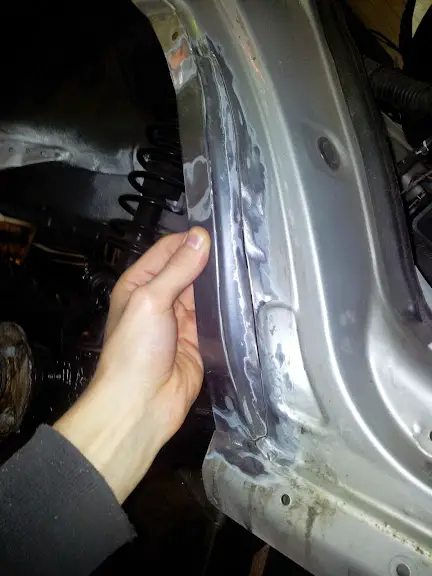
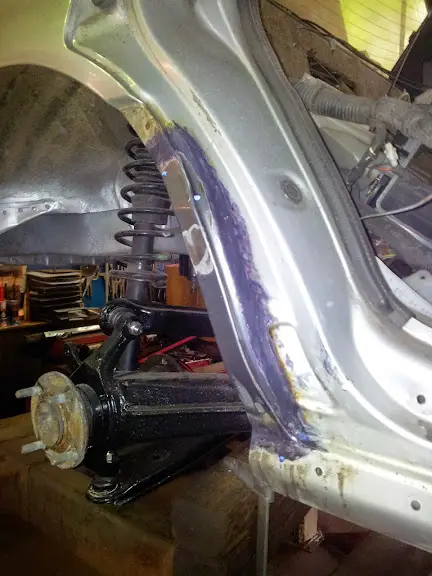
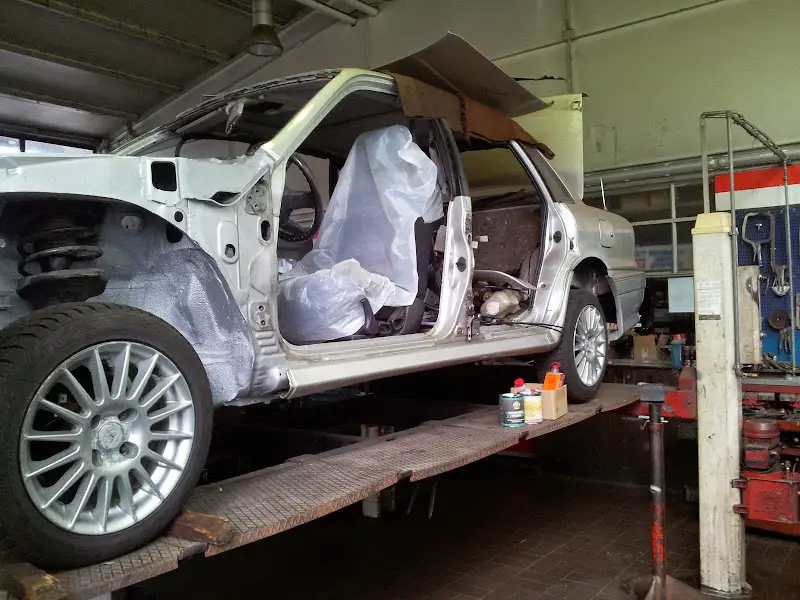
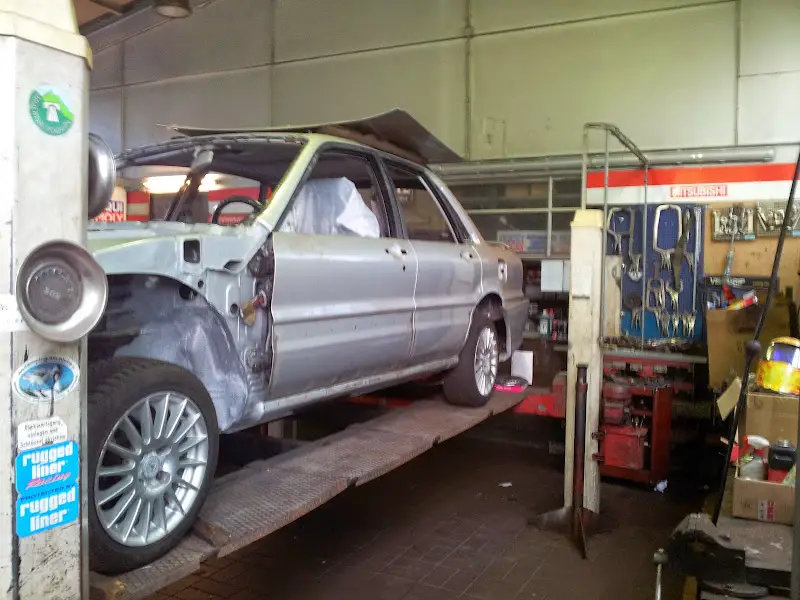
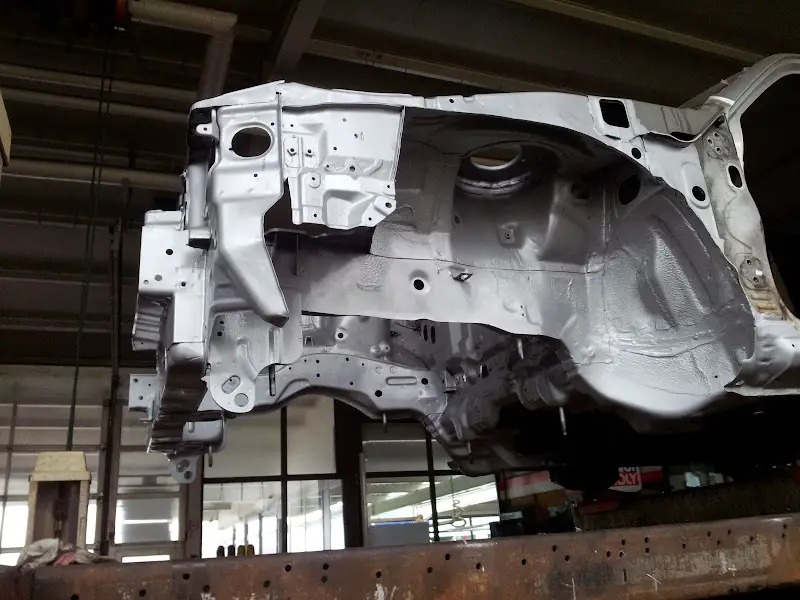
I have to remove the windscreen this week and fix some small rust at the A-pillars, then I'll paint the upper part of the firewall up to the windscreen and the a-pillar/crossmember joint.
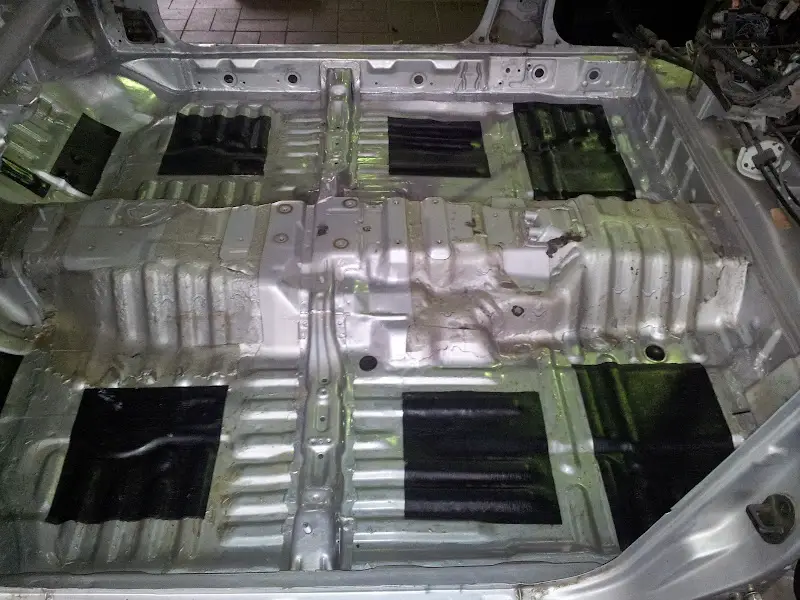
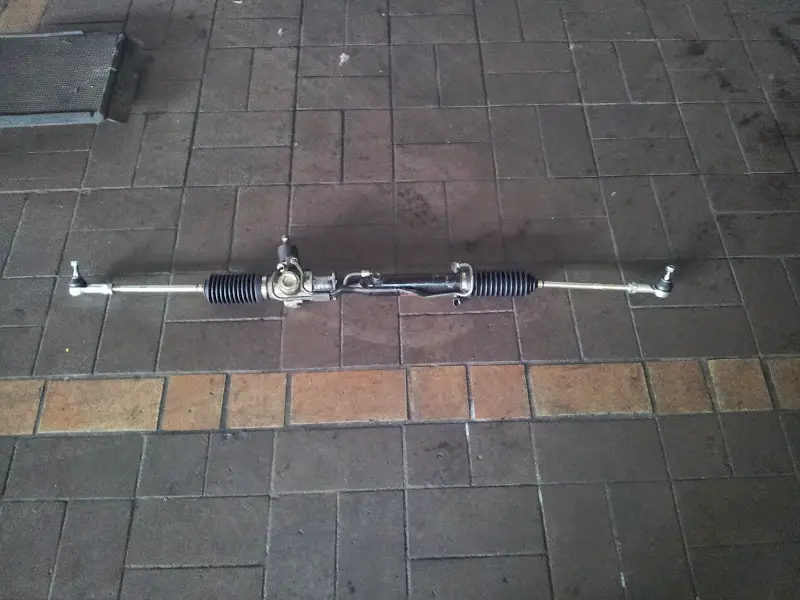
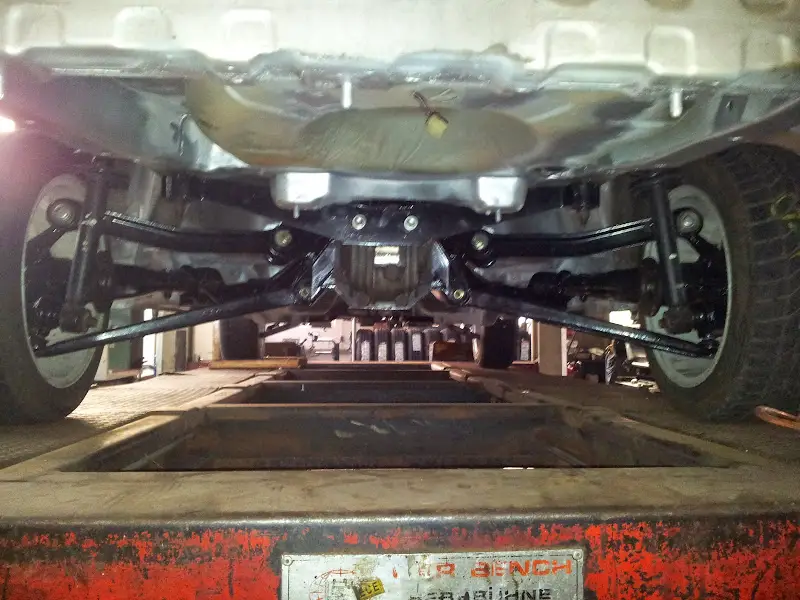
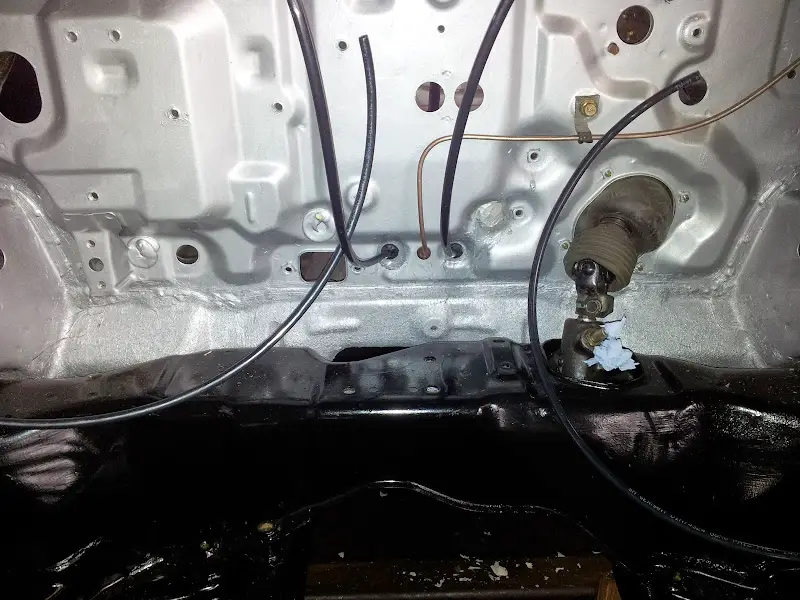
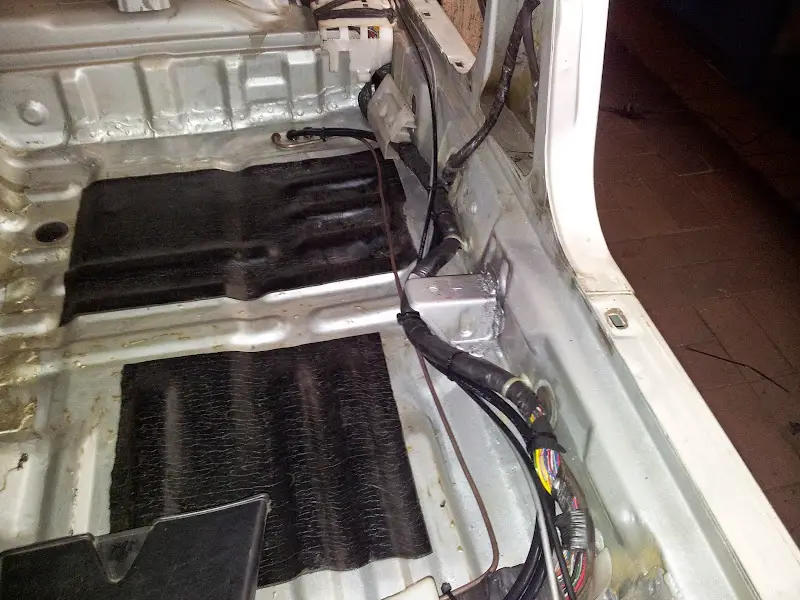
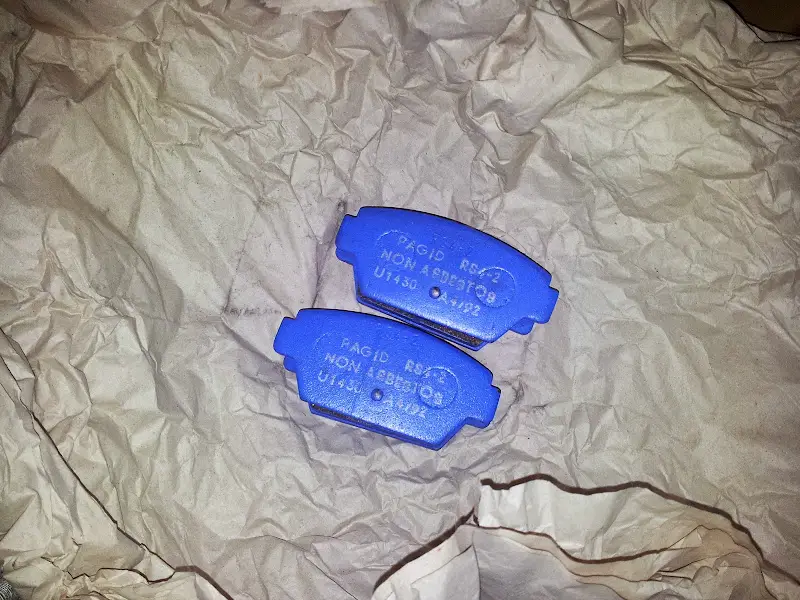
I also found a good solution how to route all the brake/steering/fuel-lines through the firewall and rear floor so I'll spend some more money in goodridge parts next week /ubbthreads/images/graemlins/wink.gif
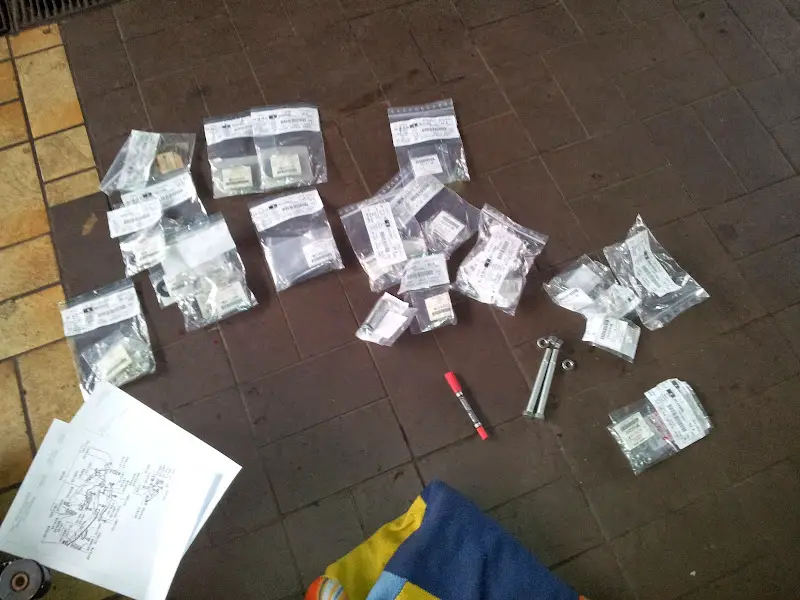
New windscreen trims already arrived - I already had a brand new trim for the hatchback, but they are completely different from the limousine, so they will join the ever-growing collection of brand parts in my basement. Someday I can build a whole car out of brand new parts - a new 6G72 DOHC engine is already in my collection /ubbthreads/images/graemlins/grin.gif
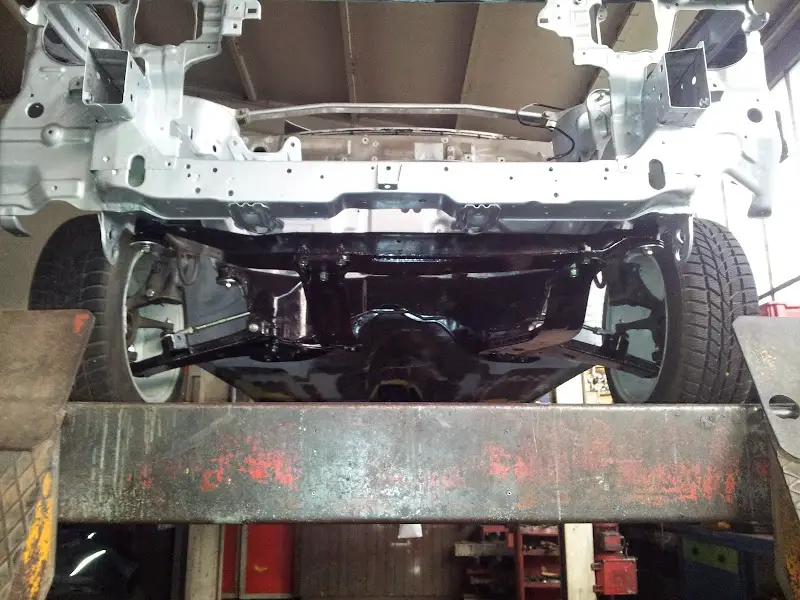
Starts to look like a car again /ubbthreads/images/graemlins/smile.gif
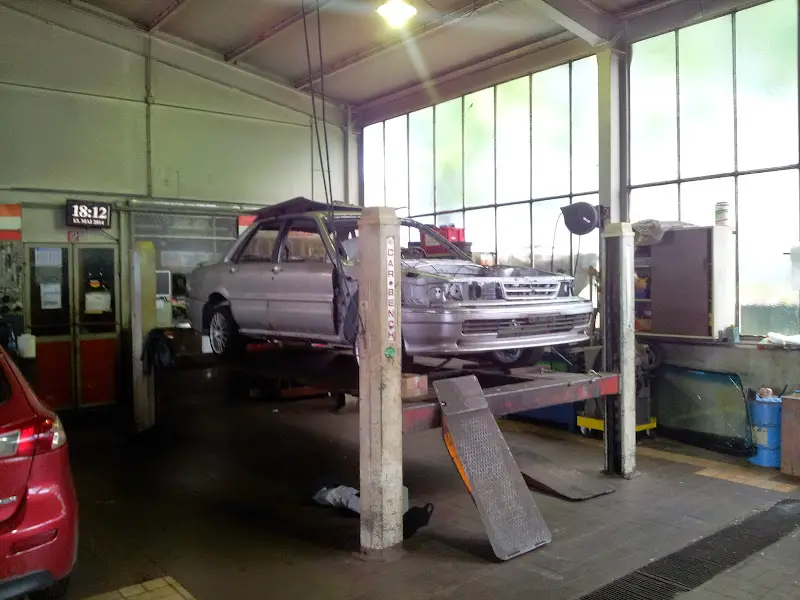
I have to remove the windscreen this week and fix some small rust at the A-pillars, then I'll paint the upper part of the firewall up to the windscreen and the a-pillar/crossmember joint.
I also found a good solution how to route all the brake/steering/fuel-lines through the firewall and rear floor so I'll spend some more money in goodridge parts next week /ubbthreads/images/graemlins/wink.gif
New windscreen trims already arrived - I already had a brand new trim for the hatchback, but they are completely different from the limousine, so they will join the ever-growing collection of brand parts in my basement. Someday I can build a whole car out of brand new parts - a new 6G72 DOHC engine is already in my collection /ubbthreads/images/graemlins/grin.gif