Quoting Yohler:
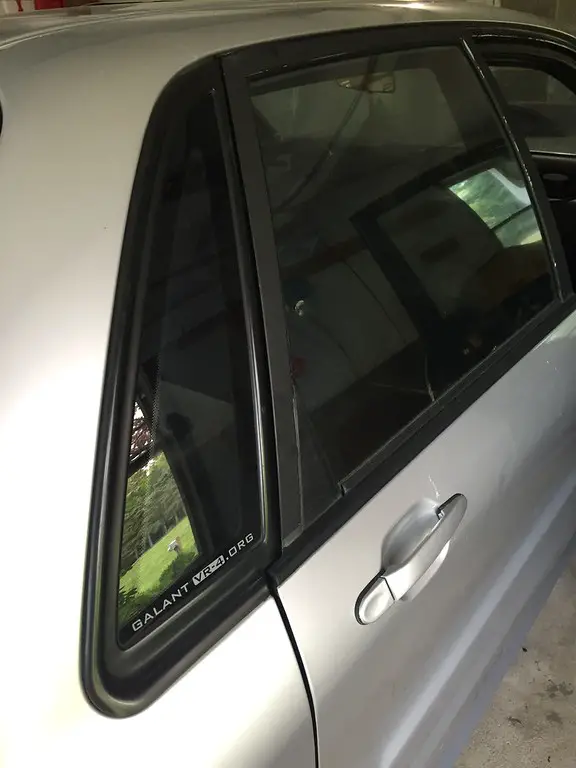
Really coming together. I think a lot of the little things that stick out like a sore thumb to you would go unnoticed by most. Regardless, it looks like a million bucks compared to what you started with. I've seen those org stickers on a few cars, does someone sell them?
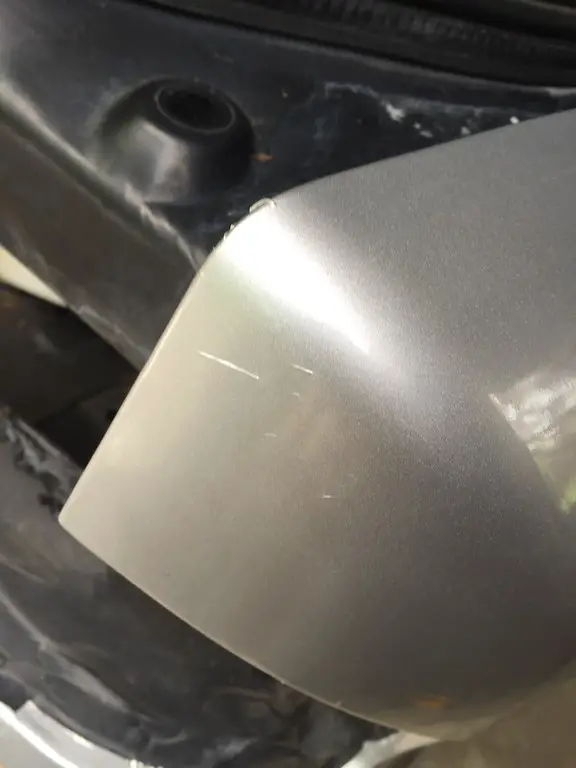
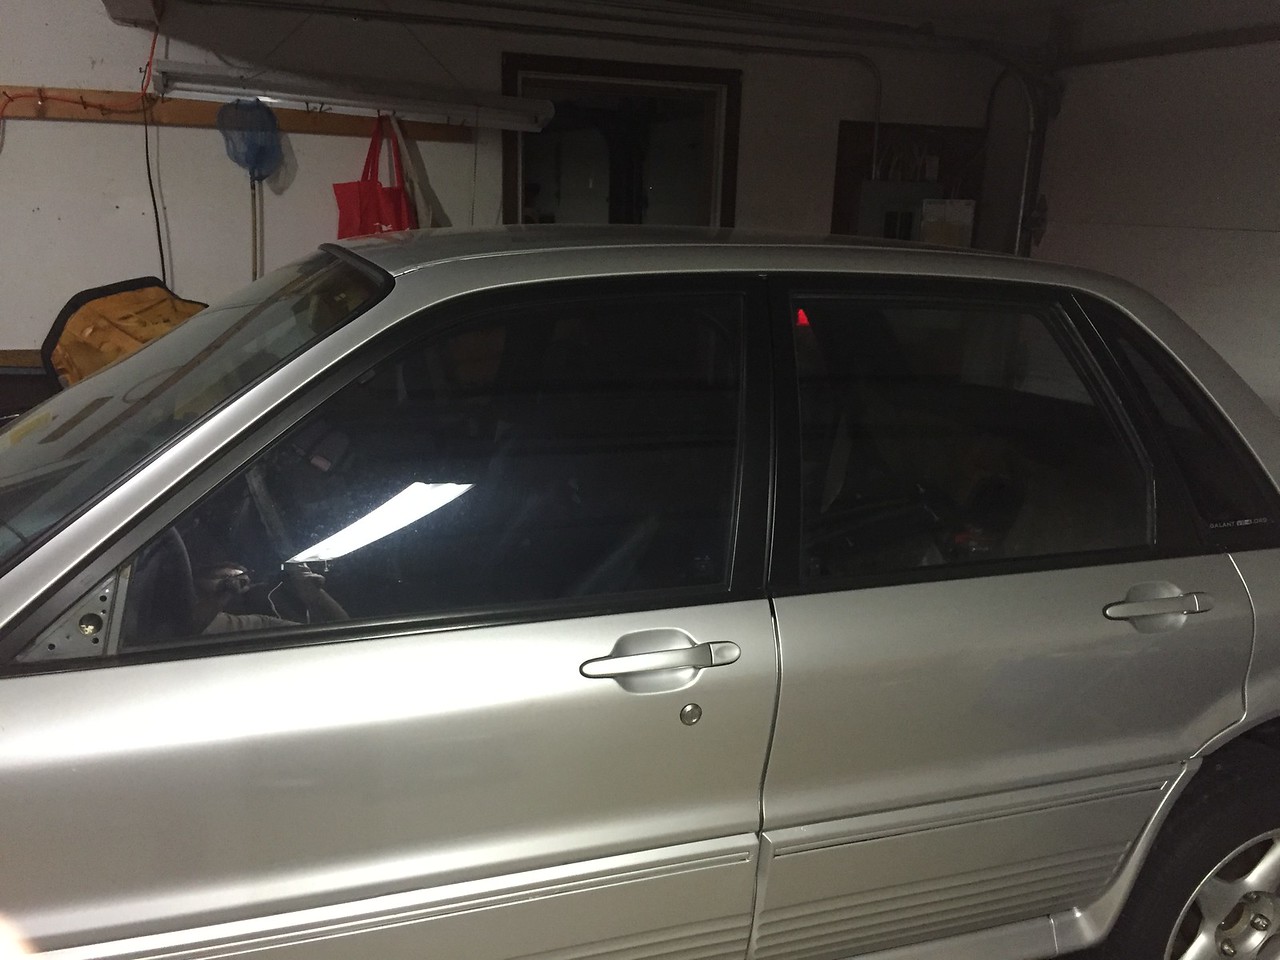
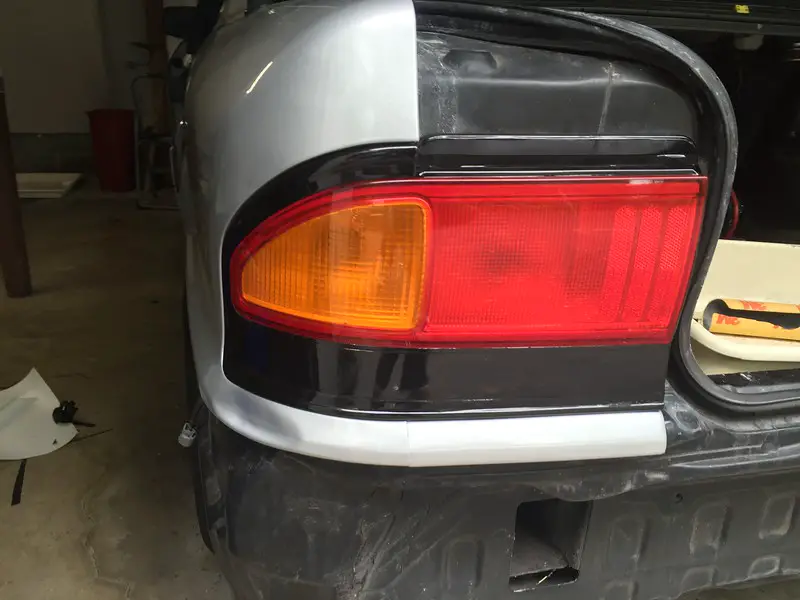
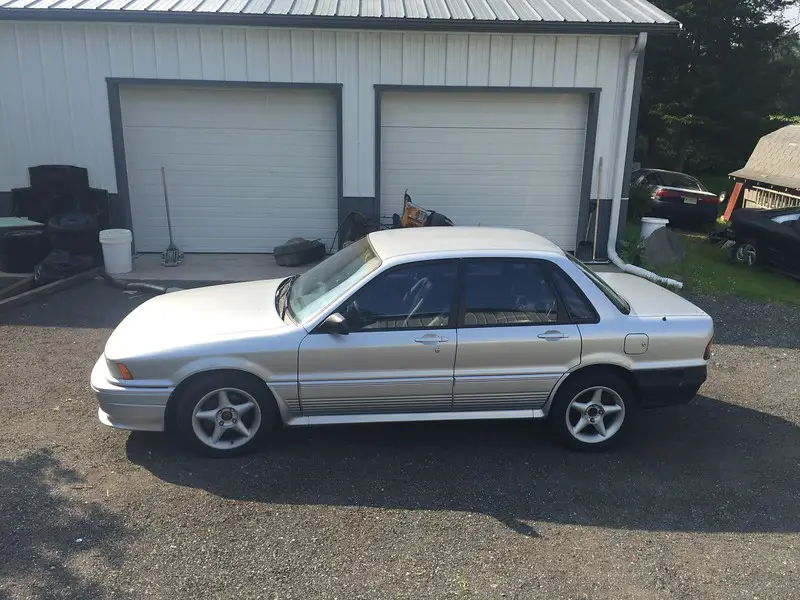
exactly. I know where every wrinkle is, and they stick out to me. One of the advantages of wrap is that I can always go back and re-do an area or panel if it motivates me in the future. Im on the lookout for a non-rusted and no-ding rear pass door to swap on. That door has a lot of dings and the worst wrinkles. Had I painted the car...you don't really have the option to swap body parts later or re-do the paint in areas at your whim.
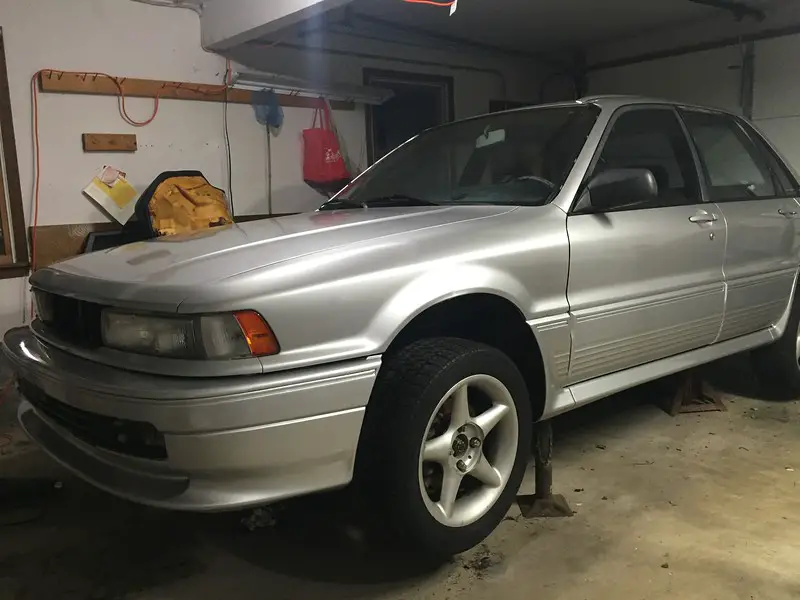
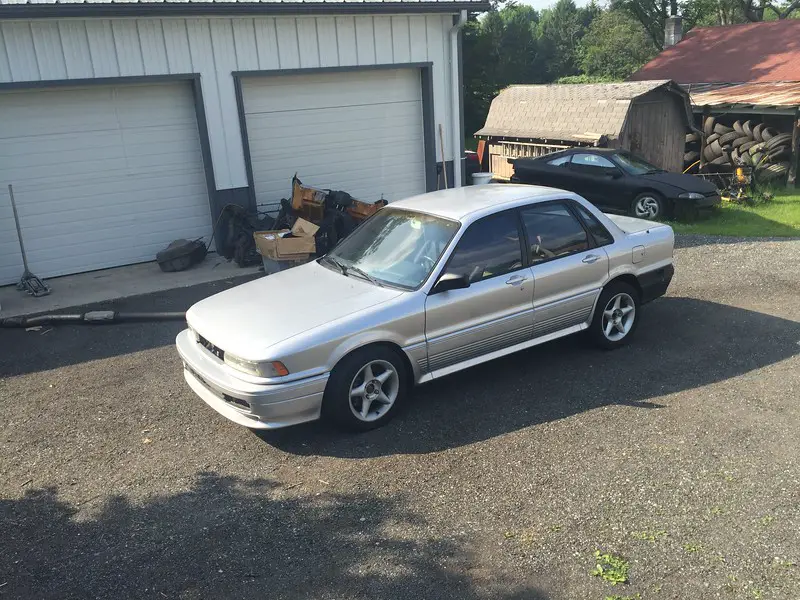
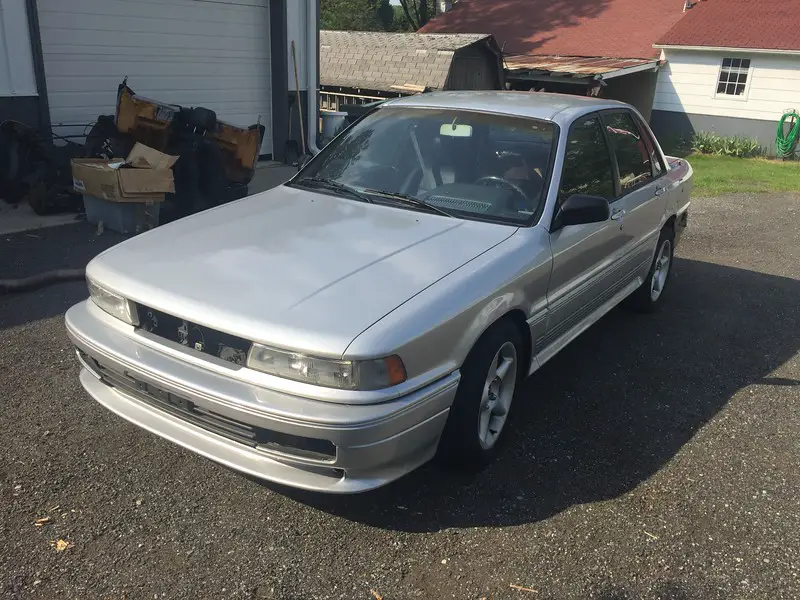
My gaol is not perfection. I have no illusions of grandeur that the car is going to be a show car or pristine example. The goal of this wrap is to turn an ugly duck into a "10ft car".....from 10ft away this car will look like a million bucks. In photos, you can't see any of the minor imperfections in the wrap. This car is going to get lettering for my business, and be the "logo car" for my business advertising. No-one is going to see a few 1/8" long wrinkles on T-shirts, business cards, Facebook and ebay banners, and forum signature pics. hahaha
It will turn heads at the racetrack, and frankly, Im going to best unless I mention it, vast majority of people just taking a quick look in the pits are going to assume it was just painted.
Quoting turbohf:
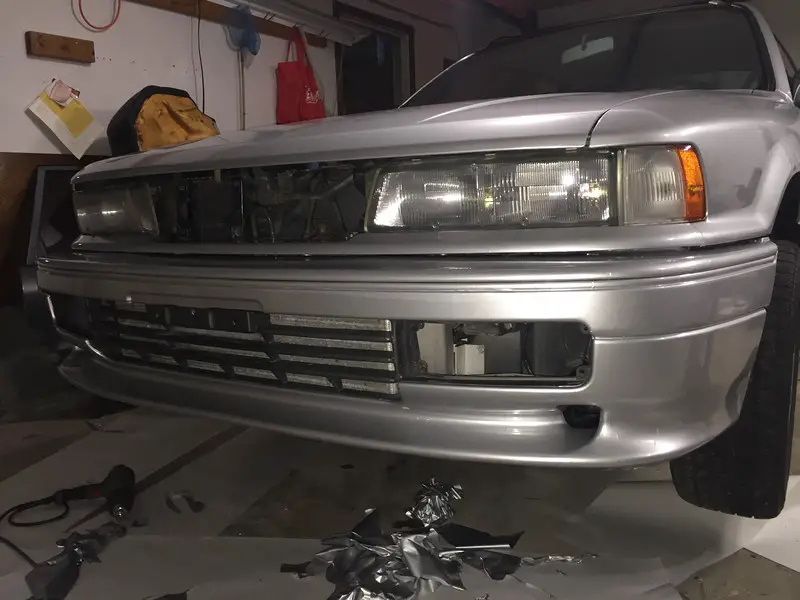
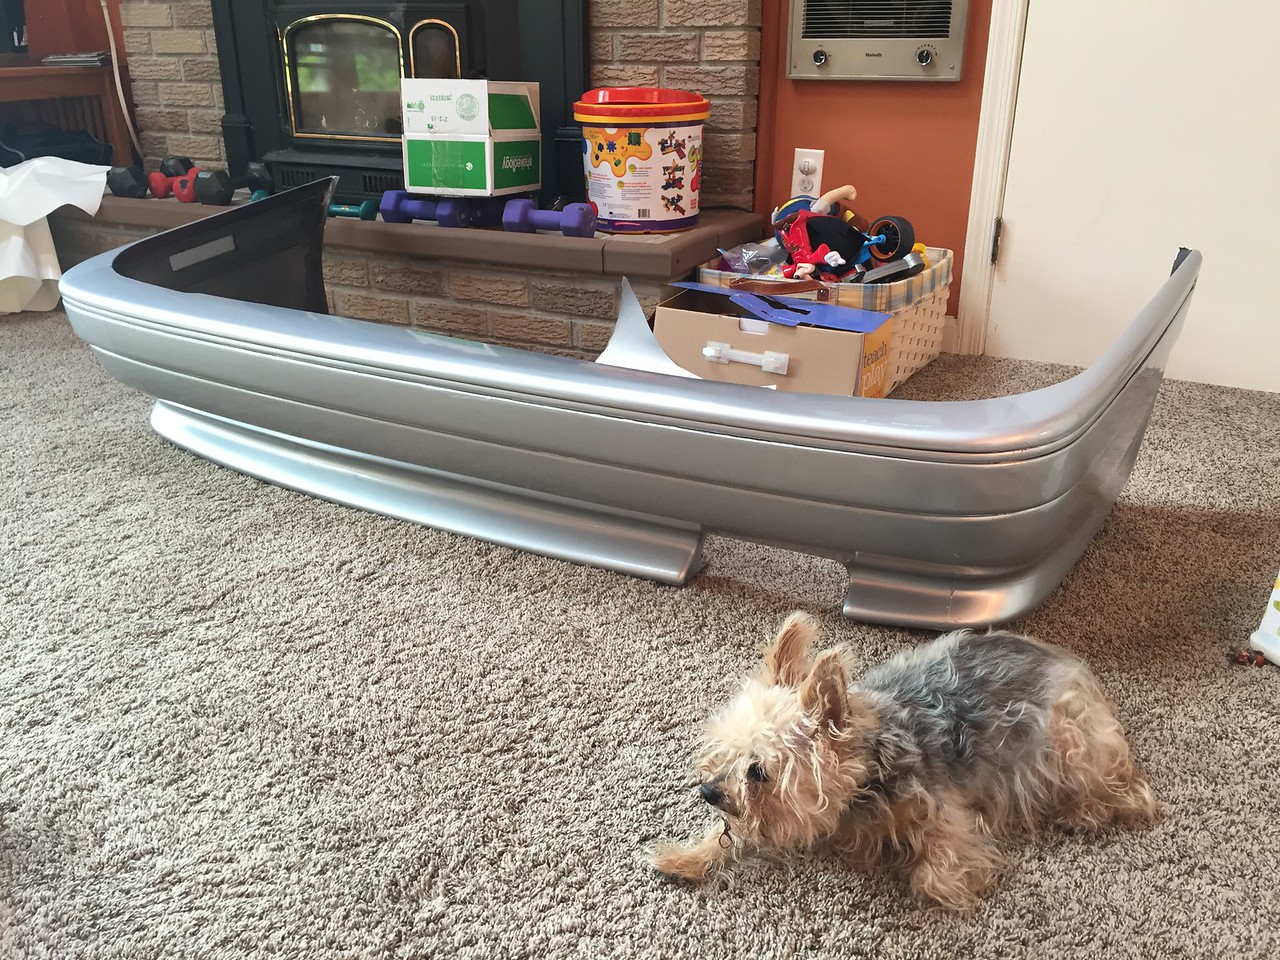
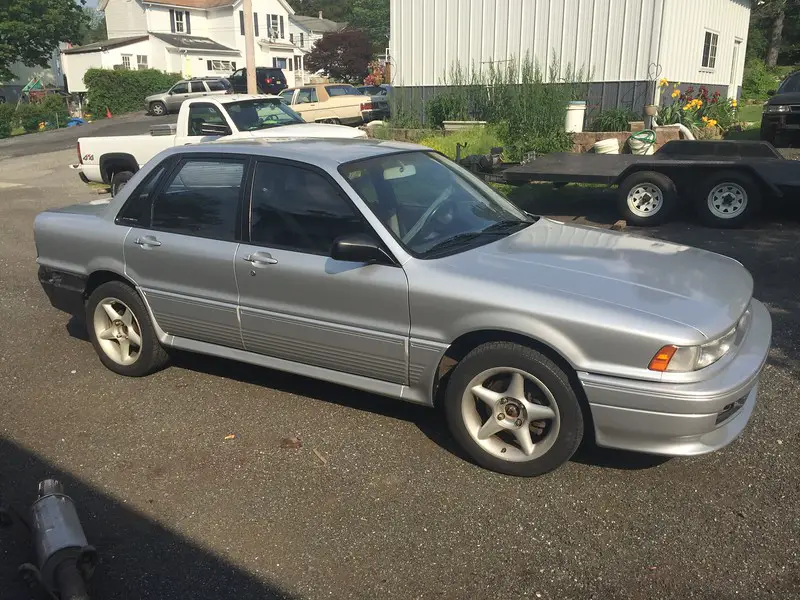
wow, that really does look good. i spent a little time looking my car over. most seemed like it might be reasonable to wrap, but the bumpers, front in particular (US models) seemed like it would be a bitch and be best to do in at least 2 parts. You have the bumper off the car when wrapping?
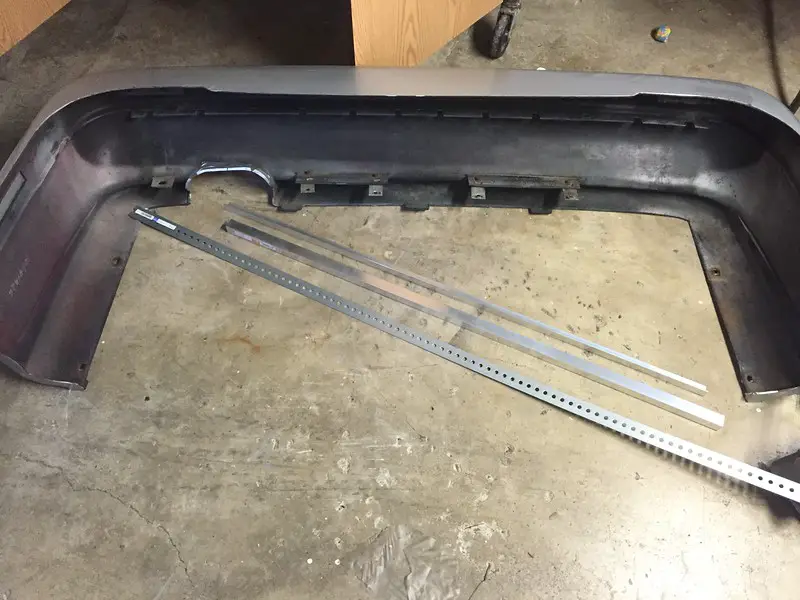
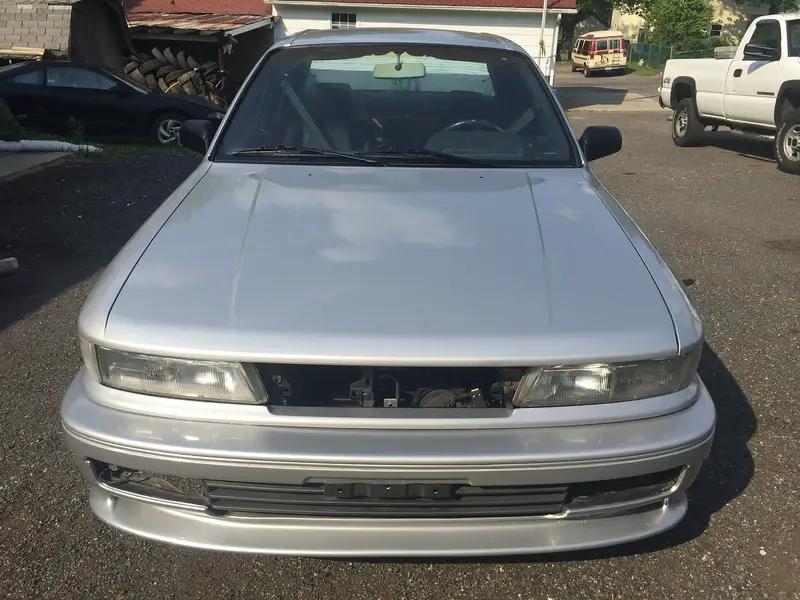
The front bumper was done on the car mounted and has quite a few seams in obvious places on the top, that I "could have" done in one big piece, but require cutting an 8+ft long strip off the roll to go wheel well to wheel well . I was so frustrated with the front bumper after a failed attempt on saturday night where I wasted an 8ft section that I just kinda said 'F-it" and pieced it together with leftover cuttings from the doors and 1/4's.
It seemed kinda foolish to spend another 8ft long chunk off the roll (like say $60 of material) just to likely wrinkle and screw it up anyway. might as well screw up using scraps and see how it goes. When my skills get better and Im not in a rush to finish I'll redo it
and frankly..it was only 52* in the garage yesterday. The material is supposed to work best at 73-75*...you would be amazed at how crunchy and brittle it is at 50* vs how smooth and pliable/stretchy it is when warm. Due to temp, Im constantly having to use heat gun to warm the material to relax the wrinkles...so Im working one handed all the time which leads to more wrinkles and bunches. When the material is cooler..it doesn't squeegee out smooth, it tends to stick harder and bunch up.
For a part as hard as the front bumper and for as novice as I am...I need advantages like correct temps and both hands, not disadvantages of crunchy material, stress, and one hand. I'll re-do the bumper with only one hidden seam the first time I lower the car too much and scrub the bumper on a parking decider and tear up the wrap. hahaha Then ill also sand down all the old paint imperfections and chips that show through.