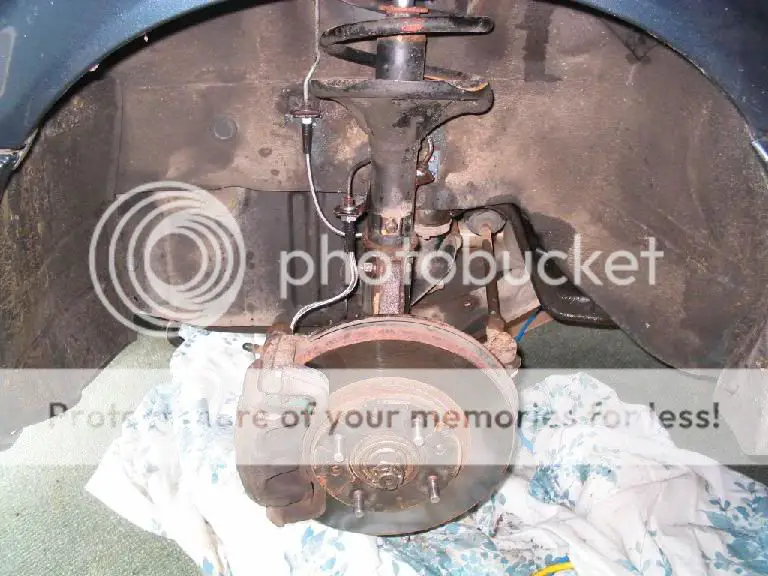
To start things off, you will need the following:
- a few bottles of brake fluid (high grade)
- non-abs proportioning valve from awd dsm
- non-abs brake lines (4 lines total)
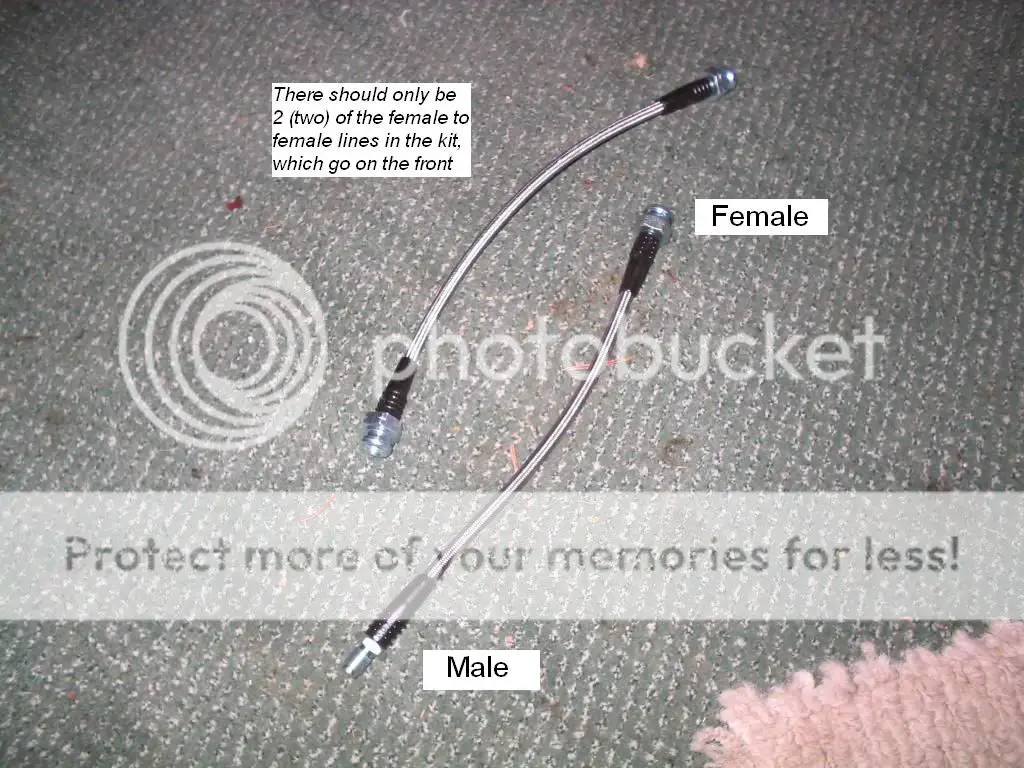
- stainless brake line kit (8 line kit)
- 10mm line wrench - I used crapsman
- 10mm, 12mm, 14mm, 17mm, 18mm wrenches
- 10mm, 12mm sockets, ratchet
- pb blaster (you may need a torch, as I did)
- vise grips
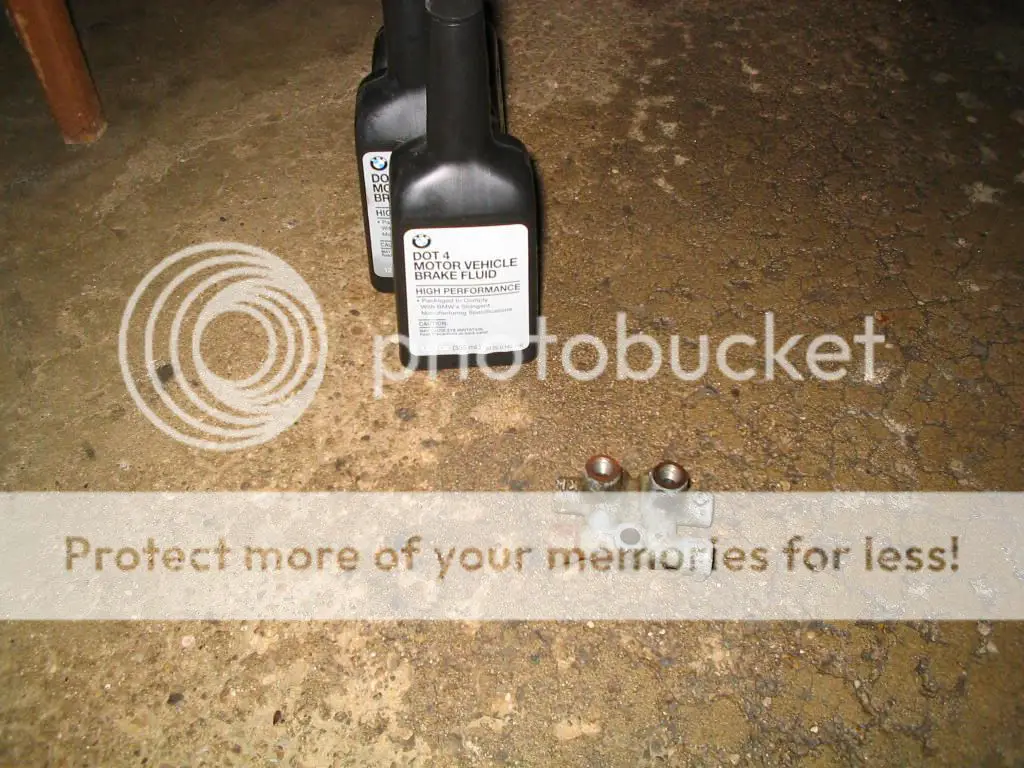
I got my brake fluid off of ebay. BMW DOT4 fluid for $15 - and I got 8 bottles of the stuff. I also used it when I did my stainless clutch line, and it had great results.
The Non-ABS proportioning valve can come from a number of places. A galant gsx would probably be the best source, as it has the best distributon for the chassis. I didn't have access to one however, so mine came from an awd 1990 talon tsi. Here's a link to a post on this subject alone:
Non-ABS proportioning valve links
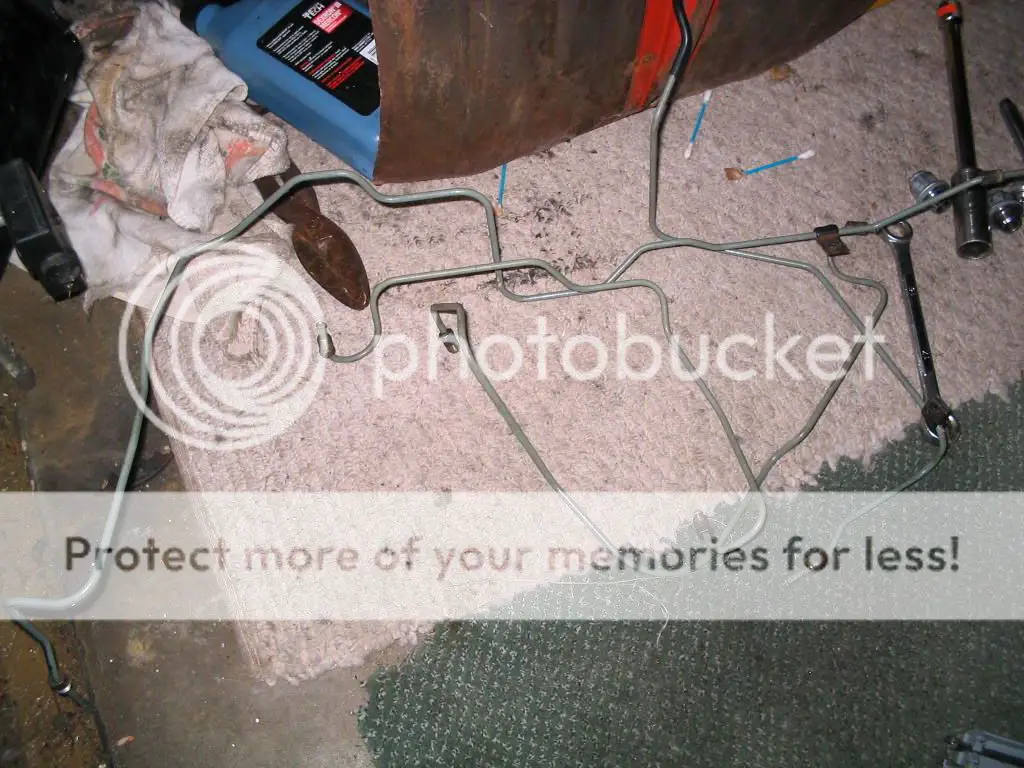
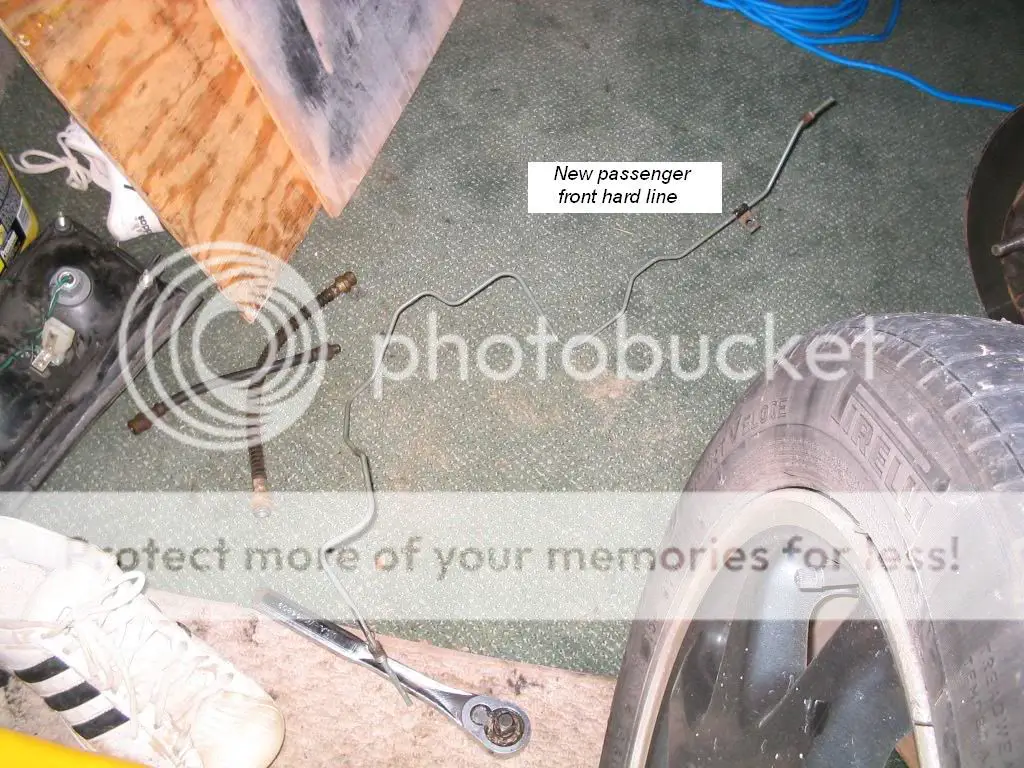
These are the new hard lines you will need to source from a 1g TEL with Non-ABS, or a galant gsx. Mine came a 91 fwd eclipse, and fit perfectly. You will need the two lines that run directly from the brake cylinder to the proportioning valve, and the two lines that run from the proportioning valve to the front calipers. You will use your stock rear brake lines (thank god
 )
)
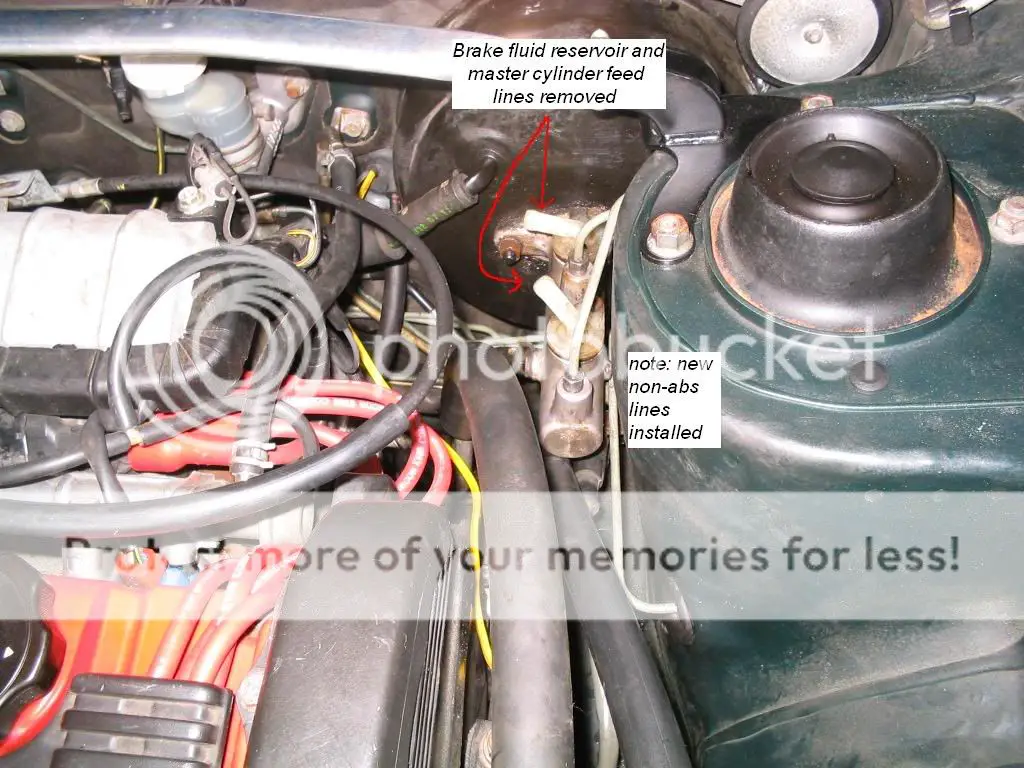
At the beginning I decided to remove the brake fluid reservoir, by first unbolting it from the firewall, and then undoing the feedlines to the brake cylinder. There is a sensor on the reservoir, so be sure to undo the clip. Take the feedlines off really quickly, having a towel (or plastic bag) handy to catch the spill. You won't need this for a while. The bracket holding the reservoir will probably look shitty, so take it off, sandblast it or wire brush it, and paint it black like the stones. Then spray the line fittings on the brake cylinder with pb blaster. Loosen them completely with a 10mm line wrench. (I had to heat one of these fittings with a torch)
Next, remove the coolant overflow reservoir, located directly over the abs motor unit. Also remove the bracket that holds it in place. Then un-bolt the power steering reservoir, leaving lines attached, and wedge it as far out of the way of the abs unit as you can (abs unit pulls straight up and out) This next picture shows the ps reservoir down, but you will move it around a bit.
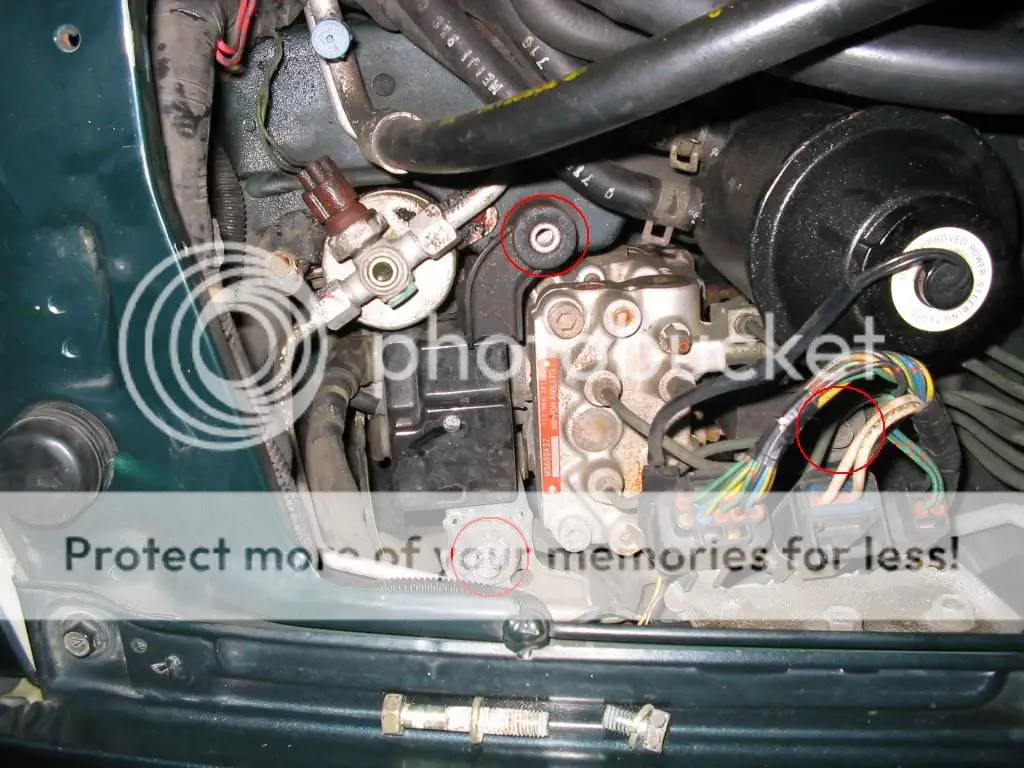
Note the three red circles, as these are the three bolts holding the abs unit in place. The three electrical connectors at the bottom are for the abs unit, so unbolt the bracket they sit on. Then you have to pop each connector off the metal bracket. Discard the bracket. Before removing the mounting bolts for the abs unit, spray all the line fittings with pb blaster. Crack all the lines loose with a 10mm line wrench. I didn't need a torch for any of these lines.
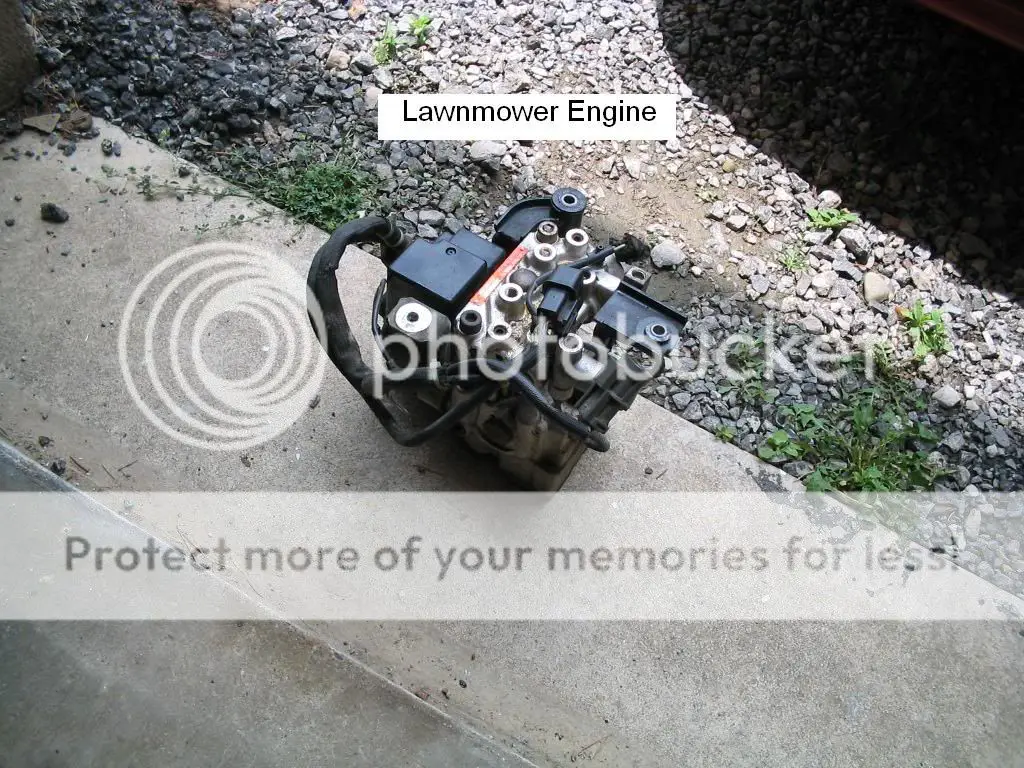
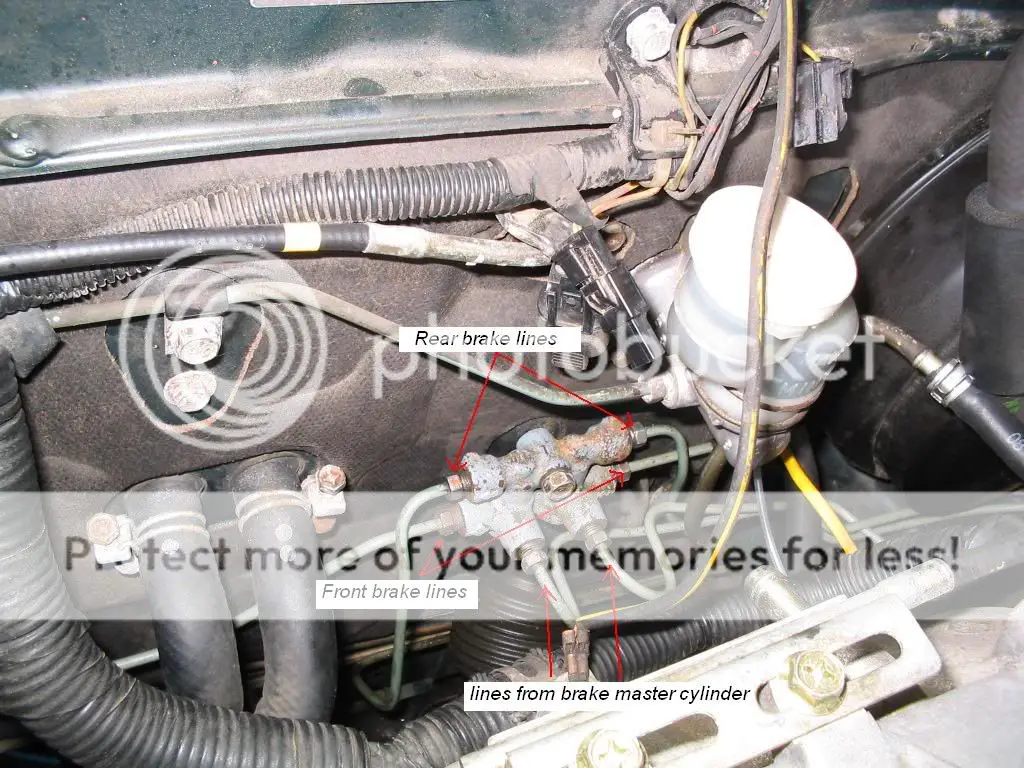
Next, start removing all the lines that run to the abs unit and brake cylinder. These can all be discarded. The only original lines you will be using are your rear brake lines. All lines can be removed intact except for one in my case. It was the only line I cut to save time and aggrevation of removing a ton of sh*t.
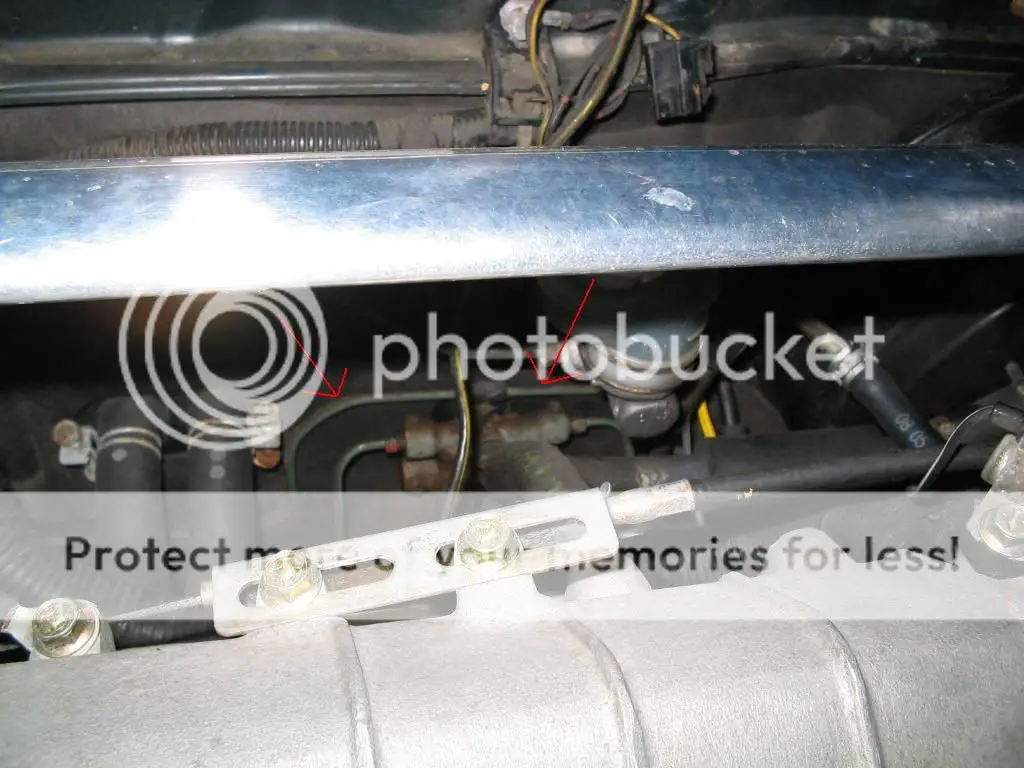
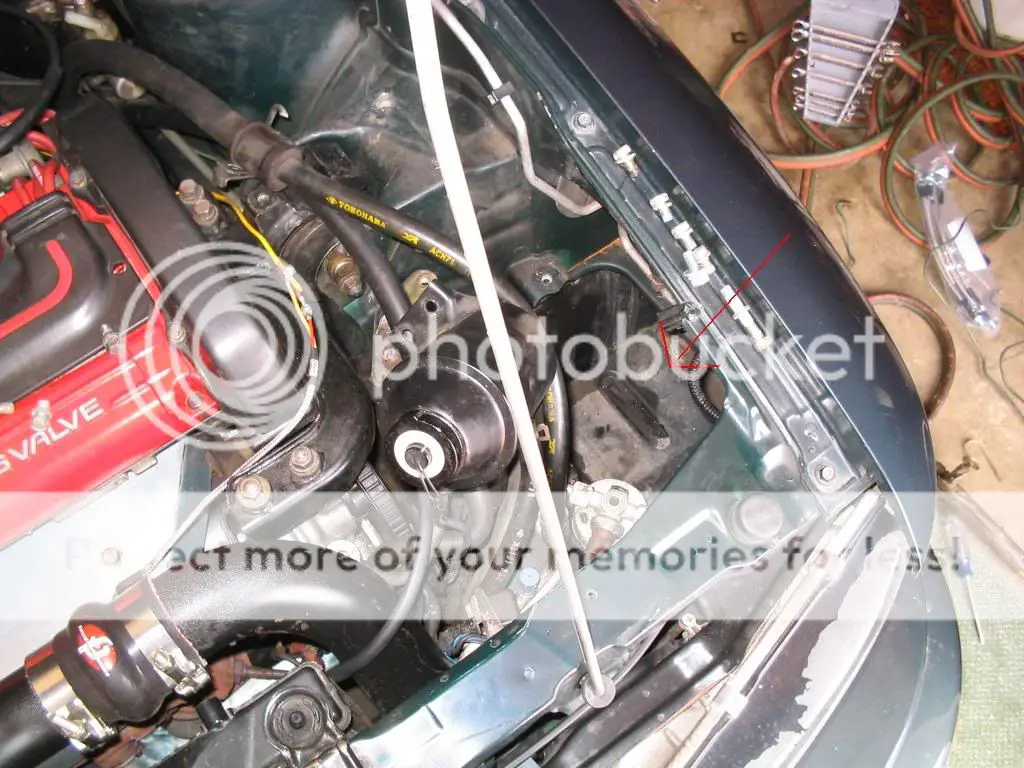
The red arrows in the next picture point to the line that will need to be cut (in my case). The proportioning valve must be removed to get this line out. There is a bracket on the line that is held on by the same bolt that holds the proportioning valve. DO NOT REMOVE THE PROPORTIONING VALVE UNTIL ALL LINES ARE LOOSE. Hit this baby up with a ton of pb blaster. I did not need a torch for any of these fittings. Remove p-valve and do not mix it up with your new one (have the new one clean, so the abs one with fluid all over it will be obvious)

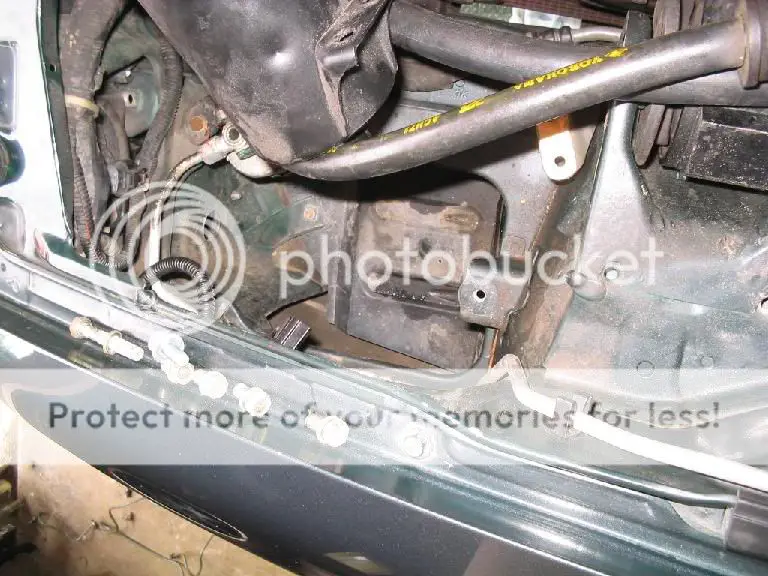
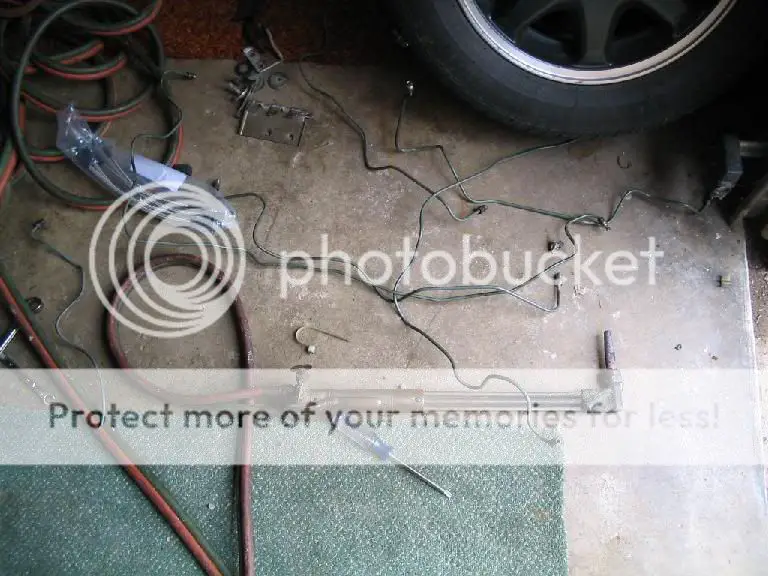
Here's some of the abs unit lines removed in the next picture.
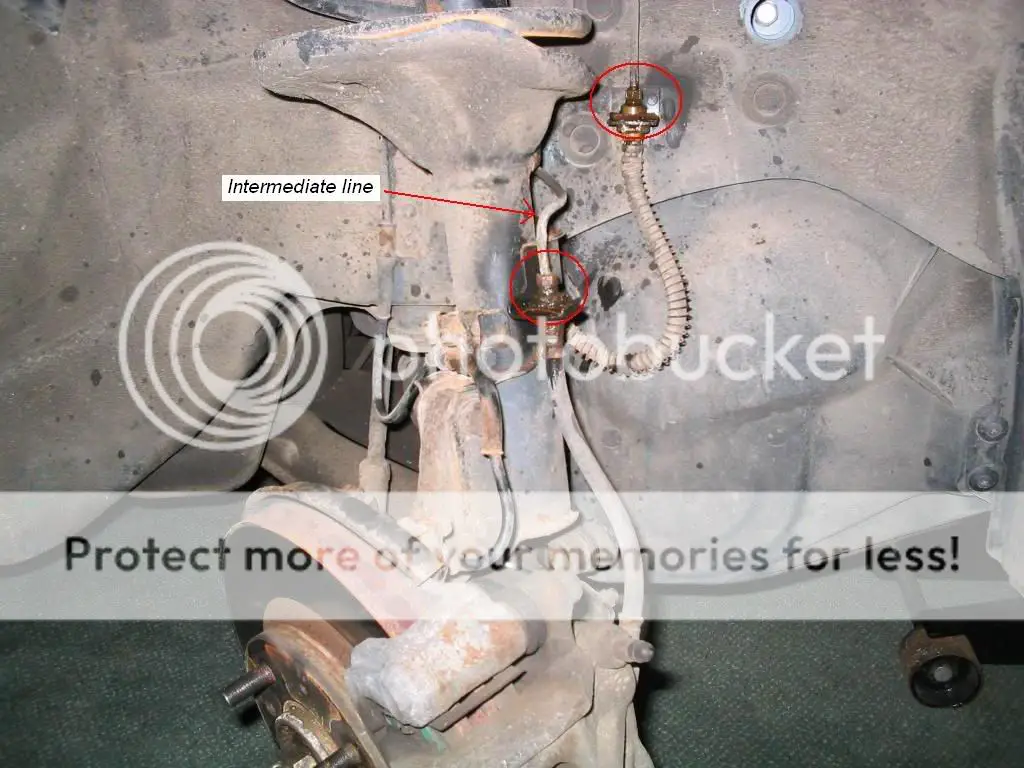
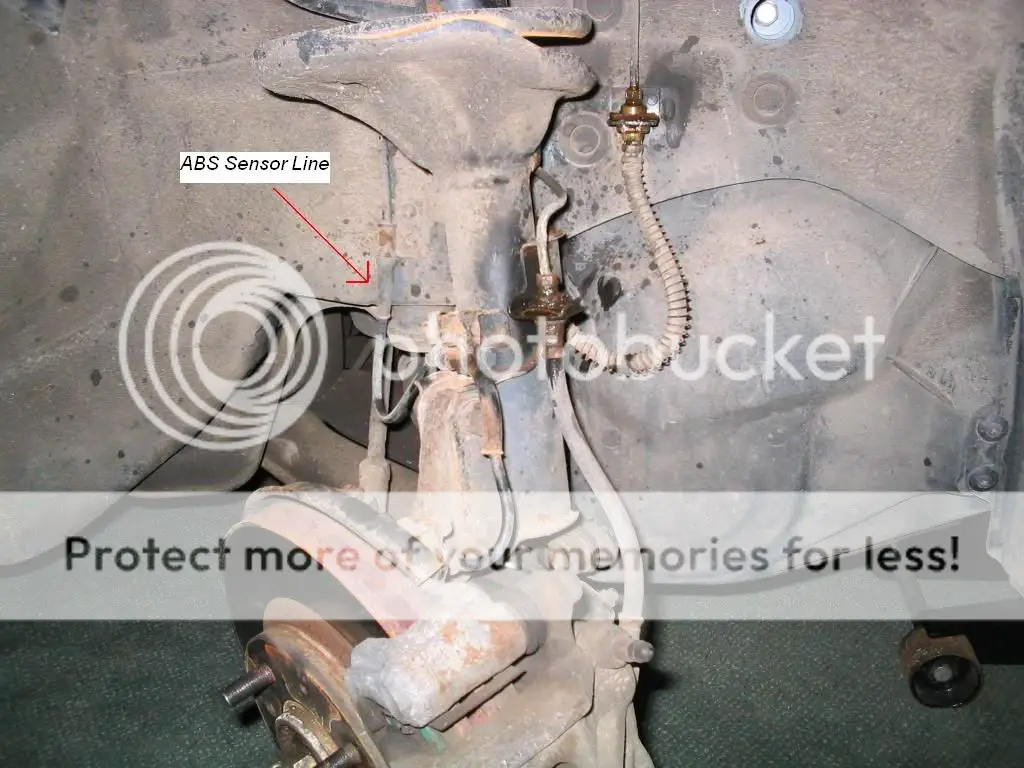
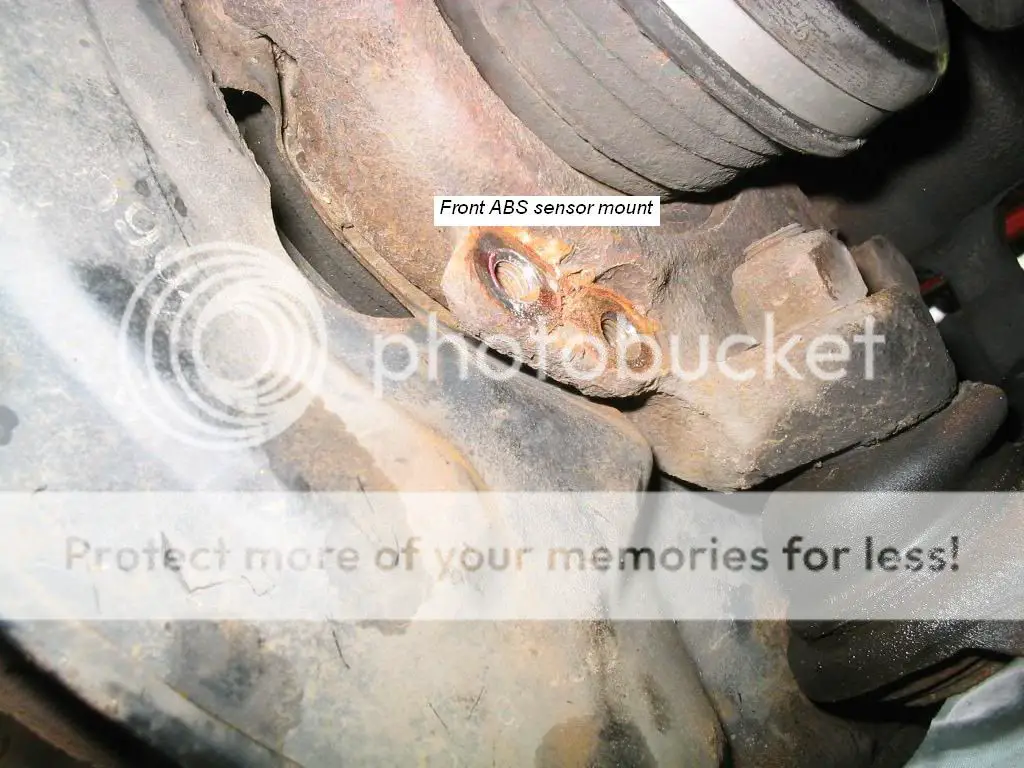
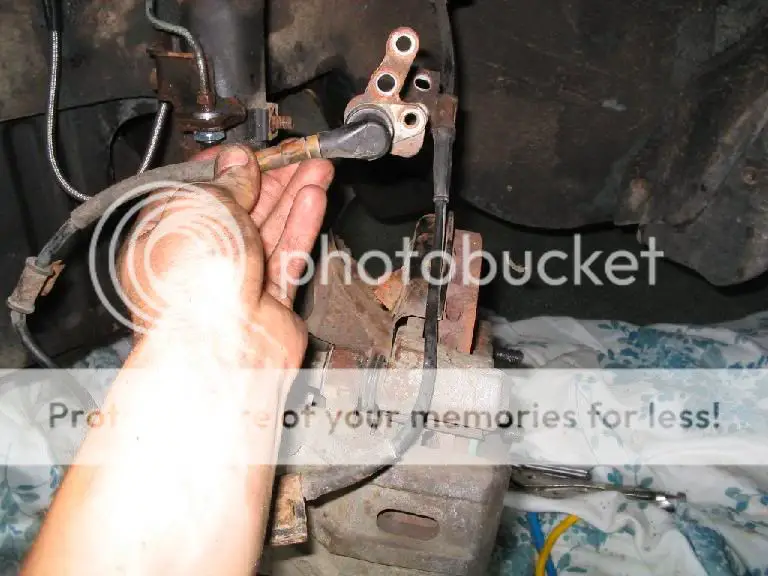
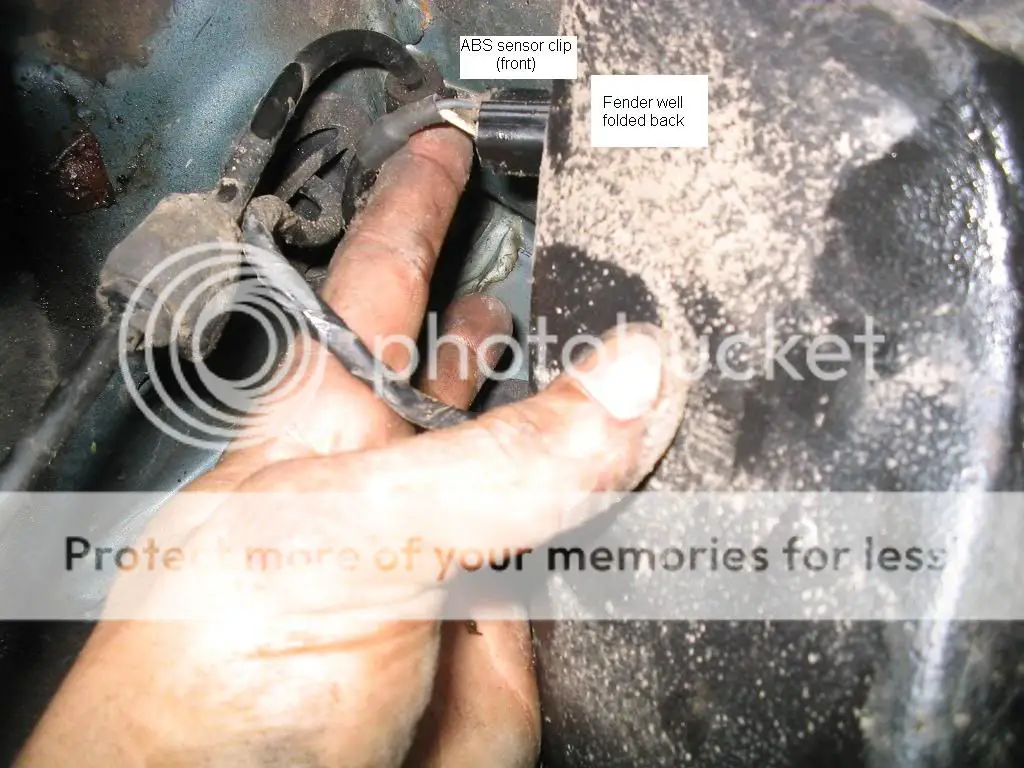
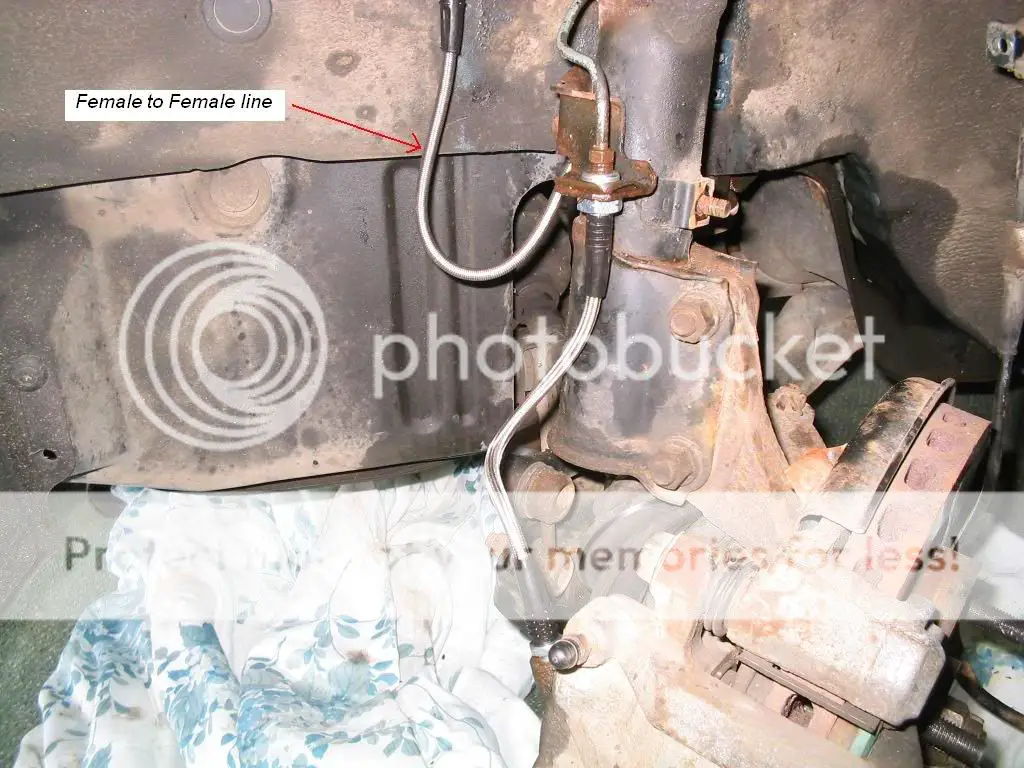
Next, loosen the wheel nuts, jack the front end, and remove the wheels. You now need to undo the brake lines that run to the front calipers so you can get the front abs hard lines out. Now you should go ahead and hose down the fittings of the rubber brake lines with some pb, and undo the hard line that comes out of the engine bay. You will need a 10mm line wrench. I needed the torch to heat most of these fittings.
- a few bottles of brake fluid (high grade)
- non-abs proportioning valve from awd dsm
- non-abs brake lines (4 lines total)
- stainless brake line kit (8 line kit)
- 10mm line wrench - I used crapsman
- 10mm, 12mm, 14mm, 17mm, 18mm wrenches
- 10mm, 12mm sockets, ratchet
- pb blaster (you may need a torch, as I did)
- vise grips

I got my brake fluid off of ebay. BMW DOT4 fluid for $15 - and I got 8 bottles of the stuff. I also used it when I did my stainless clutch line, and it had great results.
The Non-ABS proportioning valve can come from a number of places. A galant gsx would probably be the best source, as it has the best distributon for the chassis. I didn't have access to one however, so mine came from an awd 1990 talon tsi. Here's a link to a post on this subject alone:
Non-ABS proportioning valve links

These are the new hard lines you will need to source from a 1g TEL with Non-ABS, or a galant gsx. Mine came a 91 fwd eclipse, and fit perfectly. You will need the two lines that run directly from the brake cylinder to the proportioning valve, and the two lines that run from the proportioning valve to the front calipers. You will use your stock rear brake lines (thank god


At the beginning I decided to remove the brake fluid reservoir, by first unbolting it from the firewall, and then undoing the feedlines to the brake cylinder. There is a sensor on the reservoir, so be sure to undo the clip. Take the feedlines off really quickly, having a towel (or plastic bag) handy to catch the spill. You won't need this for a while. The bracket holding the reservoir will probably look shitty, so take it off, sandblast it or wire brush it, and paint it black like the stones. Then spray the line fittings on the brake cylinder with pb blaster. Loosen them completely with a 10mm line wrench. (I had to heat one of these fittings with a torch)
Next, remove the coolant overflow reservoir, located directly over the abs motor unit. Also remove the bracket that holds it in place. Then un-bolt the power steering reservoir, leaving lines attached, and wedge it as far out of the way of the abs unit as you can (abs unit pulls straight up and out) This next picture shows the ps reservoir down, but you will move it around a bit.

Note the three red circles, as these are the three bolts holding the abs unit in place. The three electrical connectors at the bottom are for the abs unit, so unbolt the bracket they sit on. Then you have to pop each connector off the metal bracket. Discard the bracket. Before removing the mounting bolts for the abs unit, spray all the line fittings with pb blaster. Crack all the lines loose with a 10mm line wrench. I didn't need a torch for any of these lines.
Next, start removing all the lines that run to the abs unit and brake cylinder. These can all be discarded. The only original lines you will be using are your rear brake lines. All lines can be removed intact except for one in my case. It was the only line I cut to save time and aggrevation of removing a ton of sh*t.

The red arrows in the next picture point to the line that will need to be cut (in my case). The proportioning valve must be removed to get this line out. There is a bracket on the line that is held on by the same bolt that holds the proportioning valve. DO NOT REMOVE THE PROPORTIONING VALVE UNTIL ALL LINES ARE LOOSE. Hit this baby up with a ton of pb blaster. I did not need a torch for any of these fittings. Remove p-valve and do not mix it up with your new one (have the new one clean, so the abs one with fluid all over it will be obvious)

Here's some of the abs unit lines removed in the next picture.

Next, loosen the wheel nuts, jack the front end, and remove the wheels. You now need to undo the brake lines that run to the front calipers so you can get the front abs hard lines out. Now you should go ahead and hose down the fittings of the rubber brake lines with some pb, and undo the hard line that comes out of the engine bay. You will need a 10mm line wrench. I needed the torch to heat most of these fittings.
