


GSTwithPSI
Well-known member
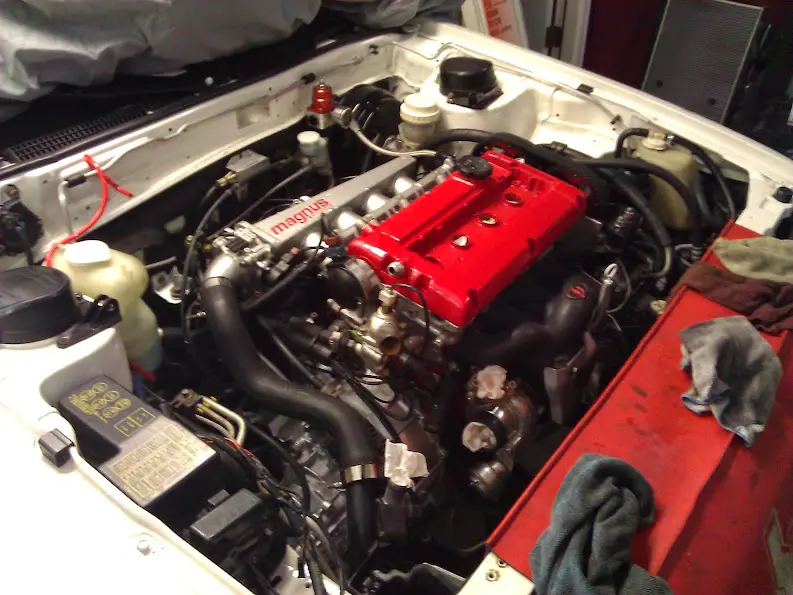
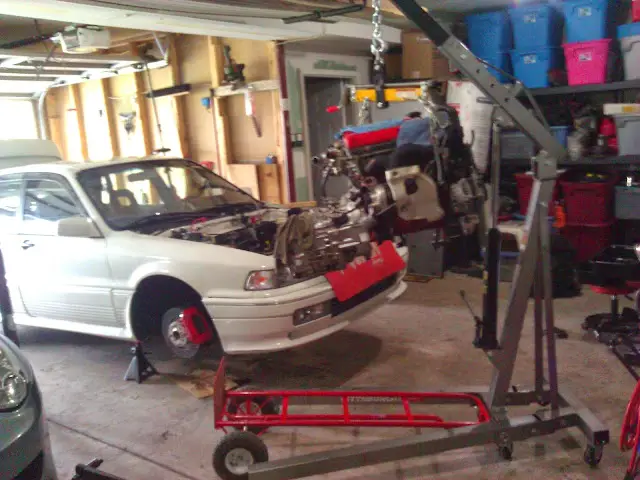
Long story short, I pulled the built motor out and am replacing it with my rebuilt stock short block for the time being. After considering my long and short term goals for the car, this is the best option for me. A stock bottom end will get me to where I want to be short term, while enabling me to make some improvements to my other motor eventually allowing me to meet my long term goals.
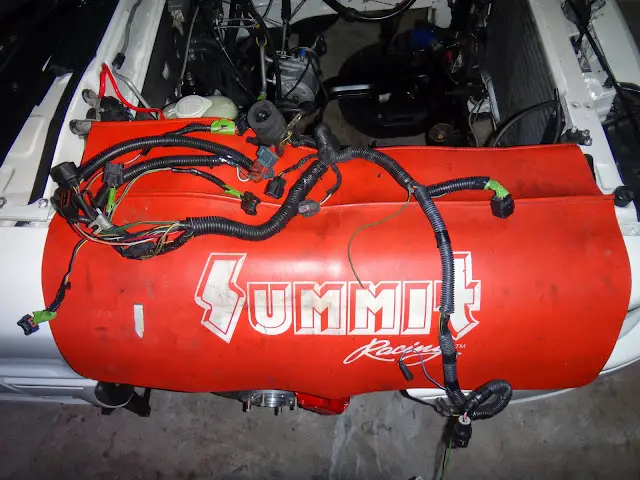
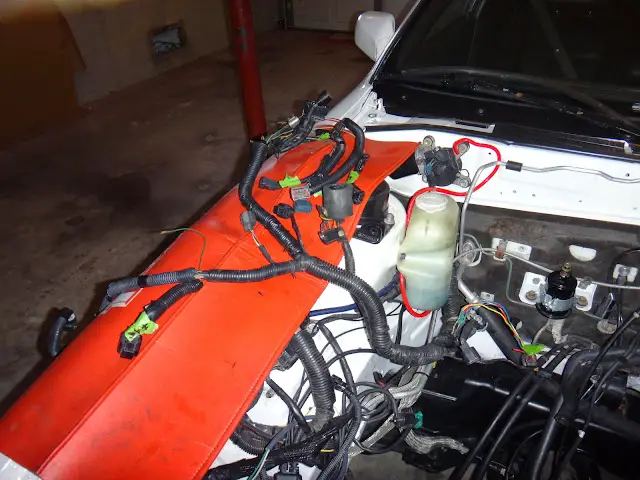
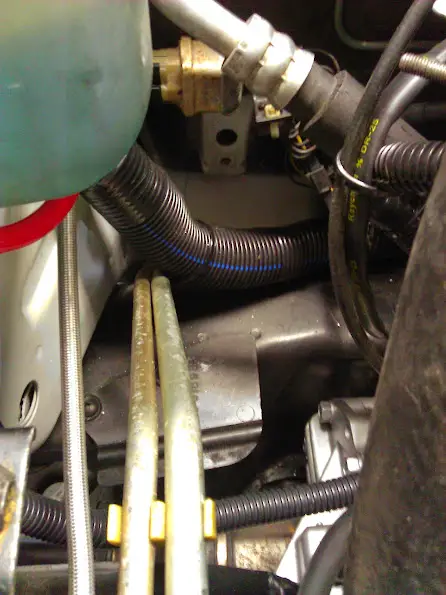
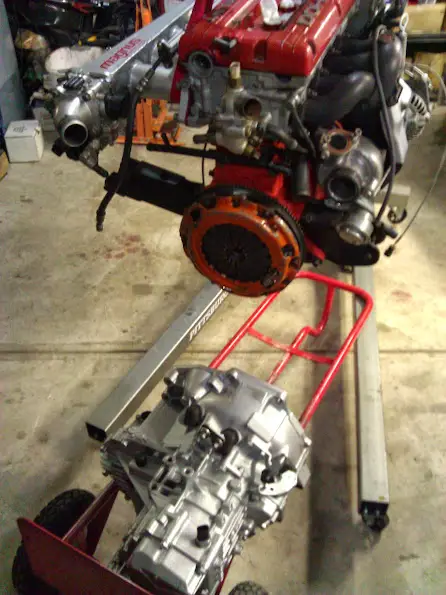
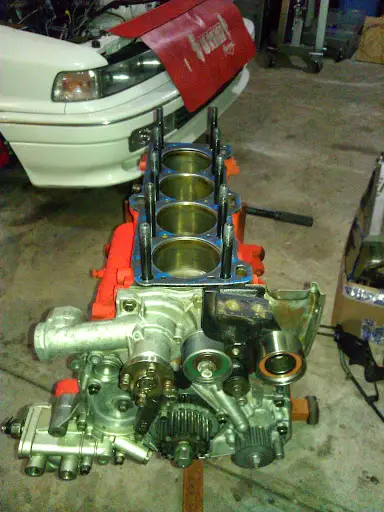
Motor out:
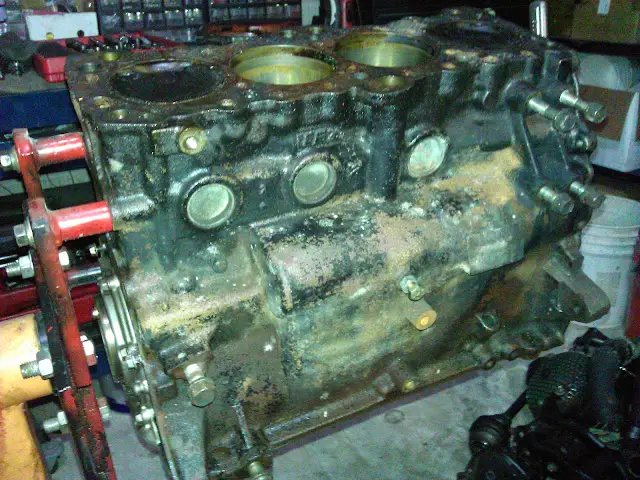
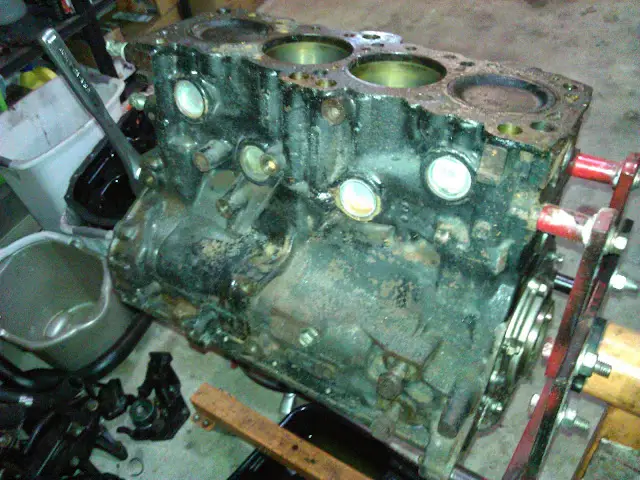
Nasty short block:
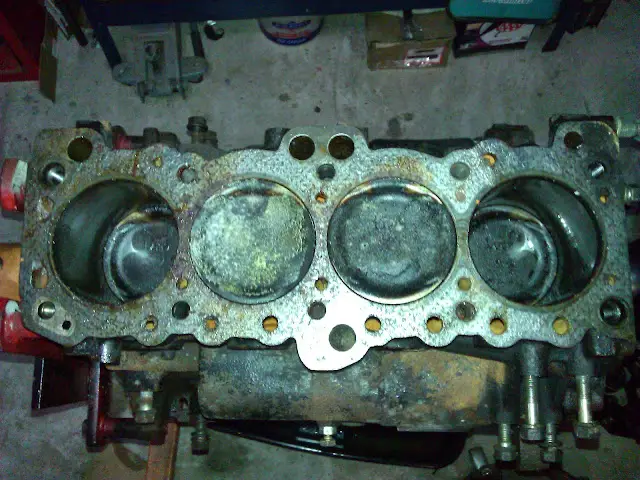
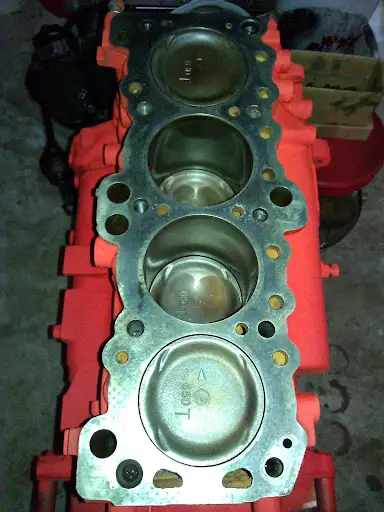
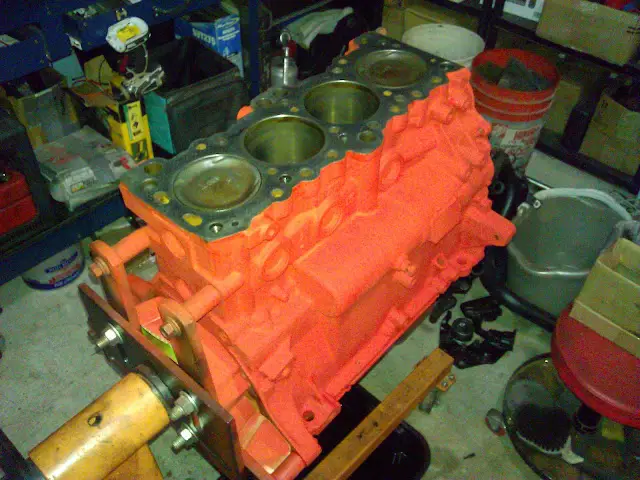
Clean short block:
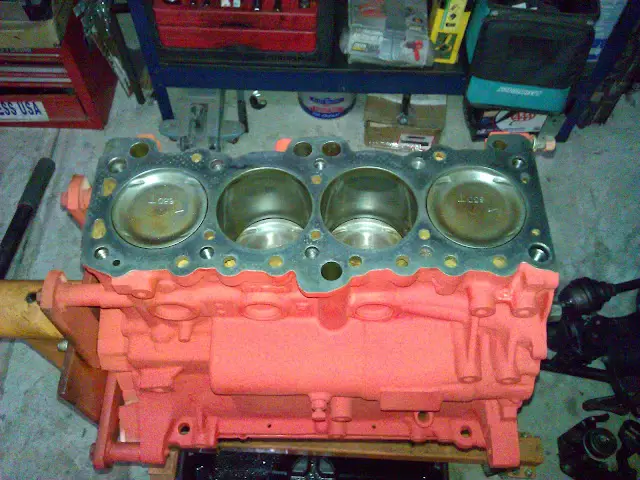
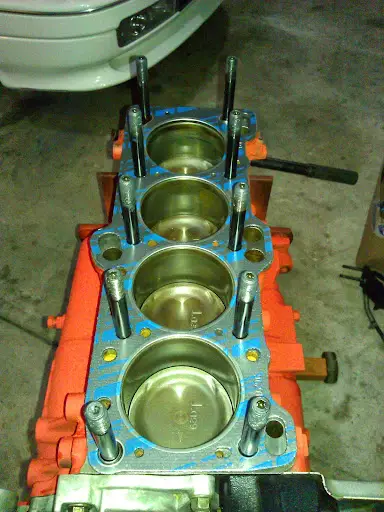
New Fel-Pro HG & ARP studs:
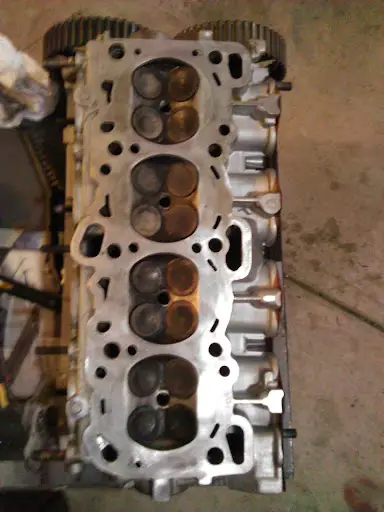
Cleaned up the head:
Head bolted up:
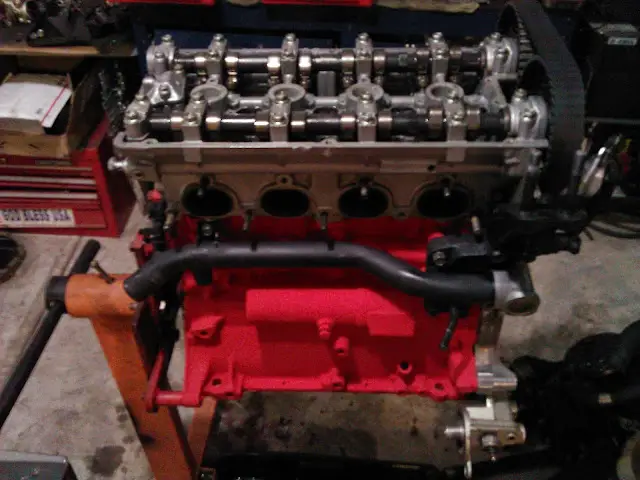

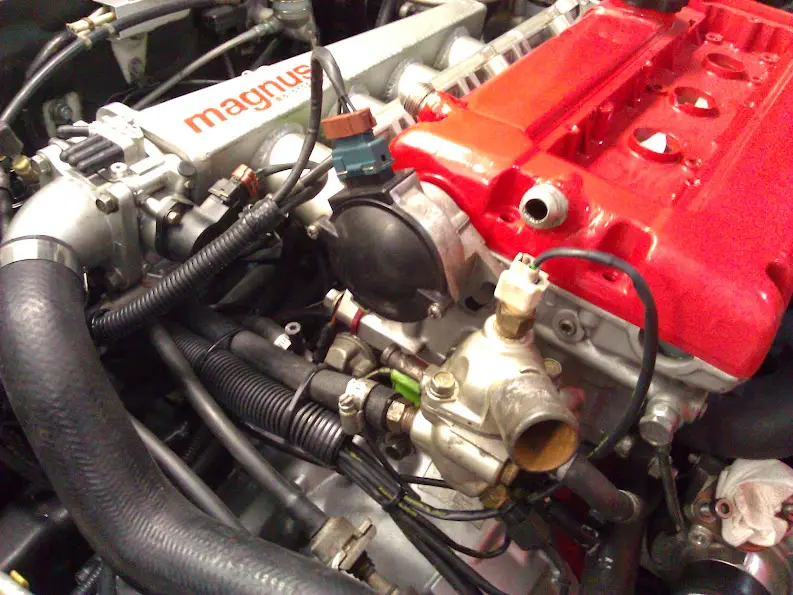
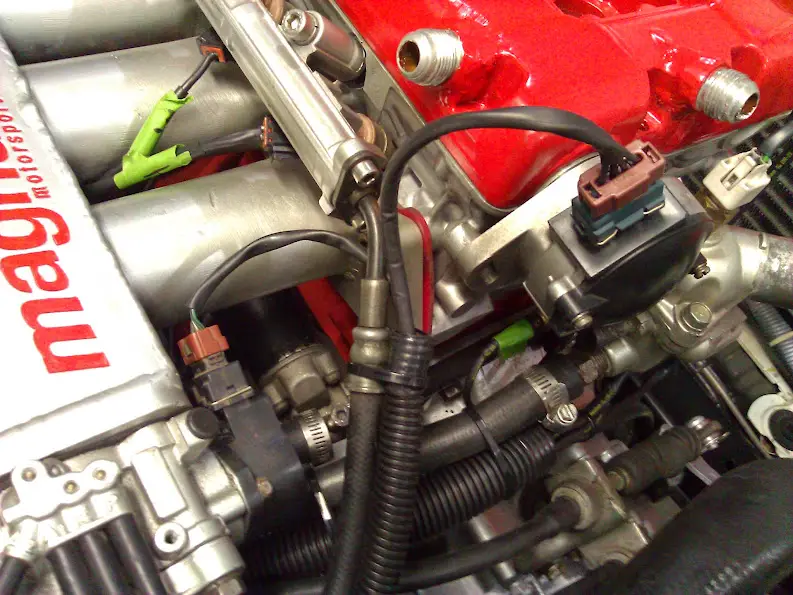
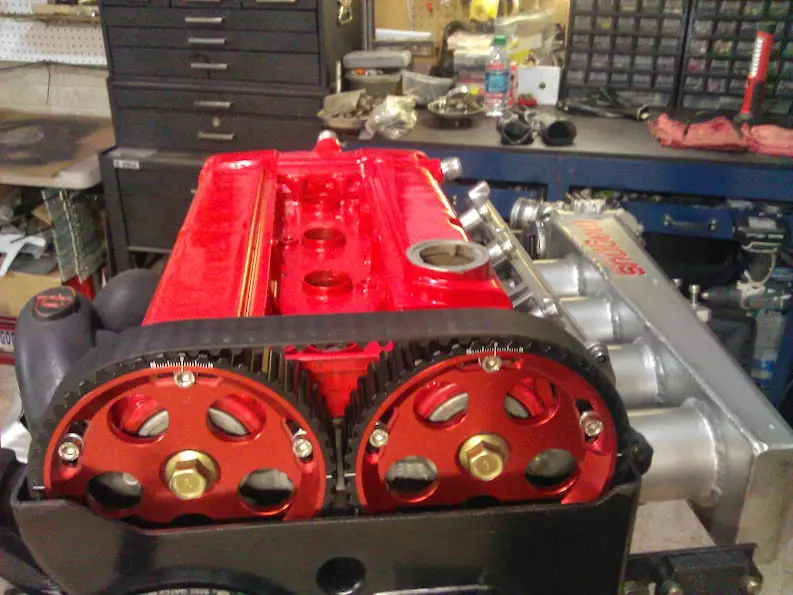
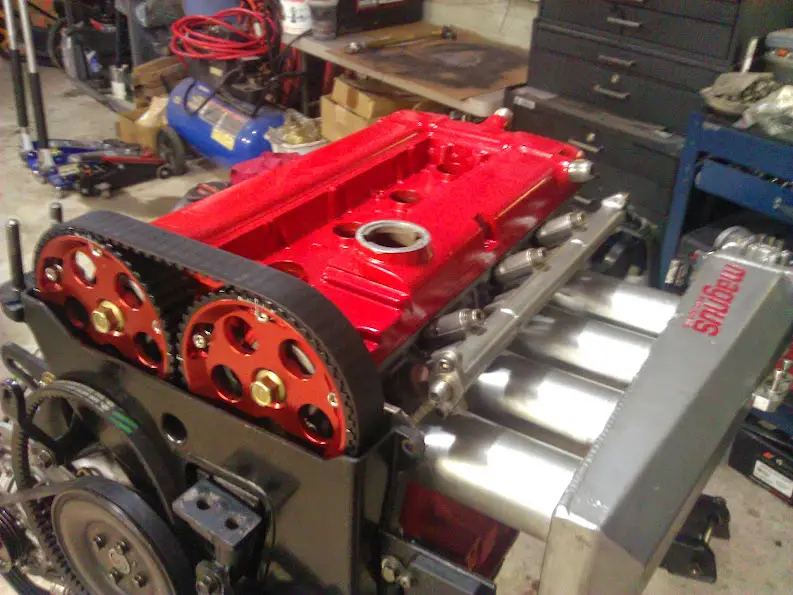
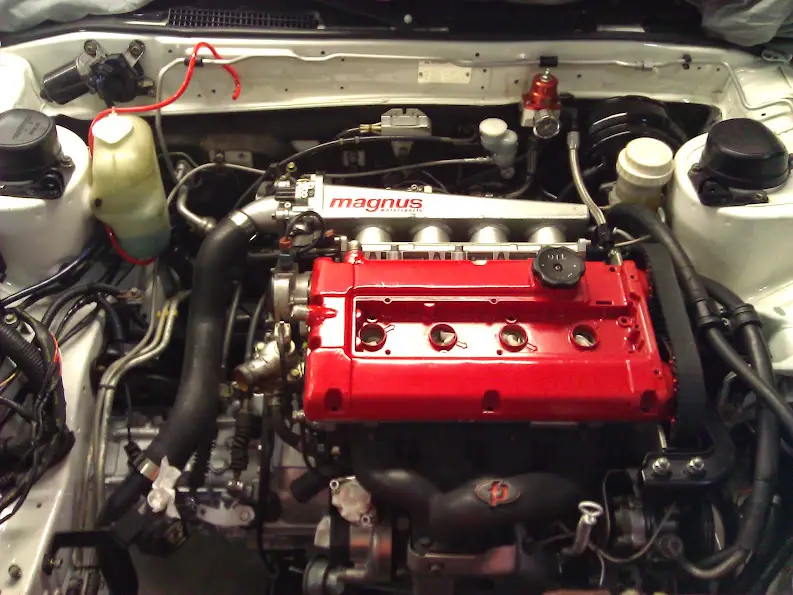
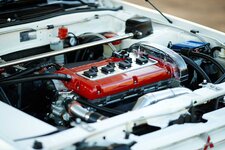
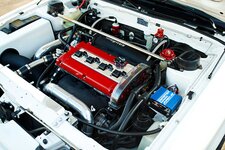
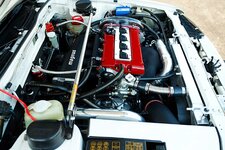
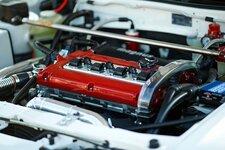
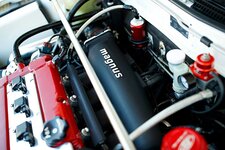
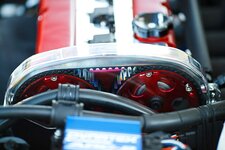
Long block mostly assembled with the -10 AN valve cover for the new catch can setup:
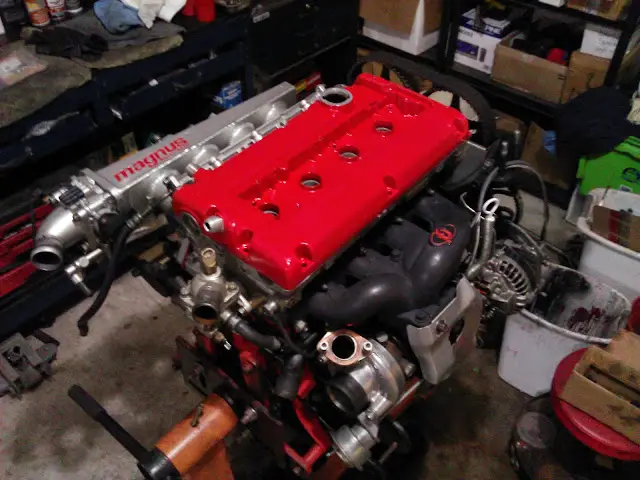
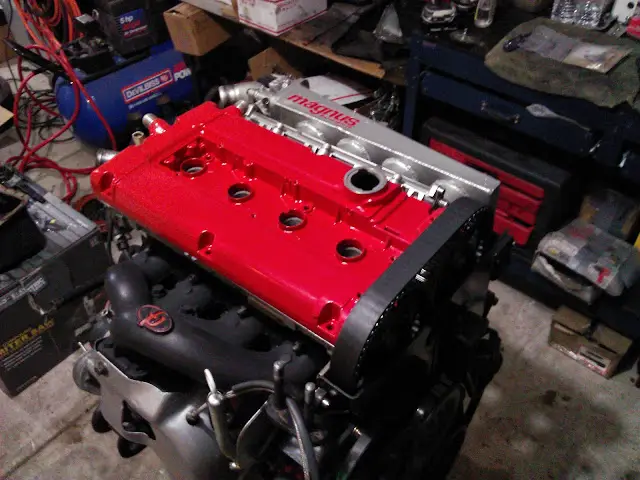
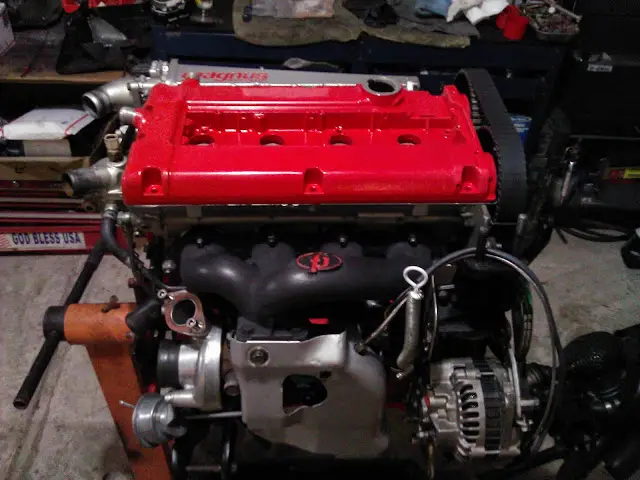
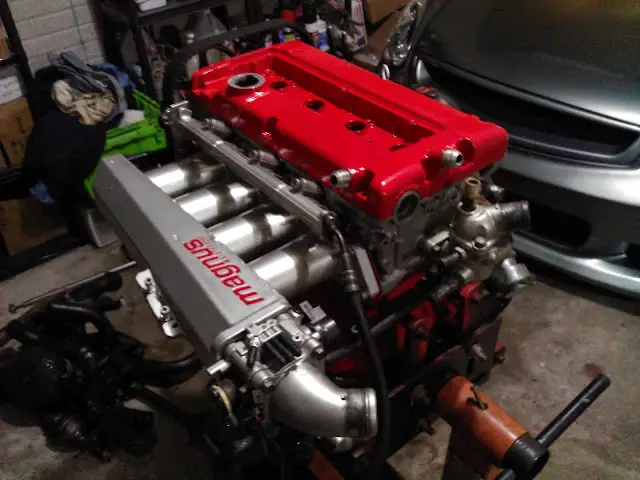
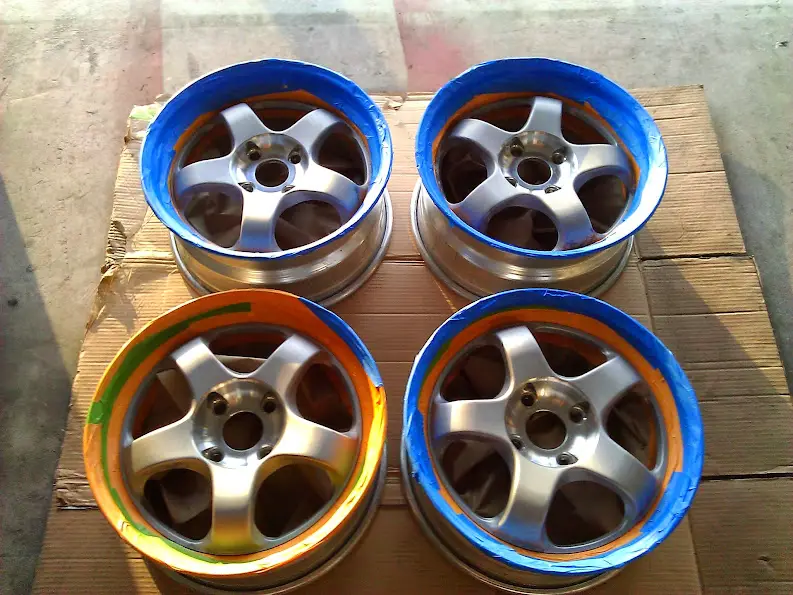
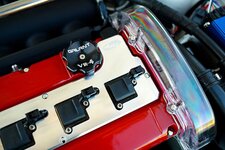
Got jelly of 15psi88's sweet cover, so here's my lesser attempt at my own version. It still needs the finishing touches, but you get the idea.
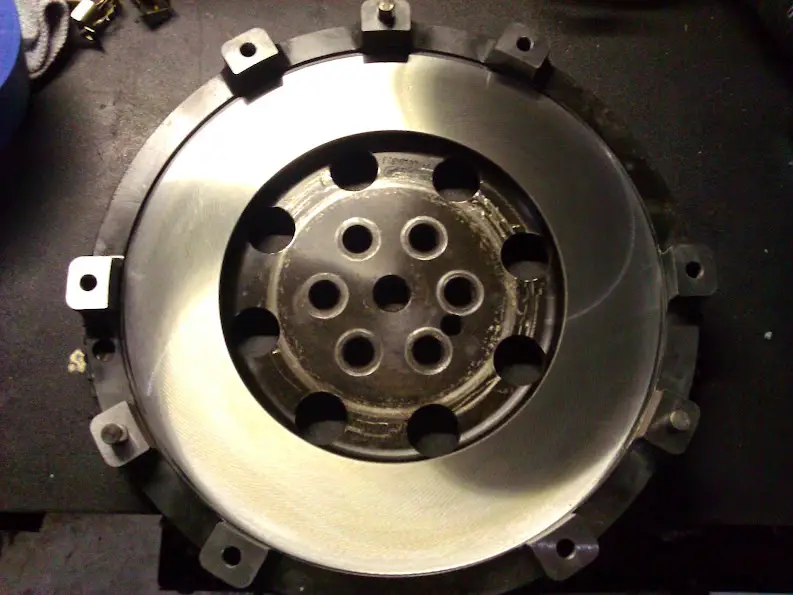
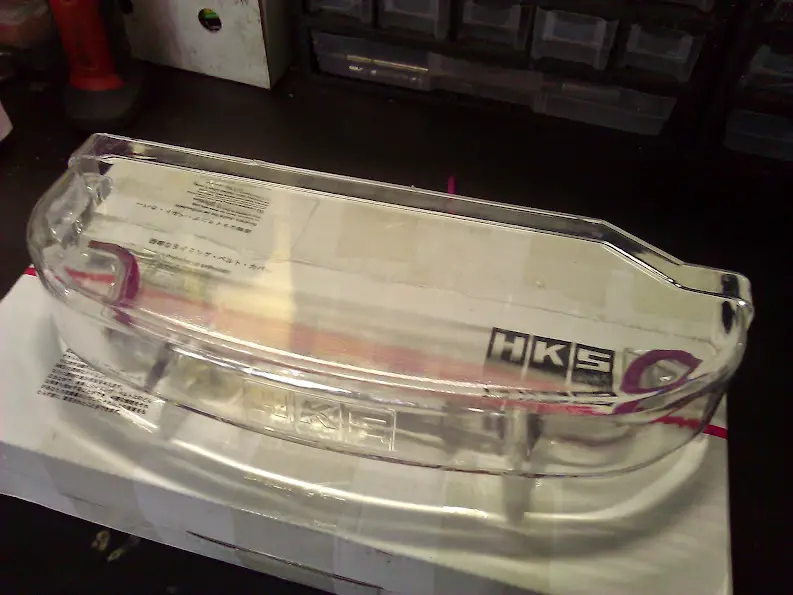
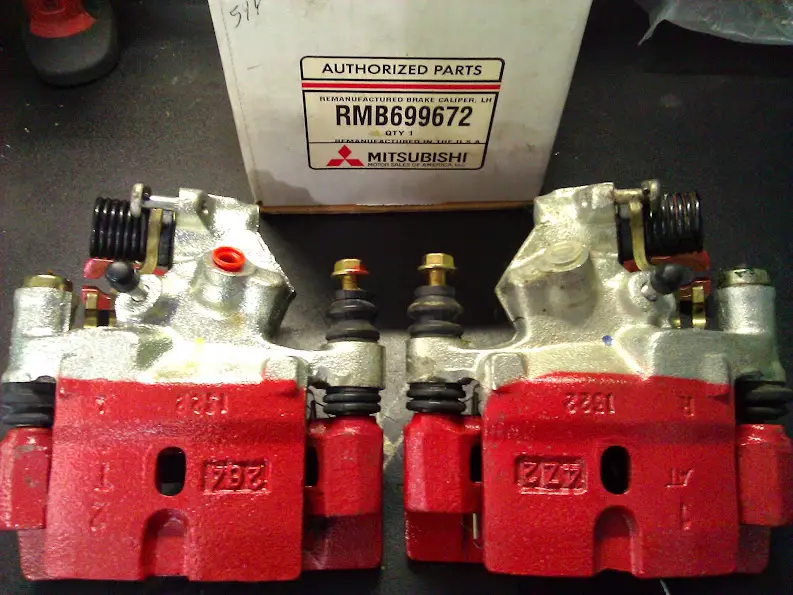
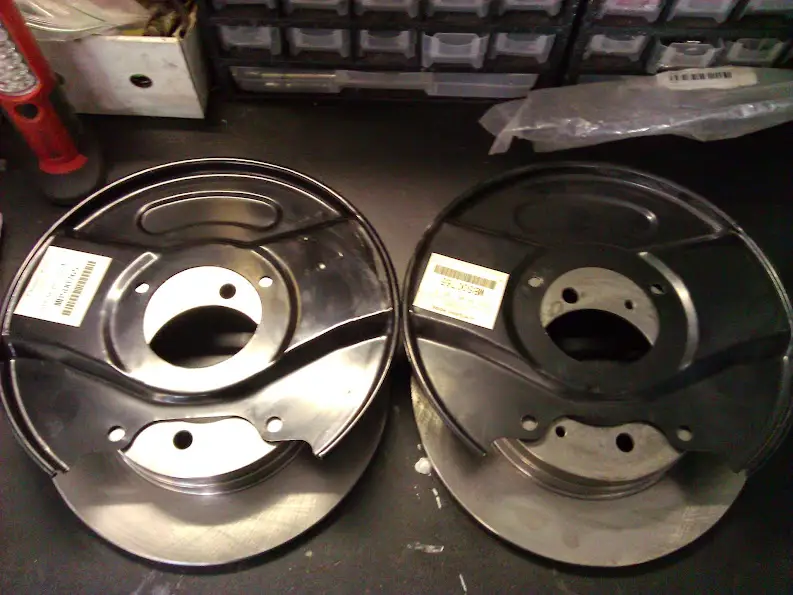
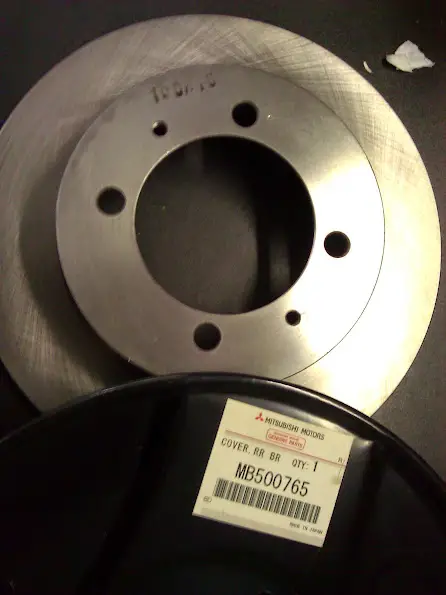
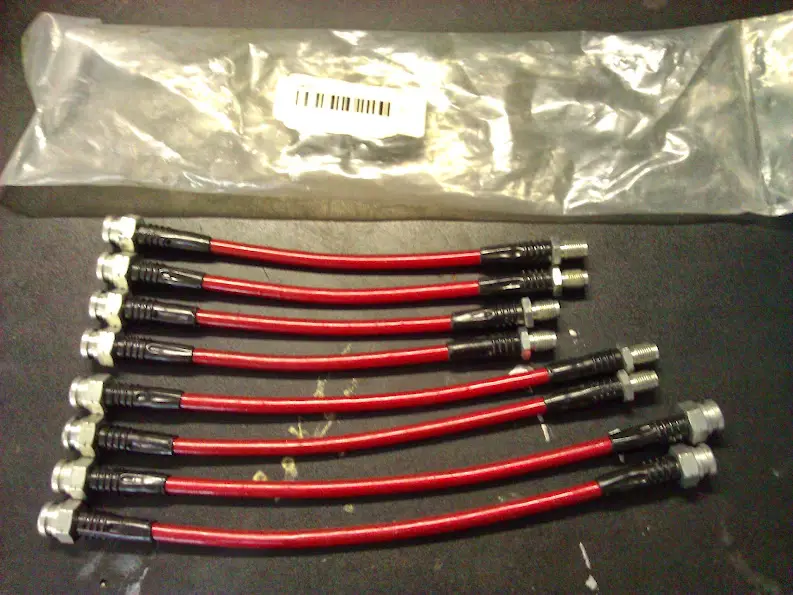
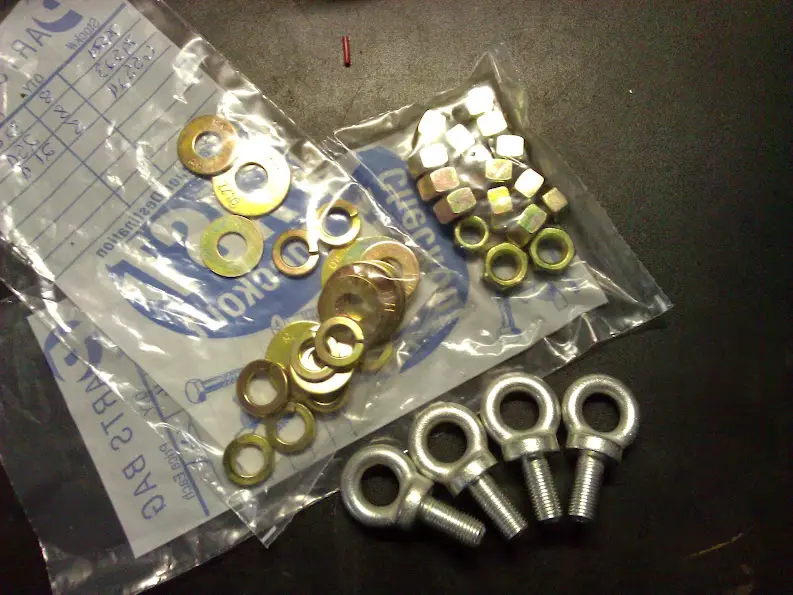
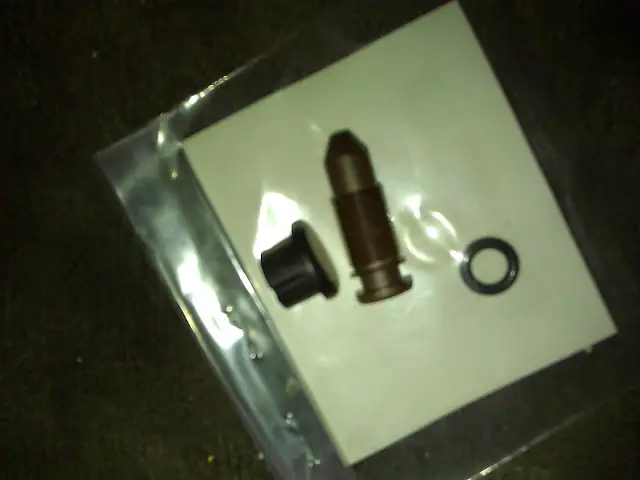
BISS rebuild stuffz
Motor out:
Nasty short block:
Clean short block:
New Fel-Pro HG & ARP studs:
Cleaned up the head:
Head bolted up:
Long block mostly assembled with the -10 AN valve cover for the new catch can setup:
Got jelly of 15psi88's sweet cover, so here's my lesser attempt at my own version. It still needs the finishing touches, but you get the idea.
BISS rebuild stuffz