The Top Mitsubishi Galant VR-4 Resource

Join the best E39A 1991-1992 Mitsubishi Galant VR-4 community and document your GVR4 journey.

  • Software Upgraded - Reset Your Password to Login
    In order to log in after the forum software change, you need to reset your password. If you don't have access to the email address you used to register your GVR4.org account, you won't be able to reset your password. In that case, follow the instructions here to regain access to the forum.

How to R&R pistons and Balance Rods

BogusSVO

Well-known member
Joined
Aug 29, 2013
Messages
232
Location
Pensacola, Florida
How to R&R pistons and Balance Rods
1G 6 Bolt 4G63T

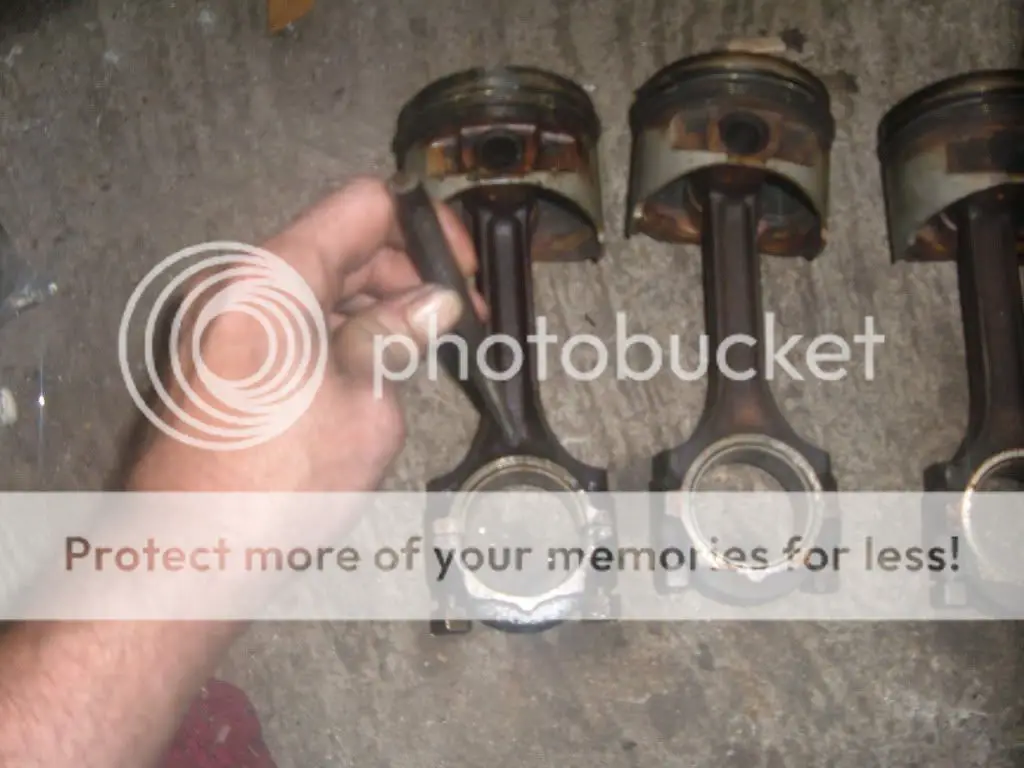
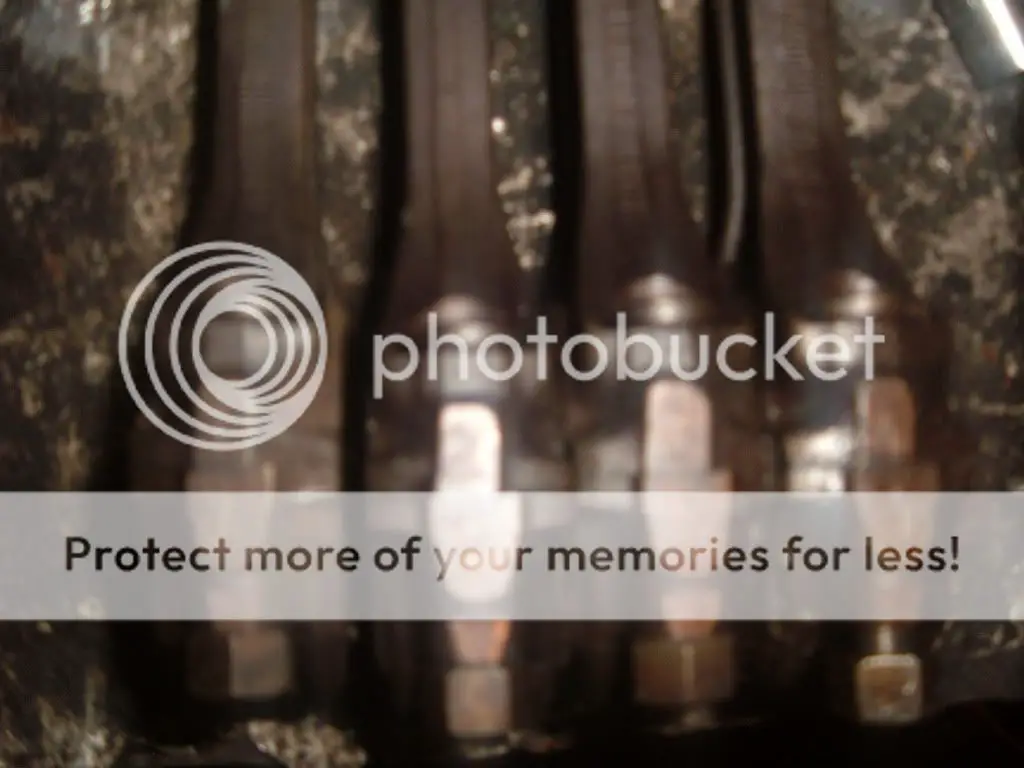
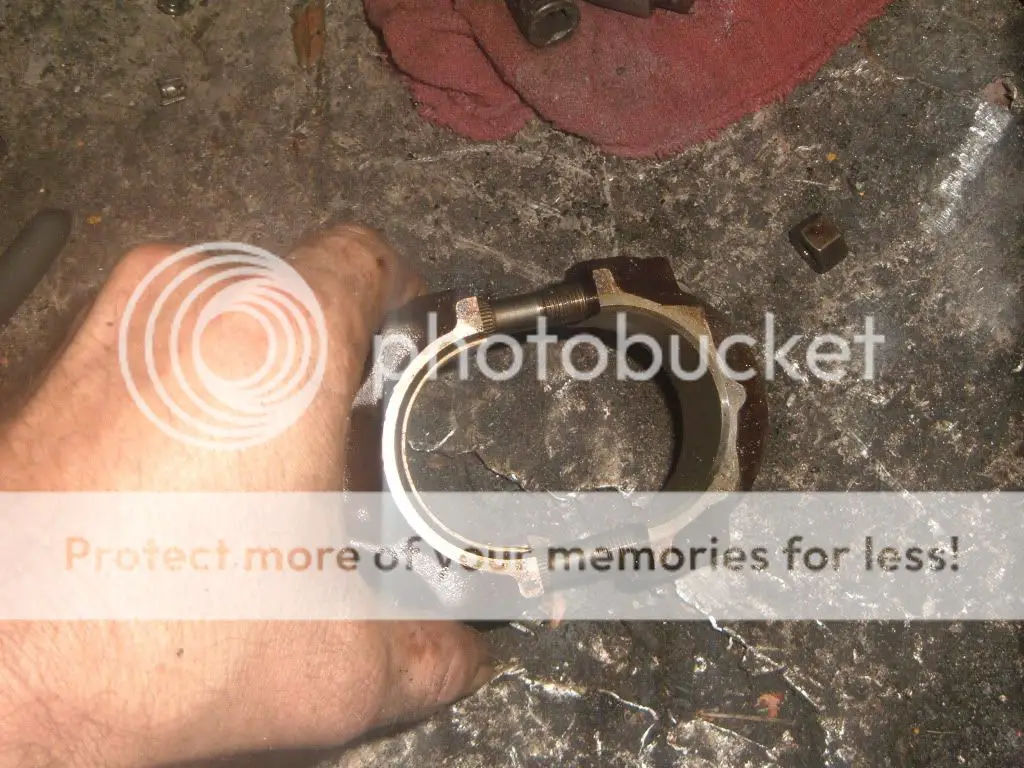
The used rods and pistons, the pistons are being replaced due to cracked and broken ring lands.

DSCF4241.jpg


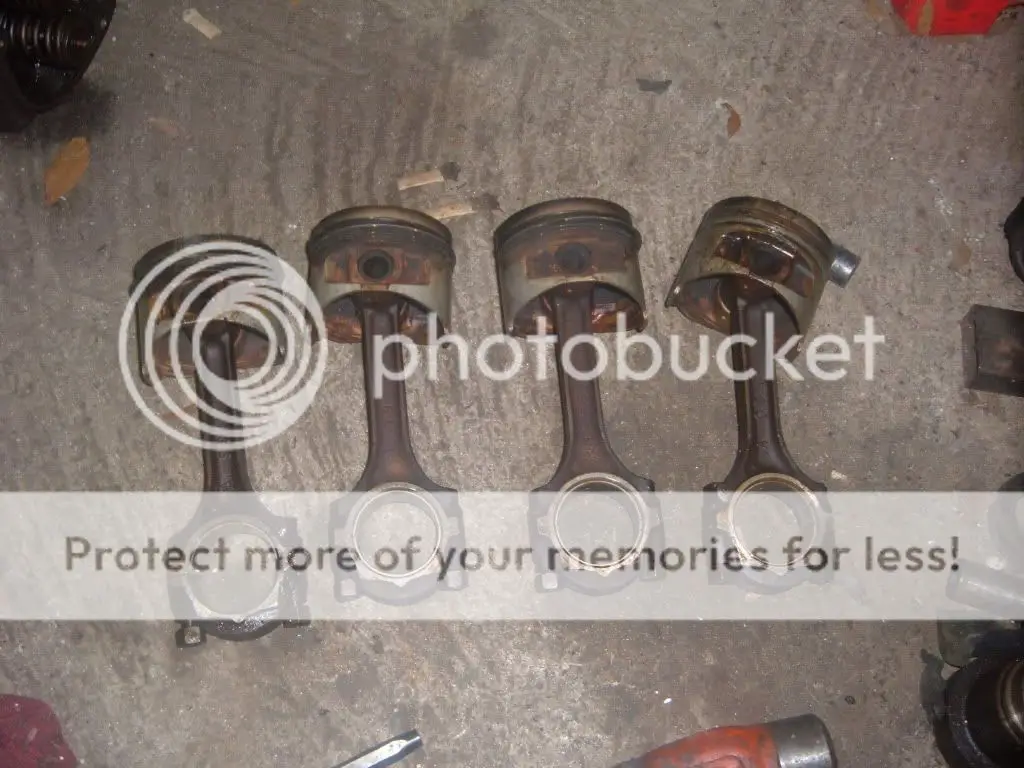
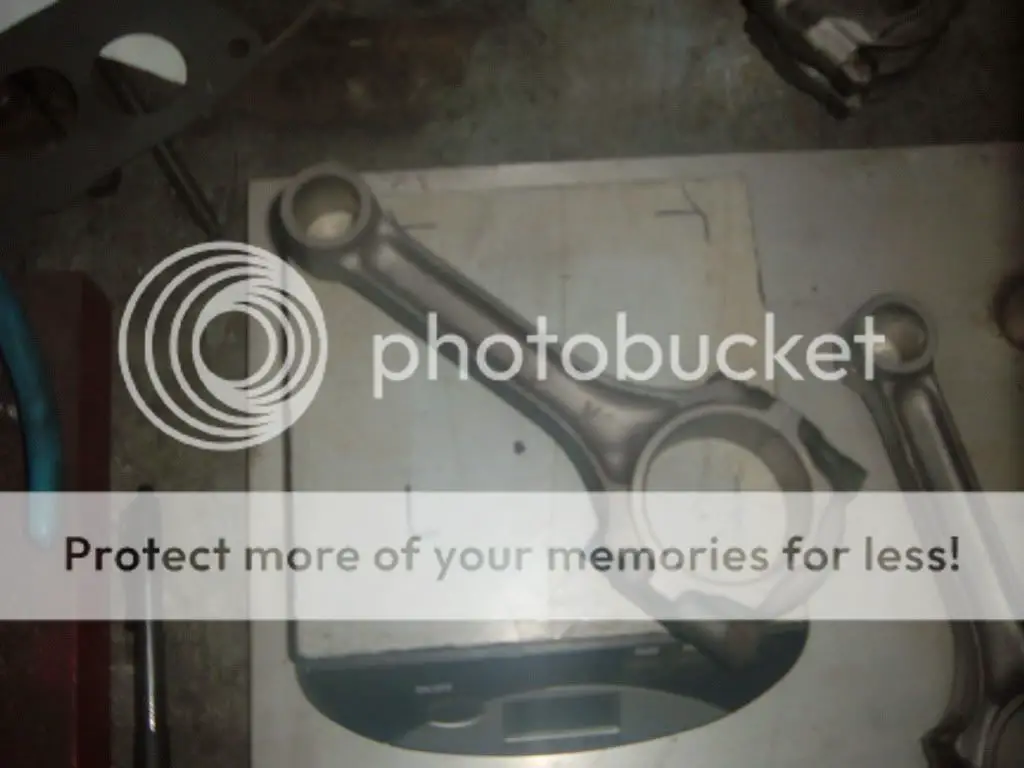
I start off by marking the front of the rod with a center punch

DSCF4242.jpg


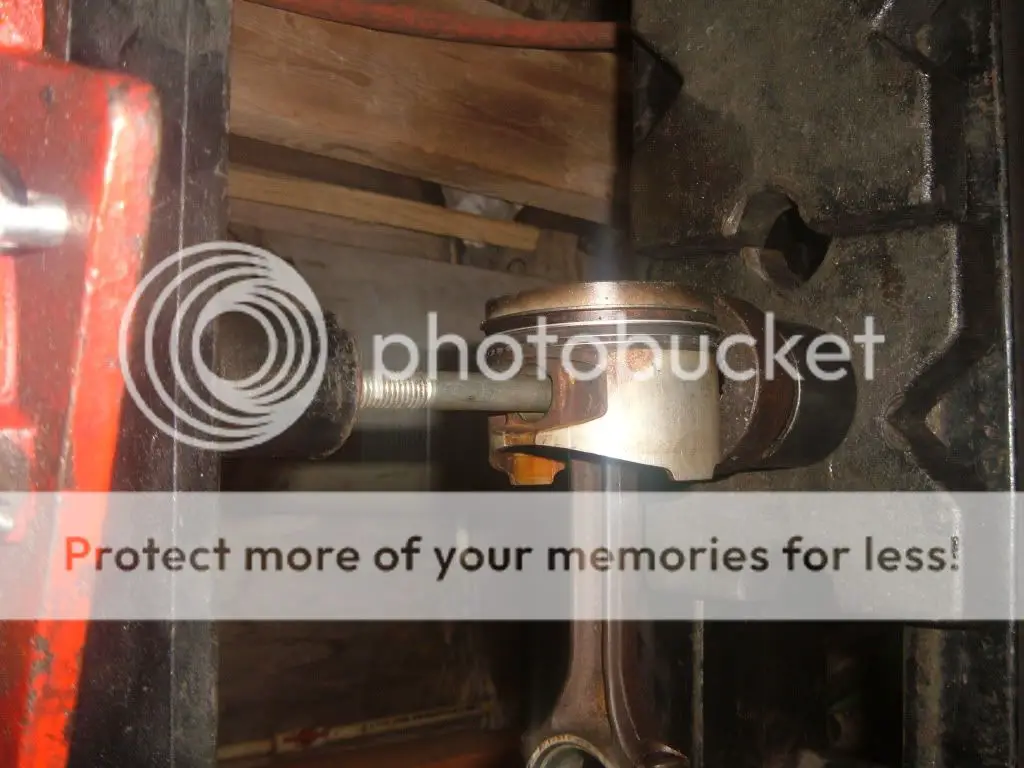
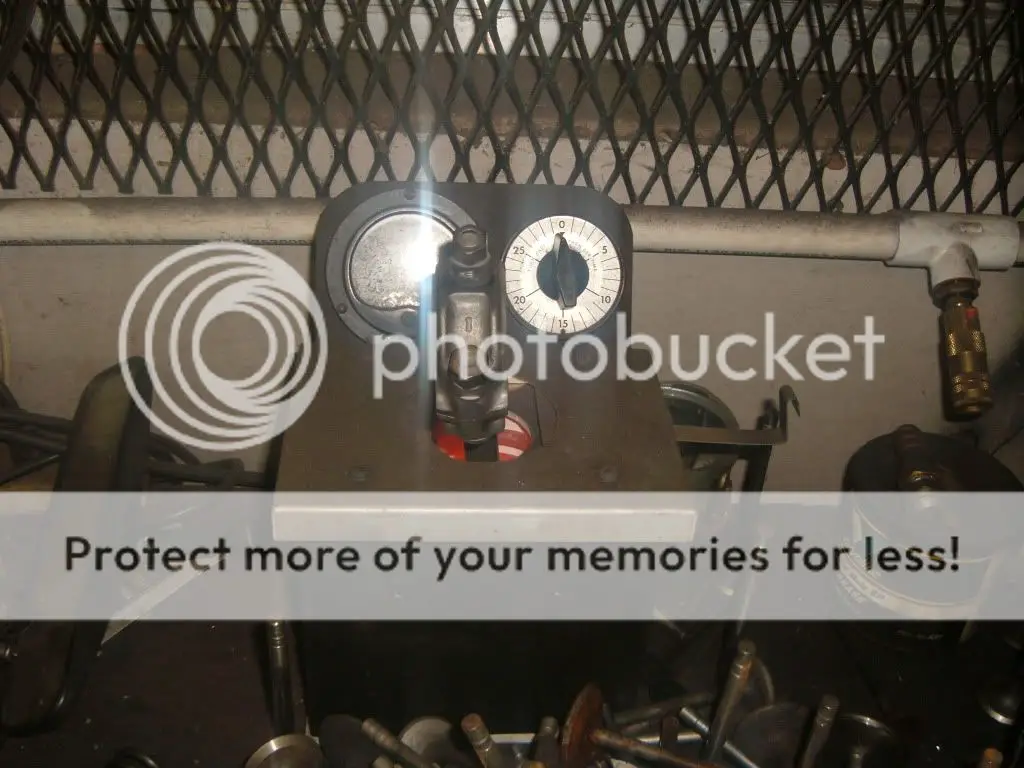
Next is to find the proper sized press pieces to press out the wrist pins.

DSCF4246.jpg


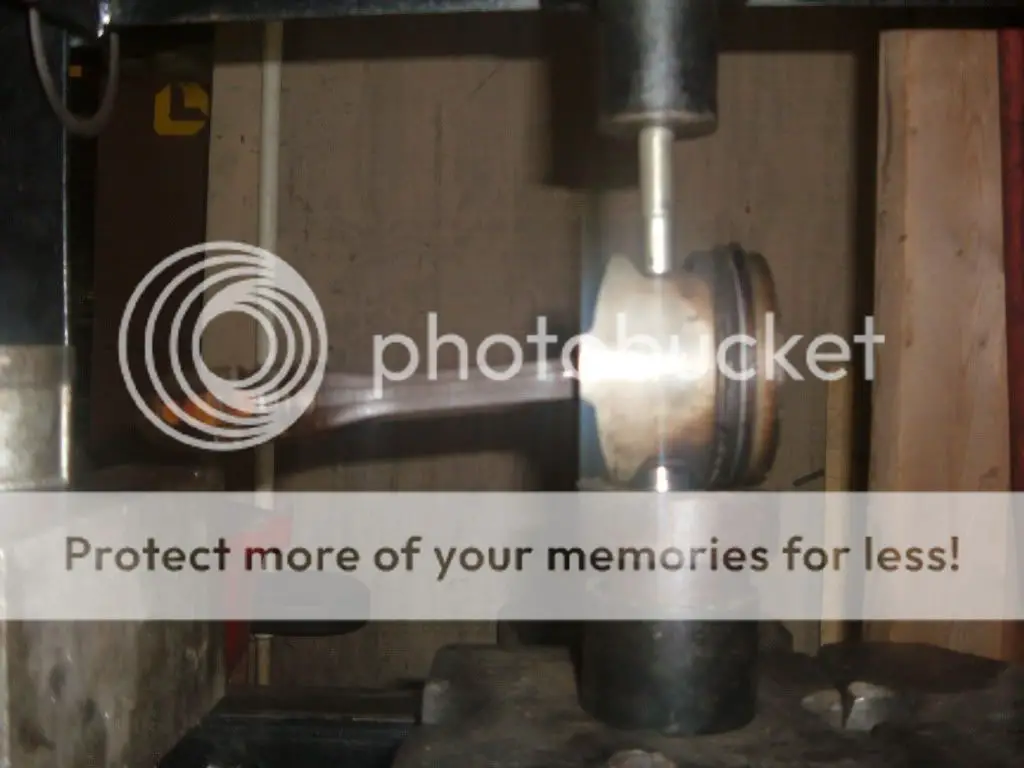
Due to the pressures used to press out the wrist pin, care must be used, the piston itself can bust sending pieces of it flying that can and will cause injury.
DSCF4245.jpg


After the pistons have been pressed off, and the small end inspected for scoring, the rods need to be numbered on both the rod and end cap.

DSCF4253.jpg


Now the rod and caps can be split and cleaned, I use a glass beader to remove all the grime

DSCF4255.jpg


Once that is done I spray them down with a good brake cleaner and blow them dry
DSCF4257.jpg


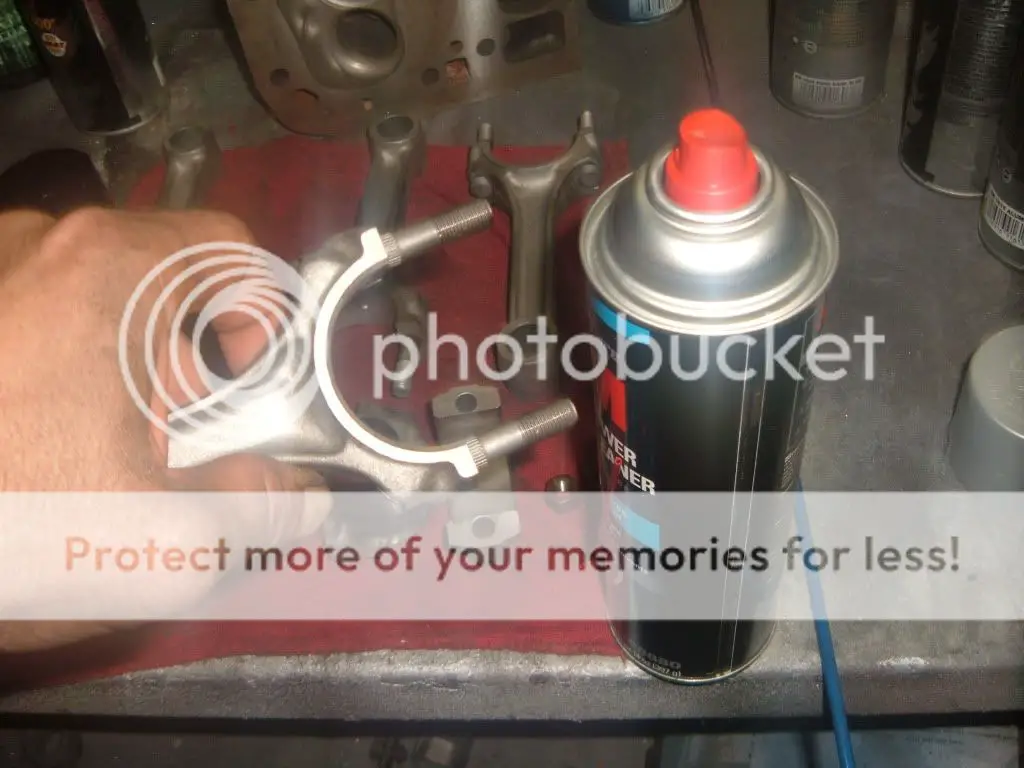
Chase the rod bolt threads with a nut to remove any dust left from the glass beading.
DSCF4258.jpg

Now to match the rods back with the caps
DSCF4256.jpg


Install the rod nuts.
DSCF4259.jpg


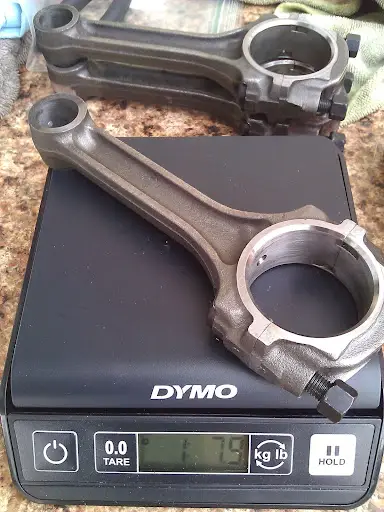
Now the rods are clean and assembled, they can be balanced. Start off by weighing all the small ends
DSCF4260.jpg

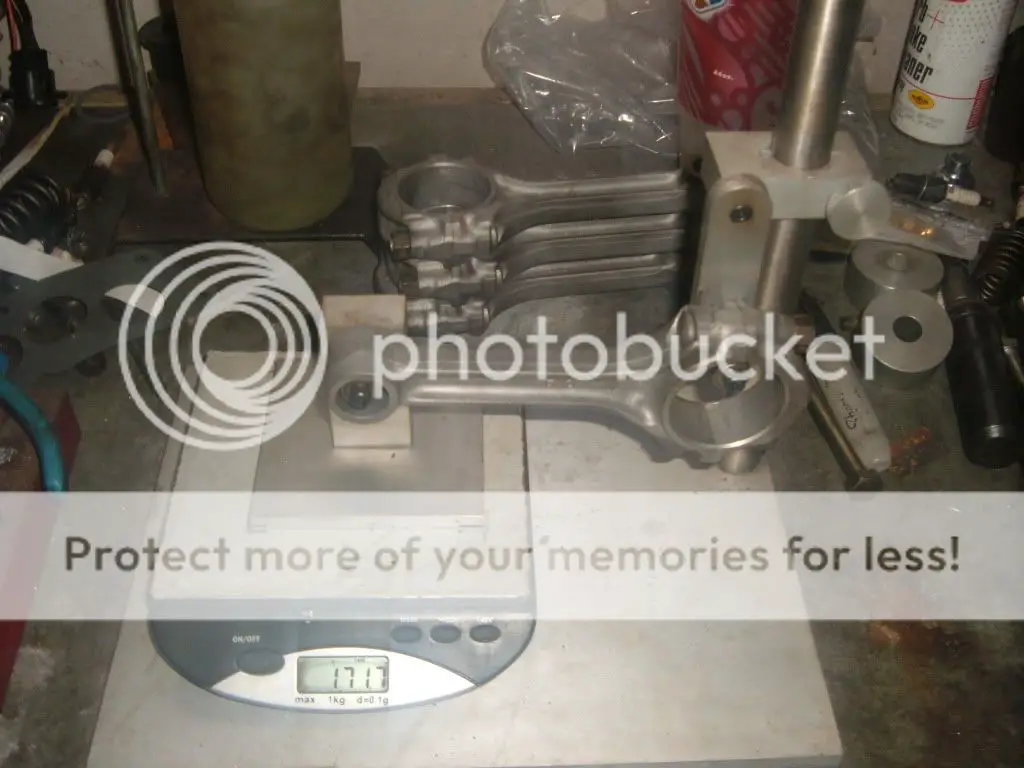
The weight will be matched to the lightest one.
DSCF4262.jpg

Once the small ends are matched, weigh the overall weight of each rod, and match the overall weight by removing material from the bottom of the rod.
DSCF4261.jpg

Now that is done, it is time to match the weights of the pistons WITH OUT the wrist pin installed.
DSCF4264.jpg

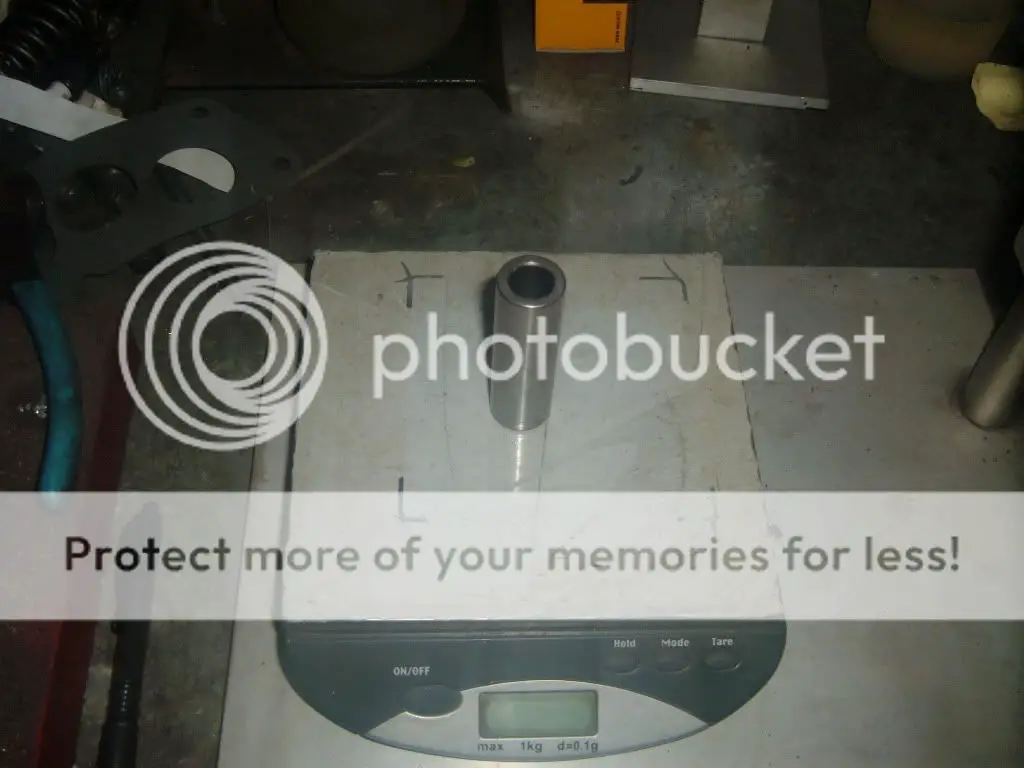
Then weight match the wrist pins.
DSCF4265.jpg

Now that all the weights are with in 1/10 a gram the pistons can be hung back on the connecting rods. The small ends must be heated so the wrist pin can slip through it.
DSCF4263.jpg

This must be done very quickly so the wrist pin is fully in place before the small end of the rod contracts around the wrist pin holding it in place.
DSCF4266.jpg
 

dsm10o0

Well-known member
Joined
Jun 16, 2010
Messages
680
Location
San Jose CA
How much would you charge to put 2g pistons on 1g rods?
 

mitsuturbo

Well-known member
Joined
Jun 2, 2008
Messages
3,551
Location
Near Seattle, Washington
Do you not generally clip the caps and rehone the big end before balancing the rods, or did you skip that in this tutorial for the sake of keeping it short and sweet? Also, do you usually take material off the bottom of the cap, or do you sometimes round off the area around the rod bolts? I've seen both methods used, and they both seem to be effective. However, whenever we did this, we took from the bottom of the cap.
 

BogusSVO

Well-known member
Joined
Aug 29, 2013
Messages
232
Location
Pensacola, Florida
Most of the time the rods get checked for spec, but not polished. I just skipped the step on checking the big ends, Guess that's another procedure I should do a write up on.

I tend to balance on the bottom of the rod. I have seen the method where some take it from the rod bolt boss.
 

BogusSVO

Well-known member
Joined
Aug 29, 2013
Messages
232
Location
Pensacola, Florida
It helps to keep the rod orientated to the front of the engine.

On a 4 cylinder engine, and most V6 engines it really will not matter if the rod is flipped, since they have individual rod throws on the crank, the rods are made with large bevels in the rod so they do not contact the radius on the crank.

Now on a V8 with a shared rod throw, the rods have a large and small bevel, the rods must be hung so the small bevels face each other. If the small bevel faces the crank the small bevel can contact the crank and cause a failure.
 

biglady112

Well-known member
Joined
Sep 30, 2005
Messages
1,255
Location
Commerce City, Co
For those guys doing this at home or at a friends, you do not have to heat the small end. We were able to press in the new pins and new pistons without any heat. We used the same press and tooling that we used to press the broken pistons off. The heat makes things easier, but it can be done without it.
 

mitsuturbo

Well-known member
Joined
Jun 2, 2008
Messages
3,551
Location
Near Seattle, Washington
The rods in our engines do have a small oil exit hole that happens to help lubricate the thrust side of the cylinder wall. If the rods are installed 180 out, things won't work as intended. I've never installed a rod backward, but i'm sure it's probably not good. I expect you may end up with a lot of unwanted scuffing on your piston and cylinder wall, to say the least. Furthermore, stock 4g63 rods also have something cast into them which denotes the "front" facing side. The procedure as illustrated is great for a general audience working with more than just 4g63 stockers. I always stamped the rod bolt bosses on the rod and cap so that they could be easily matched if they were somehow separated and mixed up.
 

GSTwithPSI

Well-known member
Joined
Jan 1, 2012
Messages
3,461
Location
SoCal
I'm fairly sure you can't install a stock rod backward (as Dale confirmed), which is why I was asking what he indexed the front of the rods for. They are symmetrical, and the only oil holes I've ever seen in stock rods were centered in both the wrist pin and crankshaft bores. Can you elaborate more on what you are referring to?
WP_000646.jpg
 

BogusSVO

Well-known member
Joined
Aug 29, 2013
Messages
232
Location
Pensacola, Florida
You are correct about that on the oil jet hole on the stock rods, that did not even dawn on me.

I have been looking at H beams the past couple weeks, and they do not even have the oil jet.


The Dot I stamp goes back to the first weeks of training 20 years ago, it just helps idiot proof it if the rods get set to the side for a few weeks and you forget the orientation.

Stamping the rods and caps should be done when the engine is tore down, here again, training.
 

mitsuturbo

Well-known member
Joined
Jun 2, 2008
Messages
3,551
Location
Near Seattle, Washington
Quoting GSTwithPSI:
I'm fairly sure you can't install a stock rod backward (as Dale confirmed), which is why I was asking what he indexed the front of the rods for. They are symmetrical, and the only oil holes I've ever seen in stock rods were centered in both the wrist pin and crankshaft bores. Can you elaborate more on what you are referring to?
WP_000646.jpg


See that hole in the top side of the hole on the big end? Look at where it goes...
 

GSTwithPSI

Well-known member
Joined
Jan 1, 2012
Messages
3,461
Location
SoCal
I know what hole you are talking about, I had just never seen it written anywhere that it was for lubricating the thrust side of the cylinder wall. That does make sense, but I have always read that the stock rods have the oil hole on the exhaust side to cool the exhaust side of the piston crown. This is the same reason the oil squirters are located on the exhaust side of the motor.

I've always installed my rods this way (hole toward the exhaust side), but I don't necessarily think installing one the other way around would be detrimental, at least not anymore than removing the oil squirters from the block would be. Please, mitsuturbo or Dale, chime in with your thoughts.
img.php


mitsuturbo

Well-known member
Joined
Jun 2, 2008
Messages
3,551
Location
Near Seattle, Washington
Well, considering Eagle rods don't even have that hole in them, and they're still being used successfully, it must be unnecessary. So i guess it would likely make no difference if they were installed "backward".

(this may help explain why my oil pressure is so high now that i have eagle rods as well)
 
Last edited:
Support Vendors who Support the GVR-4 Community
Boosted Fabrication ECM Tuning ExtremePSI Fuel Injector Clinic Jacks Transmissions JNZ Tuning Kiggly Racing Morrison Fabrications RixRacing RockAuto RTM Racing STM Tuned
Top